New Blog!

I have started another project! If grilling isn't manly enough for you, check out my French Baking Blog! http://aguyandhisoven.blogspot.com

Total Awesome People Who Visited This

Tuesday, May 31, 2011

Tequila Tuesday

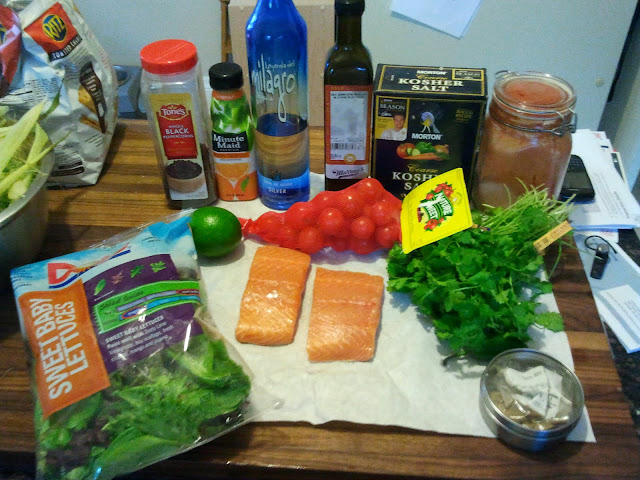
My grilling availability will be sporadic this summer, what with trips to NYC and Washington D.C.  Today seemed like a good day for grilling, and a good day for fish.  I hadn't grilled much fish recently, especially any new fish recipes.  Further, this last weekend I had purchased some nice corn at Findlay Market that I hadn't cooked up yet, so it was high time to resolve that issue as well.  So when I got home from the various food markets today, it was time to take care of business.  I sit here typing, rather proud of myself for what I accomplished this evening.  I combined two of Weber's recipes into a creation of my own.  Last summer I learned a nice technique for grilling corn, but I was interested in taking it to the next level.  In the spirit of Julia Child, it was time to add butter!  Those of you who were awesome enough to read my blog last summer saw me roasting garlic to make garlic butter.  While it was part of a bigger recipe, The Guide also has it as a stand-alone recipe in the beginning of the book.  Why not add roasted garlic butter to the corn?  This seemed logical.  So my story this evening begins with the Roasted Garlic Butter on page 50.


While I documented this procedure before, it is worth revisiting.  The process begins by using a serrated knife to remove the top of the garlic bulb.  Cut just enough to expose the cloves.  Drizzle a little olive oil over the exposed cloves.


Wrap the bulb in aluminum foil and place over indirect medium heat for about 45 minutes.  If you feel like cheating, use your oven at 400 degrees for the same amount of time.  WARNING:  This will make your house smell amazing!

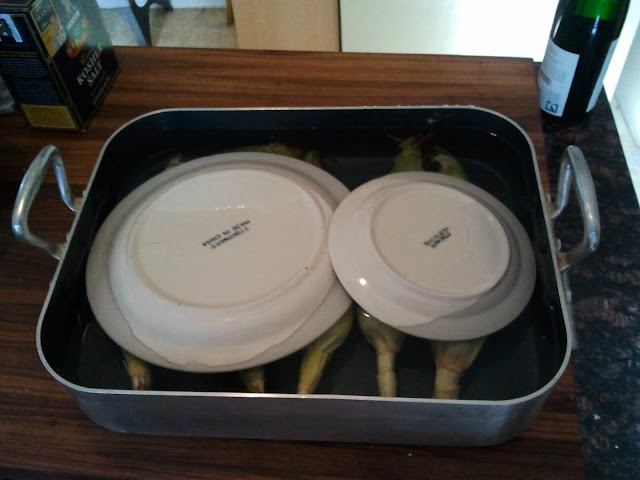
 Now that the garlic was getting happy on the grill (read: slow roasting into caramelized sweet goodness), it was time to prep the corn.  In order to make the husks more pliable and resistant to the direct heat on the grill, they needed to be soaked in water for at least half an hour.  There is a problem with this...corn floats.


I solved this dilemma by placing the corn in a roasting pan, weighting them with plates, and then filling with water.  This completely submerges the corn, which is necessary.


Garlic bulb roasting on the grill...check.  Corn soaking...check.  It was time to introduce the second recipe being used tonight to improve the garlic butter (like it needed it, but hey, I had plans). To make the butter even more interesting, I wanted to spice things up a bit.  I decided to make use of the Texas Dry Rub on page 54.


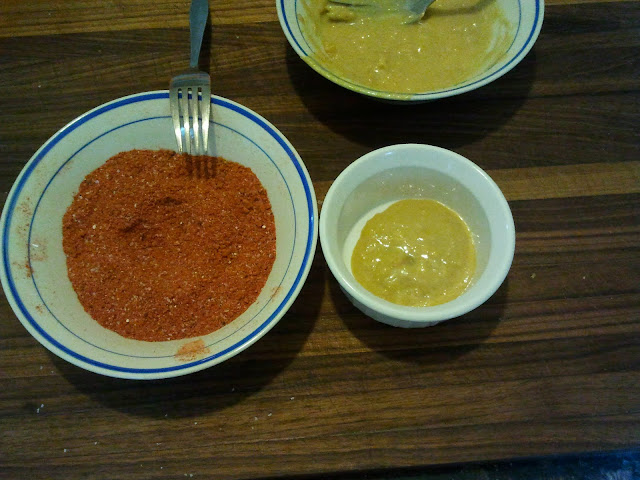
Nothing shocking happened next...I mixed it together in a bowl.


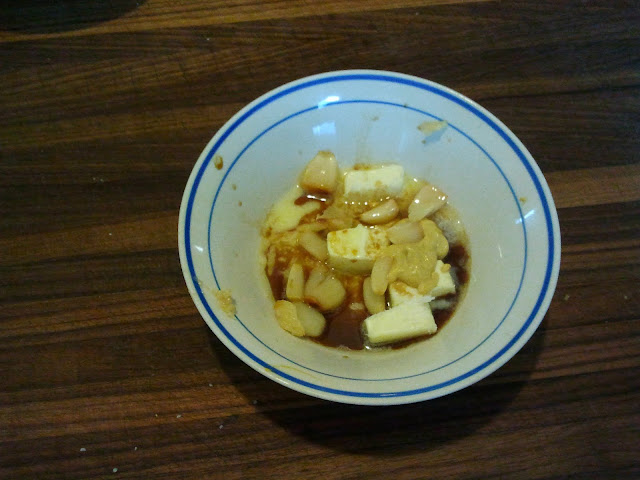
Here is where things begin to advance levels.  The garlic looked/smelled terrific, so I pulled together the remaining butter ingredients.


I previously uploaded a video of me doing this, but right now I am far too tired and lazy to find and link to it.  If you feel saucy, track it down and leave the link in the comments section.  I may have a prize for the first person to do so.  :)  Anyway, this is what your bowl will look like after you squeeze the cloves out of the bulb.


Use a fork and mash, mash, mash!


Here's where I started to use my own creativity...I took half of the garlic butter and put it in second bowl.  Do you see where this is going?


That's right!  I added the Texas Rub to the butter!


It was time to begin applying the spicy garlic butter, so I got out my favorite brush (silicon, so it is easy to wash, as opposed to an animal hair brush).


The corn cobs were now coated in a delicious compound butter, and I was quite pleased with myself.


Gently bring back the husks to cover the cob, and I even used a longer string of husk to tie off the top.


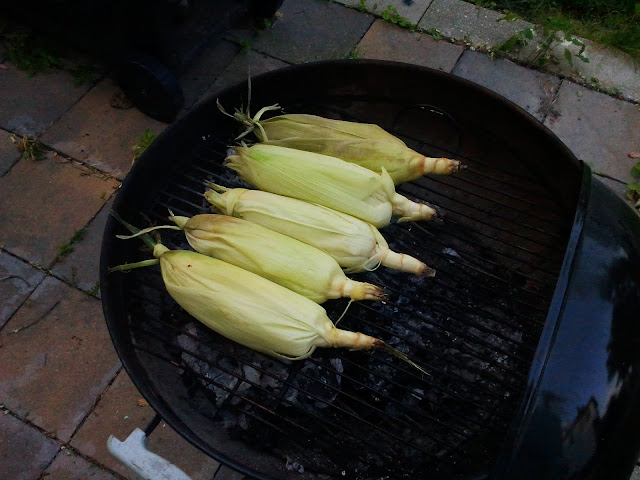
On to the grill with them, to make the neighbors jealous!  The aroma took about two minutes to fully disperse throughout the neighborhood.


Finally, it was time to get to the main course!  I had picked out the Tequila Salmon on page 298.


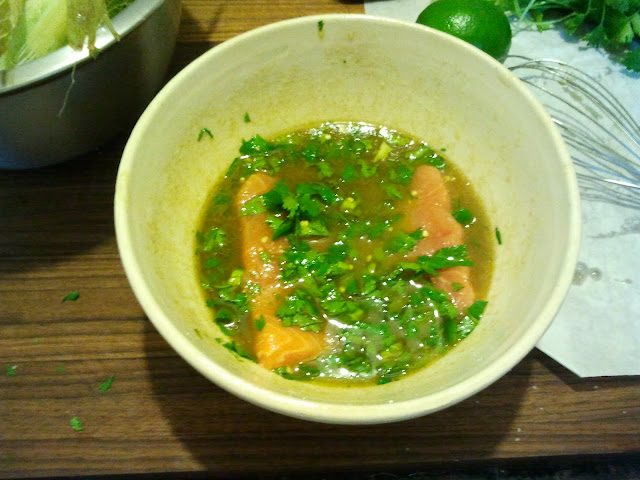
This is easy!  Make the marinade and submerge the fish.


Whisk together the dressing for the salad.


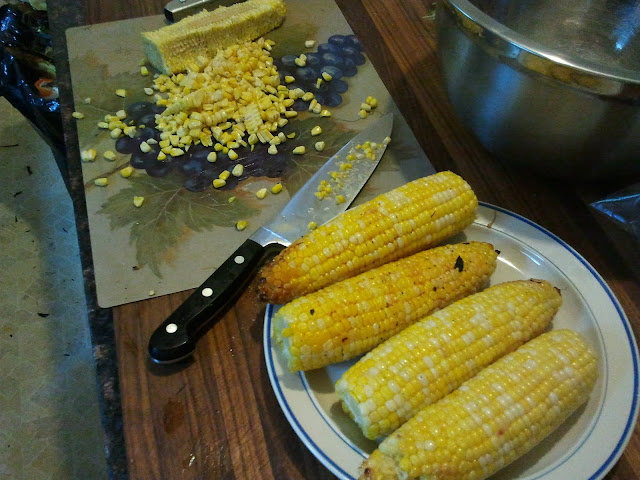
The corn was perfect!  I used the spicy garlic butter on three of the cobs, and the "plain" garlic butter on the other two.  Don't freak out if the husks burn!  My husks were almost completely black by the end of the grilling time, but inside the husks the kernels were perfectly cooked!   While these were wonderful on their own, I wasn't done!  As you can see in the background, I was beginning to use my chef's knife to remove the kernels from the cob.


That's right!  It's SALSA TIME!  Some grilled onions and jalapeno is called for as well.


Weber, this recipe is A-W-E-S-O-M-E!  Bogdan's Spicy Garlic Corn Salsa could make a fortune for me, if only I would apply myself.  :)

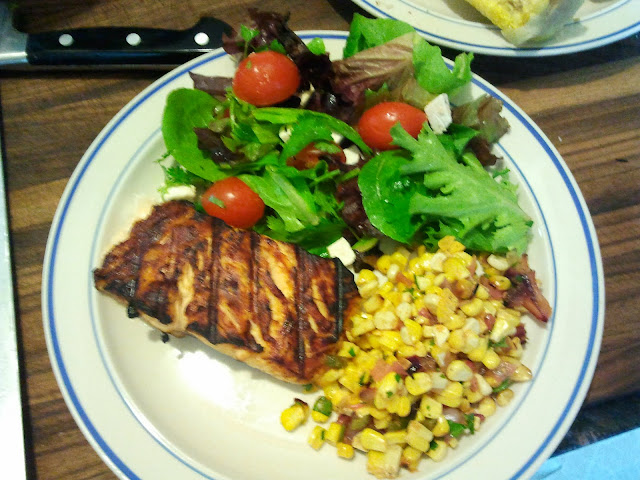
The fish went on to the grill, I mixed up the salad, plated, poured the Kool-Aid (although this SCREAMED for a margarita), and informed The Bride that it was time to eat.


As amazing as the salsa is, and as good as the salad dressing is, the salmon didn't hold up its end of the bargain.  It was okay...just nowhere near as impressive as some of the other salmon recipes have been.  Oddly, Weber has two different ways of cooking the same-sized same-cut pieces of salmon.  For some recipes, only indirect heat is used, and the fish is never flipped.  In others, like this one, the first seven minutes are flesh-side down over direct heat, and then is finished for the last three minutes over direct heat after flipping.  The latter method creates a nice crust and set of grill marks (like in the picture above), but I think I prefer the indirect method.  It's more manageable and less risky as salmon can come apart easy in the process of flipping.  The chile-lime salad dressing was a nice change of pace as far as salad dressings are concerned, and even helped out the flavor of the salmon, which was a little lacking.  I certainly didn't detect any tequila notes in the fish.  The star, for me, was still the salsa.  Maybe I'll make you some if you're nice to me!

Monday, May 30, 2011

Anyone Know A Good Corey-Sitter?

It is Memorial Day Weekend, so there is no excuse to not grill, right?  As I headed down to Findlay Market I knew I wanted to pick up something that would require a long marinade time, because I wanted to take advantage of the fact that I actually had a long weekend.  Flank steak is always a good way to go as it tends to be a tough cut.  So I picked one out and headed home to see what I could do with it.  I am getting low on flank steak recipes, but I still had the Mexican Flank Steak With Jicima-Orange Salad on page 119 to go!


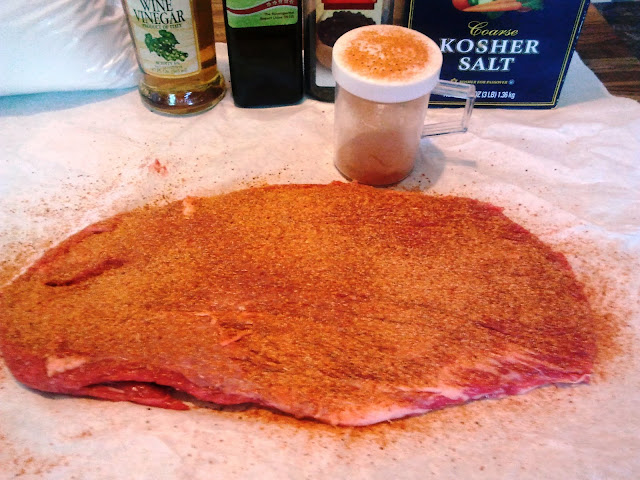
I did nothing surprising here.  I made the rub and used my favorite means of distribution.


Where I was concerned was that usually flank steaks use some sort of acid-based marinade.  Being a well-used muscle, the flank steak is rather tough, and the acid in a marinade will begin to denature some of the proteins, thus making them more tender.  This recipe only uses a rub, so I was apprehensive to see how chewy the end product would be. 

The only thing not pictured earlier when I gathered the necessary supplies was the cilantro.  I wanted to wait until I actually needed it to pick some from my garden.


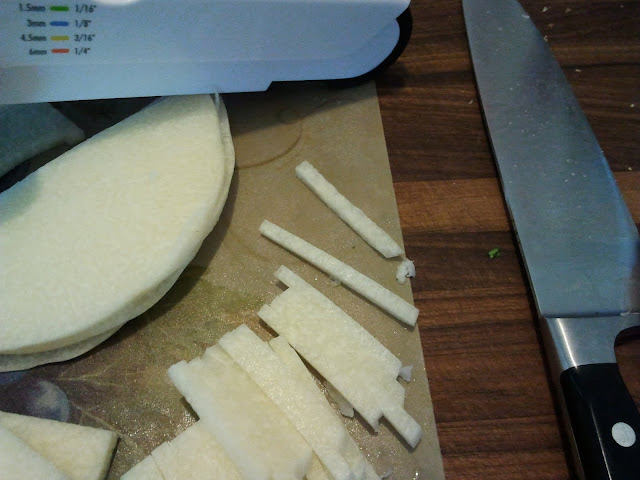
This is a jicima.  I don't have much experience with them, but they remind me (taste-wise) of a cross between an apple and raw potato.  What they excel at, however, are soaking up sauces/vinaigrettes.   The recipe instructed me to make "matchsticks" out of them for the salad.  Okay....this will require some equipment!  First up, a peeler!


Then a mandolin!


And finally, a chef's knife to complete the cross-cut!


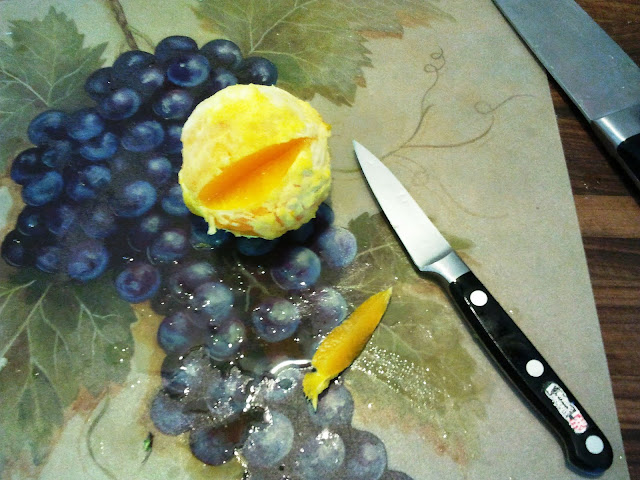
With the matchsticks taken care of, I needed to make the citrus sections.  To begin, you need to peel the citrus.  I am TERRIBLE at this.

Note the God-awful butcher job on the orange

Search out the mini membranes that separate the sections, and then use your paring knife to cut down either side.


Mine are awful-looking, and require some more practice, but then you remove the section.  I guess this makes them less chewy in the salad.  What it DOES make, however, is a mess in your kitchen.  Juice runs everywhere!


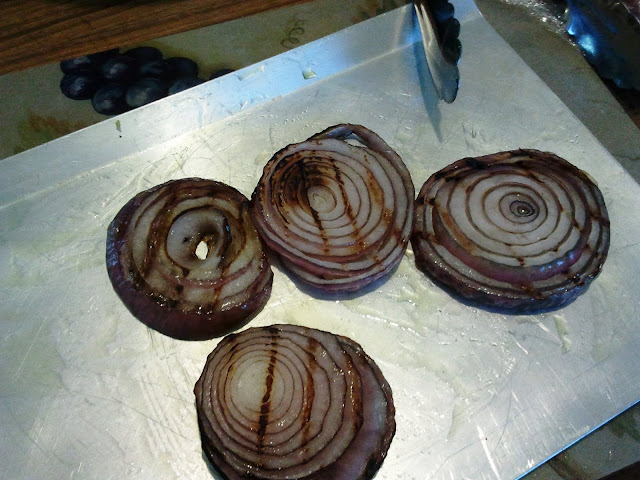
The last ingredient in the salad is the grilled onion.  This I have plenty of experience at now, and felt comfortable accomplishing.

Much prettier and professional-looking than the oranges

Put everything in the bowl (dressing is made and at the bottom).


And then toss!


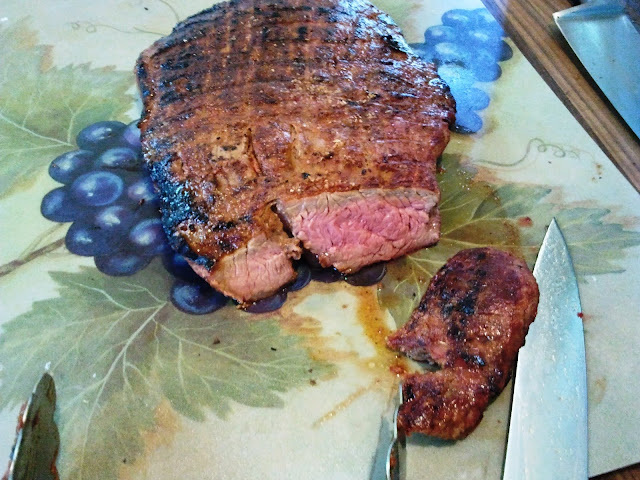
The steak came off the grill, but not before I had left it on for an additional two minutes beyond the recommended cooking time.  I'm pretty sure I remember that from the last time I cooked flank steak, but I used an instant-read thermometer just in case.  I pulled it off when it hit 145 degrees, which for beef is medium-rare.


It was!


I plated and The Bride and I enjoyed one of our last grilling sessions together.


Read that last sentence again....that's right!  The Bride has been given an amazing opportunity to lead a project that will take around three months...in China!  This means that Corey will be left for the summer, requiring some supervision guest chefs!  Contact me if interested!

Meanwhile, back to final thoughts on the recipe:  Overall, not as chewy as I had anticipated.  I made sure to slice against the grain as thinly as I could, and it turned out quite well.  The salad was a big hit with The Bride as well.  True to form, the jicima soaked up the dressing and lost its starchiness, the oranges provided a nice brightness and contrast of texture, and the grilled onions lent a pleasant aromatic and caramelized sweetness.  The rub on the steak was in no way overbearing; it could have even used a little more heat, maybe some cayenne.  I think this steak would also benefit from a finishing sauce, but it is fine on its own.  It's not company worthy, but thoroughly enjoyable nonetheless.

Sunday, May 22, 2011

FINALLY!

So I've learned that it's hard to write a blog about grilling when a GOOD weather report looks like this:


In what has proven to be one of the wettest springs ever, I guess I have little to complain about compared to the fine people down in the South.  My thoughts and prayers go out to them.  If not being able to grill is all I have to complain about, than life is good.

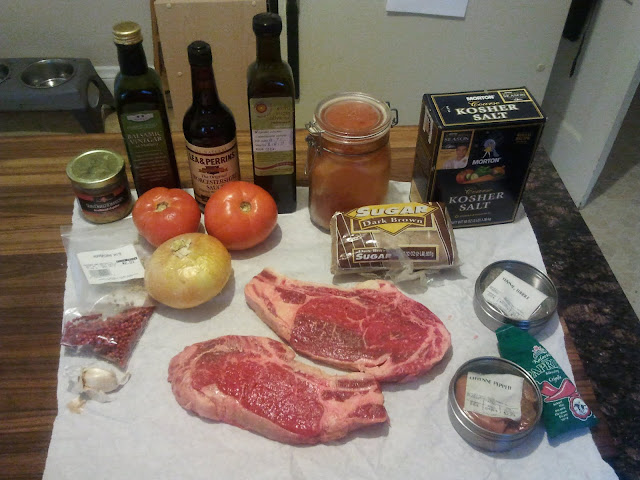
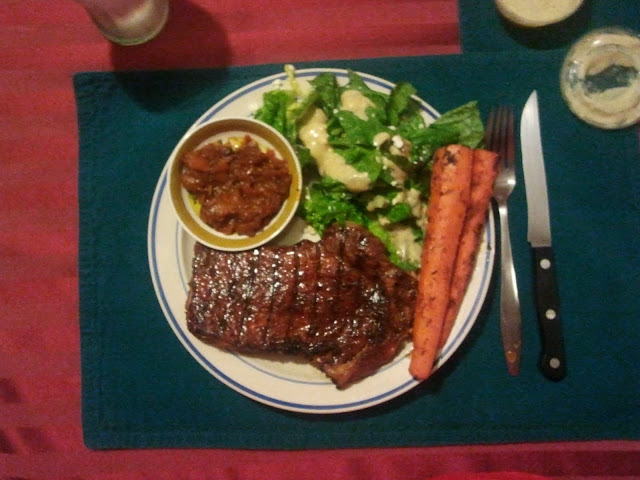
This grilling session was actually done late on Friday night, and I am just now getting around to writing about it.  I wanted cow, and chose the Spicy Rib-Eye Steaks With Tomato Chutney on page 111 for a couple of reasons:

(1) I like rib-eyes

(2) They didn't require much marinade time

(3) I like spicy food


 First up, as always, is to create the rub.  My supply of my home-grown and home-made chile powder is running low.  I doubt I'll make it through the summer.  It's a good thing I have my chile pepper plants already started in my garden.  At some point in time, however, I may have to break down and (*shudder*) buy some.


At Findlay the butcher sold me the bone-in rib-eyes, so I simply removed them.  Some people claim there is better flavor when the bone is left on, but I don't like the unevenness of the cooking when the bone isn't removed.  The meat closer to the bone cooks slower than the meat at the other end, and I like symmetry.


Here they are, rubbed up and ready!


The tomato chutney is easy: saute the onions, add the tomatoes and spices, simmer/reduce, add some other aromatic liquids, and reduce again.   You get a nice chutney, like what I had pictured below!


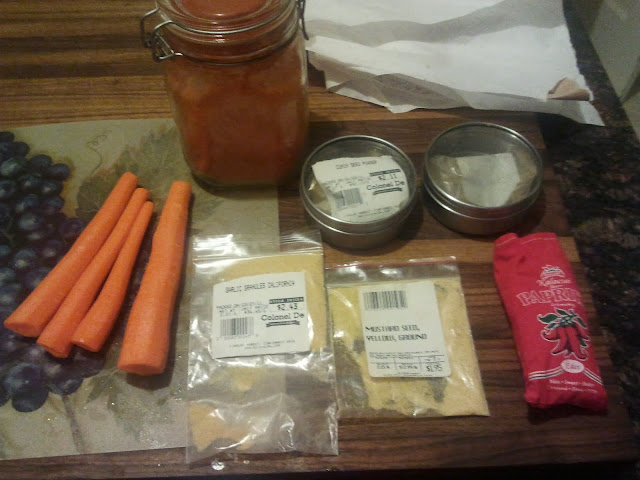
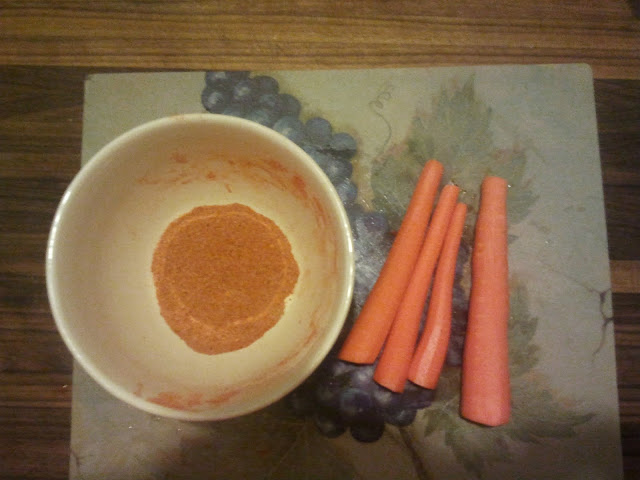
I also needed a nice and easy side, and all I had around the house were some carrots.  I remembered that I hadn't been making much headway in the rubs/marinades section, so I decided to knock one of those out this evening by using the Southwestern Rub on page 54.


I made the rub and prepped the carrots by brushing them with a little olive oil.


Then I grilled, and all was good!  The Bride made up a salad and we were good to go!


All in all, this was quite nice!  I overdid the rib-eyes a little, but I made a little "note to self" in The Guide to help me remember for next time to cut down on the grilling time.  They were medium-well, and The Bride and I prefer medium-rare.  Again, if this is all I have to be concerned about, than so be it.  The rib-eyes by themselves are okay, but with the tomato chutney they take on a whole new level of deliciousness...spicy, tangy, a proper amount of acid, a good balance/mixture of flavors from multiple spectrums, and nice juiciness.  This is a good meal for those in a hurry.  The carrots took on the flavors of the rub well, and it was pleasant to have two "southwest" rubs that were slightly different on the same plate.  They married well, but were just different enough to keep the whole meal entertaining, instead of being monotonous.  The rub would be good on most grilled meats, but I think it would best serve chicken.  Today I will be smoking a chicken, and I will most likely follow that rub recipe again. 

Tuesday, May 3, 2011

Think of this as Julie and Julia, but for dudes.

Followers

About Me

My photo
Cincinnati, Ohio, United States
Just a regular dude...now learning to bake