New Blog!

I have started another project! If grilling isn't manly enough for you, check out my French Baking Blog! http://aguyandhisoven.blogspot.com

Total Awesome People Who Visited This

Thursday, June 30, 2011

I'm BLOCKED in China!?!?!?!

For the first week and a half, The Bride was able to read this trifle while staying in China.  Two days ago, the Chinese government decided to block A Guy and His Grill.  Wow.  I'm now a banned author in China.  I still can't wrap my head around that.

Today was another day where I wasn't going to be home until late, and so I needed a no-hassle recipe.  The Grilled Salmon With Summer Salad on page 295 seemed to be appropriate.  I actually stopped by the fishmonger before work and noticed that there was a new type of salmon that they were carrying, something like Alaskan King River Salmon.  I decided to be adventurous.


The first step, while waiting for the water to boil (more on that later), was to make the dressing.


 I got to learn a new technique!  To be perfectly honest, I fully anticipated having to prepare the corn in the same manner in which I have done in the past...soak, peel back husks, de-string, put back husks, tie off, and grill.  I didn't even bother to read the recipe this morning as I made my grocery list.  I even got out the skewers, thinking that I was going to have to gill the tomatoes as well.  When I came home and started to gather the necessary materials, I looked for those steps and was surprised to see that I was going to do something different.  The concept behind this meal is to be al fresco and thus very "fresh" instead of grilled.   To make the corn, you have to first boil a large pot of water.


When you have achieved a rolling boil, add the cobs.


Cover.


Immediately TURN OFF THE HEAT!


Set your timer for four minutes.


Remove to drain and cool.  The kernels will be just barely tender...adding to the whole al fresco atmosphere.


When cooled, liberate the kernels from the cob. 


I went against the grain for what Weber would have me do.  I recently discussed my opinion on the two ways that Weber grill salmon, and I opted for the complete indirect method.  It preserves the salmon in one easy and manageable piece, but lacks the pretty grill marks.  In regards to the missing grill marks, I find myself already over it.  The salmon came off the grill in one beautiful piece without me ever risking it falling apart.  This salmon turns a pale pink when complete.


You don't cook the tomatoes at all.  Add everything together for the salad and mix gently.   From here you are supposed to cover the salmon with the salad and serve.  I didn't like that.  I thought it would look prettier if the salmon was on top, so I went against Weber again.


Once again, this recipe was a big success, especially in regards to how easy and low maintenance it is.  Let's face it, you boil and cut some corn, cut some tomatoes and basil, make a simple dressing, and grill salmon for ten minutes.  It's super easy!  As for the taste...YES!  It was truly "fresh" (two meals in a row I've used that theme) and delightful.  The salmon only needed the salt and pepper, and would have stood well on its own.  When put on the same fork as the salad it simply sung.  The corn was indeed tender, the fresh basil from my garden was in the background lending its support, and the tomatoes were in the perfect quantity to be noticed but not drive the salad.  The dressing was bright, flavorful, and also in a perfect ratio to the salad.  In all, this recipe uses just a handful of ingredients, is super simple to cook, won't make a mess in your kitchen, and is a nice change of pace on a hot summer day.  Too bad no one in China will learn how awesome I think this is.

Tuesday, June 28, 2011

A Trip Down Memory Lane...With Chicken

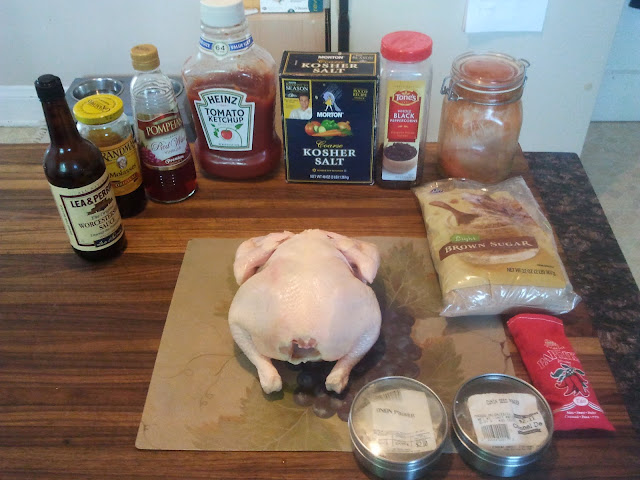
After a long day of work, I needed an easy, no-hassle recipe.  I needed to be able to do the prep before work, come home, fire up The Forge, grill, eat, and then sit on my couch.  The recipe for Mesquite-Roasted Chicken on page 234 seemed to be right up that alley.  


Before I left for work, I did what Weber usually has me do: combine the spices to make the rub.  Once again, I would like to point out that a good mixing device can be one of the measuring spoons you used in order to cut down on dishes.


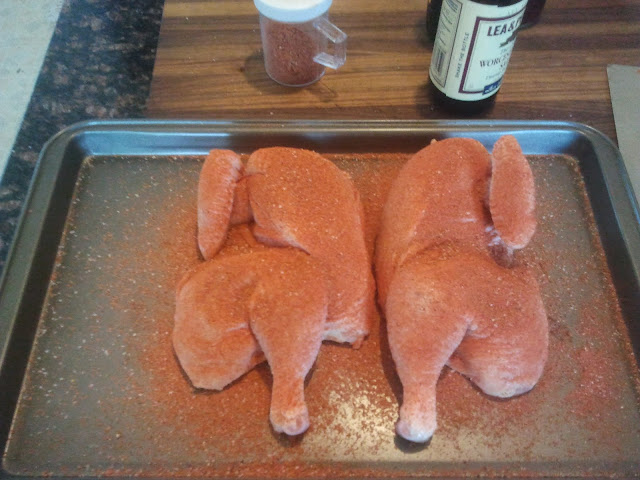
Using my favorite poultry shears, I removed the backbone and then cut the bird in half.  The rub was then applied to the first side of the chicken.


I flipped the bird over, applied the rub to the other sides, and was pretty much good to go before I left for work.


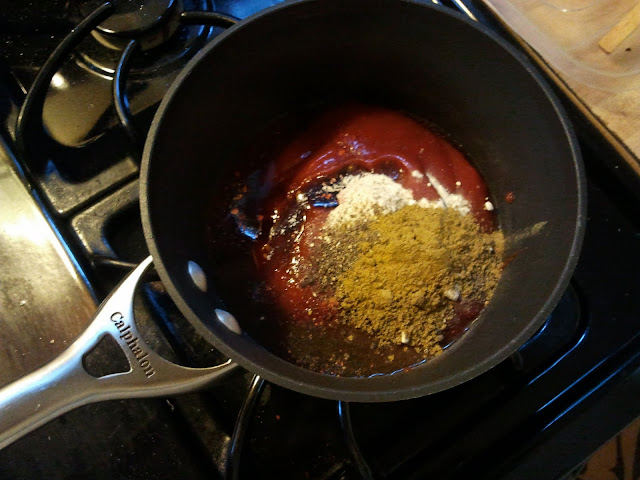
I covered the chicken halves with Saran Wrap, placed them in the fridge, and went to work.  When I returned, I started The Forge and pulled the chicken out of the fridge to get ready for the grill.  This recipe had a BBQ sauce to accompany it, so I put what I needed into a saucepan.  The recipe doesn't call for heating the sauce, but I like to do so with all of my BBQ sauces as I feel it helps liven the spices.


The bird was on The Forge for over an hour, so I started making the salad that can be found on page 363, the Chilled Cantaloupe Salad With Raspberry Vinaigrette.  I had chosen this for two reasons.  First, cantaloupes are in season, thus tasty and dirt cheap.  Second, The Bride has expressed a negative opinion about cantaloupes, so I took this opportunity of her being out of town to enjoy it without reservations.


What I liked about this recipe is that I got to use a technique with which I wasn't familiar.  The first step in the directions was to cut the onion through the root.


Then I cut the halves into half-inch wedges.


The root binds the leaves together, so it had to be removed.


With the root removed, you can now peel apart the leaves.

 
Here's where it got interesting for me.  Weber instructs you to soak the onion leaves in ice water for at least twenty minutes.  I had never seen this before.  As I thought about it, I recalled seeing a technique used with fresh garlic bulbs where you blanch them in boiling water for just a few seconds in order to remove some of their pungent and unpleasant raw bitter aspects.  I know that red onions can have similar problems, so I guessed that this technique would solve them.


Using an ice cream scoop, I removed the seeds from the cantaloupes.


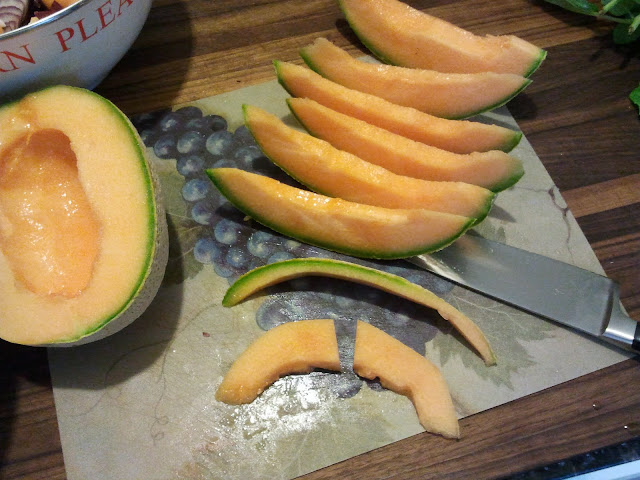
I cut the melon into slices, removed the good stuff, and then began cutting the slices into pieces for the salad.


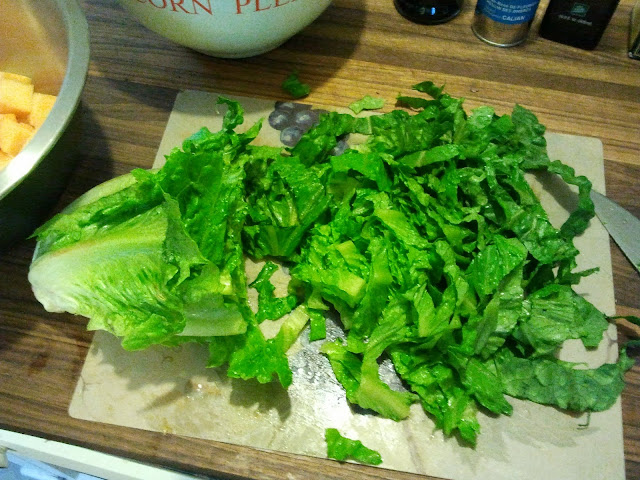
I sliced the head of romaine cross-wise to give myself ribbons of leaves.


The melon pieces and lettuce went into the salad bowl.  Meanwhile, I put the vinaigrette ingredients into my immersion blender container.


Okay, so it's not the most aesthetically pleasant vinaigrette to look at, but I promise you, it's quite tasty.  


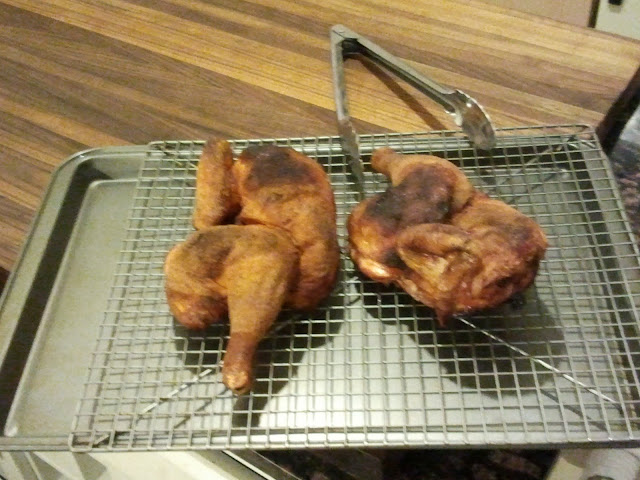
The chicken halves came off the grill quite crispy, yet very tender.


I drained the onions, added the dressing, and gave the salad a gentle mixing until everything was well-coated.


The chicken was given a light brushing with the sauce for presentation, and the salad completed the plating.


This recipe did exactly what I wanted it to.  Fifteen minutes upon coming home, the chicken was on the grill and had enough of a cooking time to allow me to make the side for the meal.  It was casual, easy, interesting, and, most importantly, delicious.  As mentioned earlier, the chicken was crispy on the outside, but succulent, moist, and tender on the inside.  The rub flavored the bird well, but what really drew me in to this recipe was the sauce.  As some of you may recall, last summer The Bride and I took a long weekend trip to Memphis for a BBQ Getaway.  While Memphis has two rather contrasting styles of BBQ, what was present throughout every restaurant in Memphis was the use of molasses as a sweetener.  As this sauce used the same ingredient and similar spices, the overall effect of the sauce was the make the chicken somewhat like what you would find in Memphis.  Granted, this is a mesquite-roasted chicken recipe and thus supposed to Texas-style or American Southwest, but hey, I got Memphis out of the deal.  In short, I liked it.
The salad was also a nice recipe.  I had never tasted raspberry vinegar before, so it was a nice new ingredient to experiment with and use.  Perhaps what unified the ingredients in this recipe was the aspect of freshness.  Melons are fresh and in season right now, the basil and mint came fresh from my garden, and the raspberry vinegar brightened everything with its fresh acidity.  The onions, true to what I thought the cold soak would do, were less abrasive than what they are raw, and instead added crisp texture and a gentle onion flavor that actually complemented the melon well.  In short, I liked it.
Sunday, June 26, 2011

Thank God I'm a Country (Rib) Boy

The weather and my work schedule have not been cooperating as of late.  Today was a rare opportunity, it seems, to do some grilling.  I was in the mood for ribs for some reason, and as I perused the recipes for these tasty treats, I ended up picking out the Country-Style Pork Ribs With Red Wine Vinegar Sauce on page 165.  


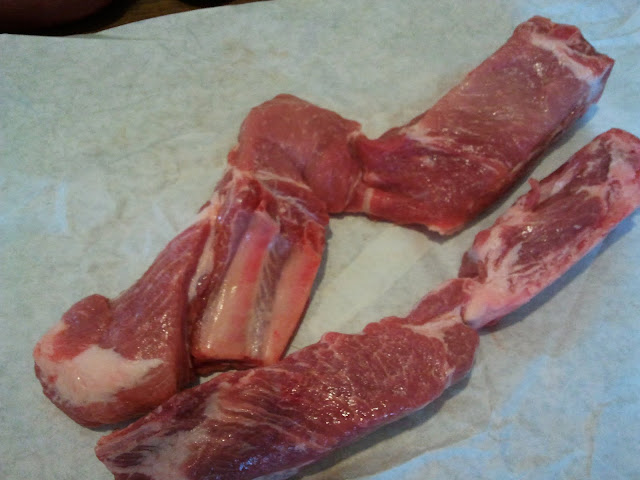
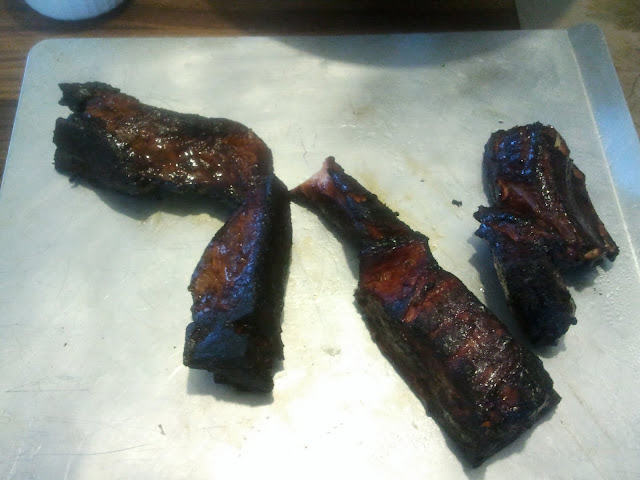
This recipe called for "country-style" ribs, something with which I have no experience.  I went down to Findlay Market this morning to investigate this matter.  The butcher explained to me that these ribs come from the loin end, and are cut so that there are two small sets of bones separated by a sizeable chunk of meat.  He had two left, and I asked for one, as I'm only cooking for one.  The price was $3.50, and the butcher offered the second one for only and additional $1.50.  This, I figured, was a solid five dollar investment.   If you look in the picture below, you can see in the top piece one set of the small rib bones and just how much meat there is otherwise.


This recipe also calls for a high percentage of your cooking fuel to be water-soaked wood chunks, as opposed to charcoal.  This will lend a lot of smoke to the cooking process, as well as lower the cooking temperature in the grill, as you want "low and slow" with ribs.


With the ribs on grill for an hour and fifteen minutes, I started the basting/dipping sauce.


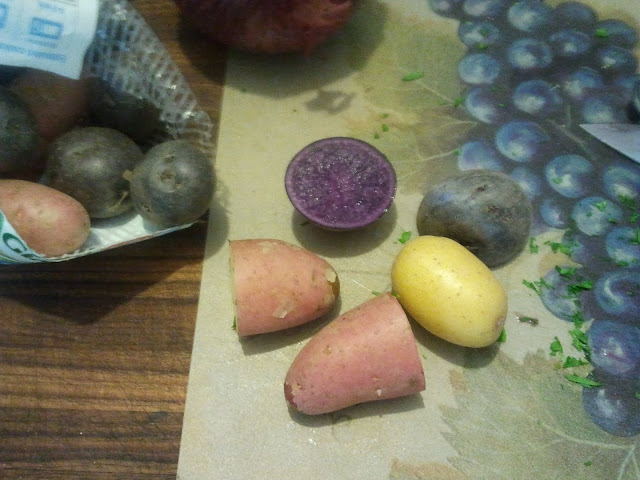
As the sauce simmered, I started in on my side for the evening, the Gold Rush Potato Salad on page 355.  For this recipe I did make a little substitution.  The recipe calls for Yukon Gold potatoes, but at the market I came across an interesting tri-color blend of potatoes.  They looked delicious, so I made the executive decision to make the swap.


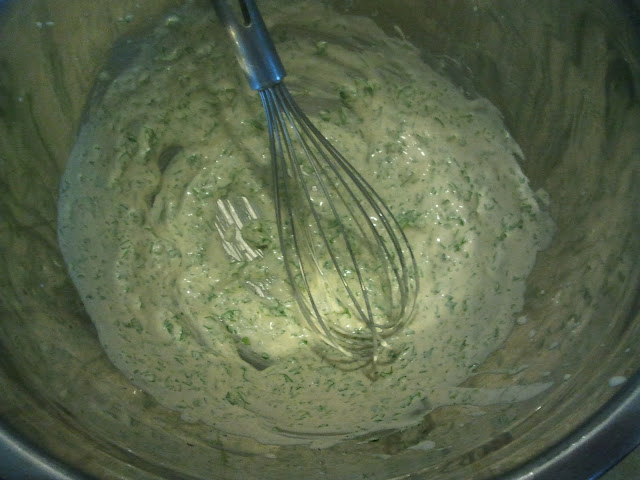
Similar to most of The Guide's recipes, I started by making the dressing.  It was simple enough, consisting of only mayonnaise, red wine vinegar, parsley, and seasoning.


Have you ever had a purple potato?  I never have.  Not only is the skin purple, but all of the flesh inside is purple as well.  The red and yellow potatoes were both a dull yellow on the inside.

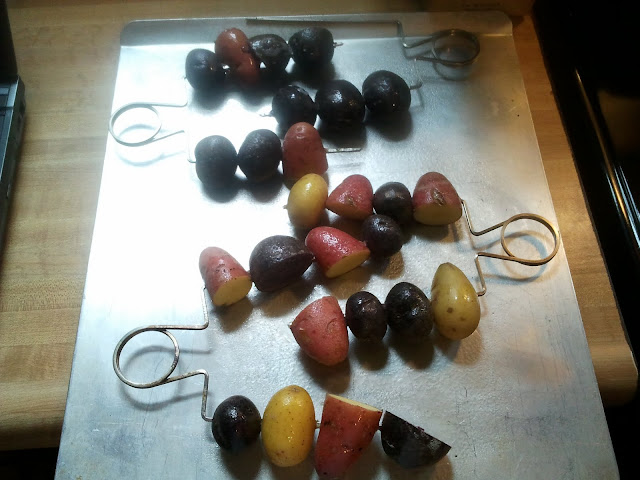
To keep them from falling through, rolling around, and in general cooking unevenly, I skewered them.


After just over 15 minutes, I pulled them off and let them cool a bit before adding them to the bowl.  They smelled amazing, having been slightly smoked by the water-soaked hickory chunks.  I sampled one to make sure they were properly cooked; they were crispy and smoky on the outside, and perfectly cooked on the inside. 


Pleased with myself, I began pulling them off the skewers and slicing them up even smaller for the salad.


The onions only take about ten minutes, and the salad was nearing completion.


Last to go in was the raw celery, with only a gentle tossing to bring everything together required.


YUM!


In the final twenty minutes, you have to lightly baste the ribs with the sauce you made earlier.  This will caramelize on the ribs, deepening the color and adding texture and flavor.


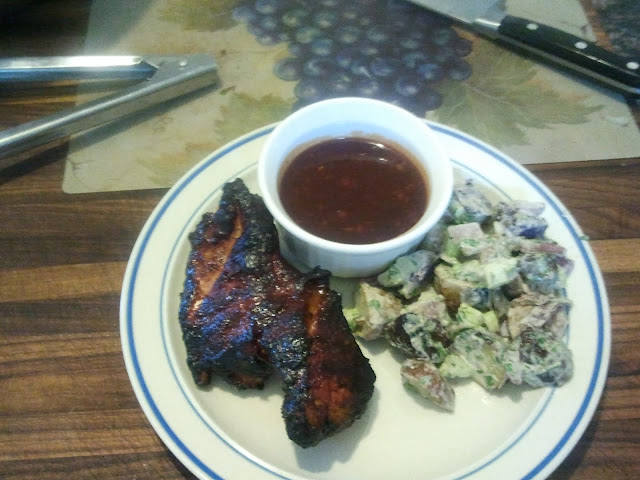
 I took one part of one of the country ribs, some potato salad (still warm, per directions), and some of the dipping sauce.


This was another successful evening.  The ribs were a little different in texture and flavor than the traditional spareribs or babyback ribs, but were still delicious.  The benefit of the country ribs is a higher ratio of meat to bone, but it seems a little leaner (read: less fat so less flavor).  A cross section revealed the dark and crusty exterior, a lovely pink smoke ring just underneath, and delicious and juicy white meat underneath.  A quick dip in the sauce and you have a rather wide spectrum of textures and flavors.  In short, everyone should try these at least once.  As for the potatoes, these were a big surprise.  My call to substitute in the tri-color potato mix was a good one, as it widened the flavor and texture profile.  I can't explain why, but for some reason I kept smelling and tasting bacon notes, which both thoroughly pleased and perplexed me.  I think adding some smoked bacon to this dish would really take it to the next level.  This recipe will be seen by friends before the year is out.

Tuesday, June 21, 2011

A BBQ Theme

In case you haven't figured it out by now, I like to have a theme for my meal.  The theme today was BBQ sauce.  I still have some left over from my spring pre-golf BBQ, and needed to use it up before it went bad.  I am also on a bit of a limited budget this week, and needed to do things on the cheap.  Before I get to the main dish, however, I actually needed to start the side, as it has a heretofore unprecedented grilling time of over two hours!  My first BBQ dish was the Barbecued Cabbage on page 347.


The process is simple.  As per usual, begin by making your spice rub.


You are instructed to remove the core and leave about a three-inch cavity.  I used my paring knife and began cutting into the head of cabbage like a jack-o-lantern.


Here's my cavity.  The next instruction is to use your fingers to gently start separating the leaves.


You are then supposed to rub the butter into the cavity, trying to get as much in between the leaves as possible.  This is easier said than done.  I finally gave up all pretenses and just used my fingers to smash the butter in, sprinkled in the spice rub, and then used my fingers again to spread everything as evenly as possible.


Wrap it up in foil, leaving the cavity exposed.


Low and slow is the way to go!  Use indirect low heat for two to two-and-a-half hours, and I brushed in the BBQ sauce every half hour.  The leaves started to separate a little more as time went on, so I used my basting brush to further push in the butter, spices, and BBQ sauce between the leaves.


When the last half hour approached, I started making the main dish this afternoon, the Carolina Wahoo With Black-Eyed Pea Salad on page 286.  After talking to a couple of fishmongers recently it was agreed upon that I wasn't about to come across a wahoo without paying handsomely for it.  Weber suggests using either tuna or swordfish as a substitute, and I opted for swordfish.


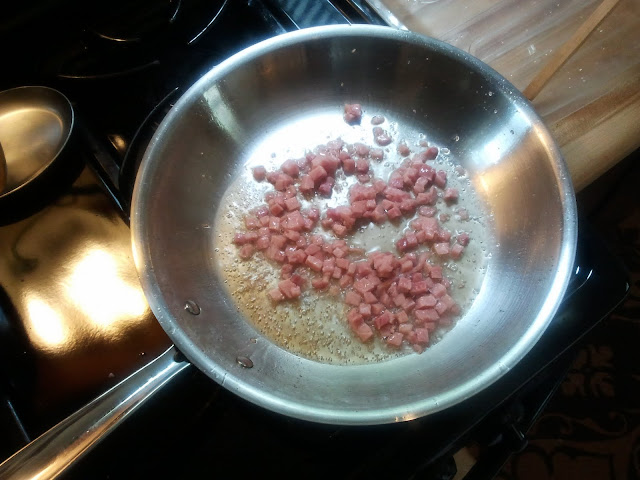
Begin the salad by sauteing the ham.


After a few minutes add the onion.


Following that is the celery and red bell pepper.


Finally, add the black-eyed peas, sugar, and cider vinegar.


Season and brush the fish with BBQ sauce (my theme today).


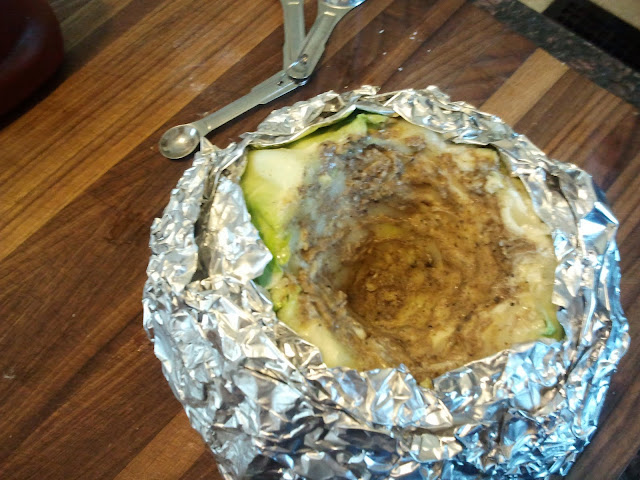
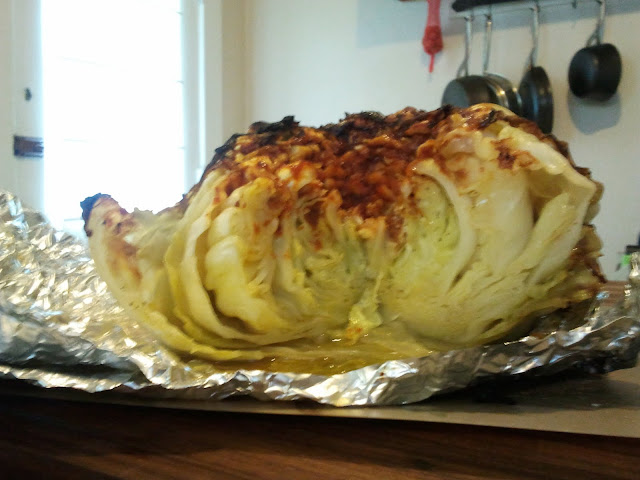
While I waited for the coals to heat up from low to medium heat for the fish, I removed the cabbage and inspected the final result.


I cut myself a wedge for my meal, so here you can see the cross-section.


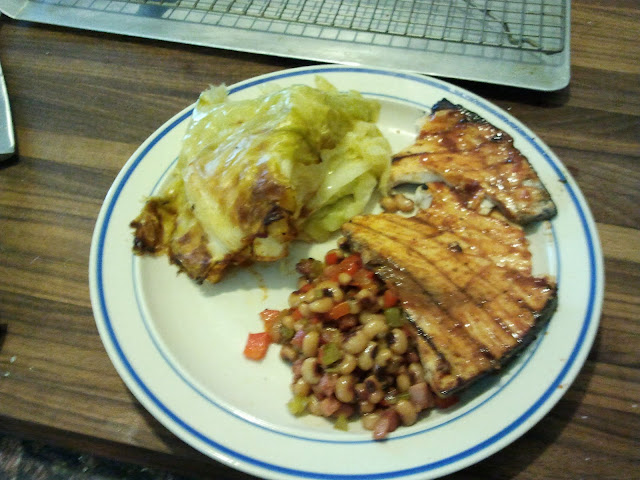
I plated and sat down with a nice grape Kool-Aid!


The cabbage was rather impressive.  The butter sank down to all levels, and the spice mix was carried along with it.  The BBQ sauce only made it halfway down, but that was okay as it allowed some contrasting flavors and variety.  I'm highly interested in using this recipe in my smoker this summer.  I might even cut up the cabbage into ribbons and make a cole-slaw out of it.  The fish was okay...I've had better recipes from Weber using swordfish, but I would still like to try it with wahoo as the recipe intends.  Finally, regarding the black-eyed pea salad: WOW!  I like this a lot!  Super cheap, lots of flavor, and the only change I will be making is to use bacon instead of ham.  This will be seen again in the Bogdan household!

Think of this as Julie and Julia, but for dudes.

Followers

About Me

My photo
Cincinnati, Ohio, United States
Just a regular dude...now learning to bake