New Blog!

I have started another project! If grilling isn't manly enough for you, check out my French Baking Blog! http://aguyandhisoven.blogspot.com

Total Awesome People Who Visited This

Tuesday, July 27, 2010

Big Ben...Parliament

I had the day off and was eager to hit the small market shops in Findlay Market and Hyde Park Fish Market.  The Bride requested a familiar dish and a risotto for the side.  Risottos are great because you can add just about anything to them to for a change of pace.  I even recall looking at a risotto cookbook a few years ago that contained over 150 diferent recipes.  However, I knew that The Guide had a risotto so it was an easy decision to make.  I shopped for the materials necessary for the Summer Vegetable Risotto on page 341. 


A special thank you is in order to Matt (former guest chef) for sharing a recent allotment of vegetables.  I only had to pick up a few more vegetables from the market to complete the requirements.  My basil plant is starting to look a little picked over now, but I know that in a week or two it will all have grown back.  The directions in the recipe were to begin by soaking the ears of corn, husk and all.  So I filled a bowl and set them in.
 

I noticed a small problem...they floated.  So I improvised and filled a second bowl of water and set that on top.


This kept the ears of corn completely submerged.  While they were soaking, I prepped the remaining vegetables.


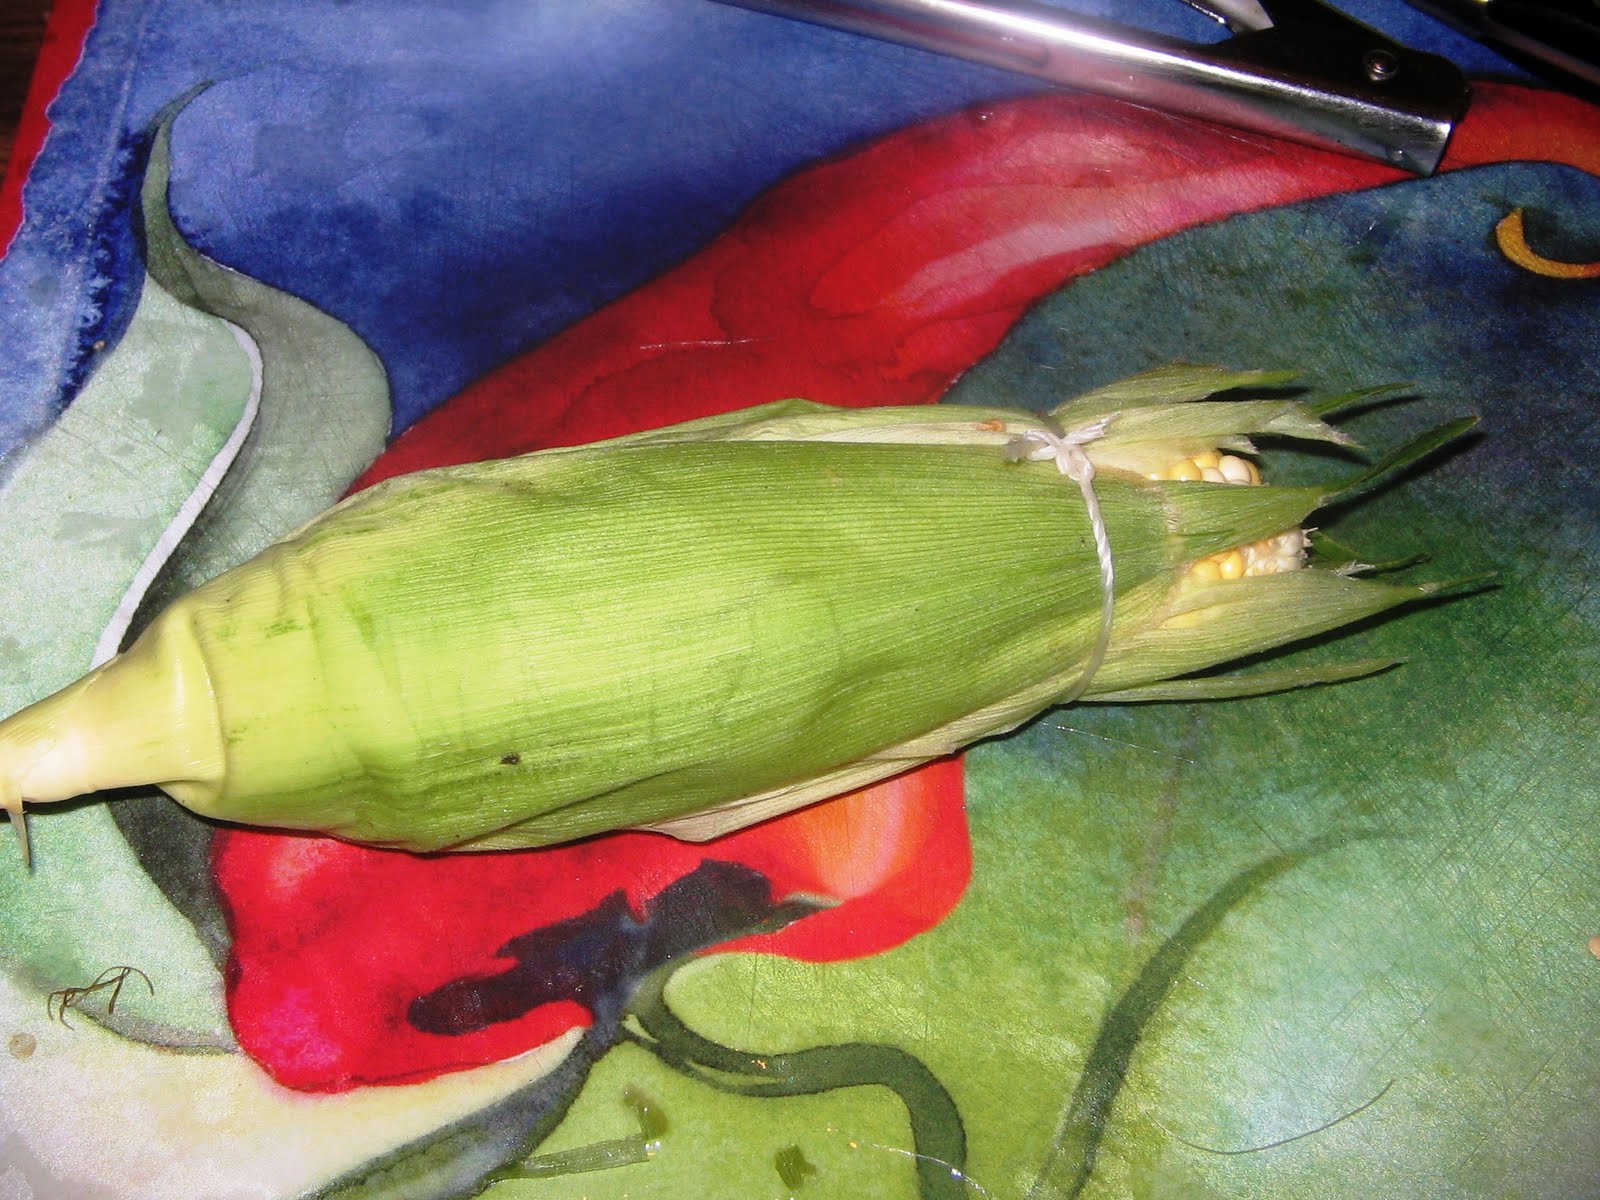
While they were grilling, the corn was ready for prep.  I had to pull back the husks while still keeping them attached.  This revealed the silk strands underneath.


They had to go.


The husks needed to be returned and tied up.  The soaked leaves would prevent the kernels from burning during the long grill time required to properly cook the corn.

The other vegetables were ready, so I took them off and replaced them with the corn.


After about twenty-five minutes, the ears of corn came off and smelled sweet and delicious.


I removed the husks and, sure enough, the kernels underneath were perfectly cooked and well preserved.


The best technique I have for removing the kernels is to stand them on end and use your chef's knife to scrape them off.  Be careful to not get too concerned with removing the entire kernel as you might get some of the cob during the cut. 


I cut up the other vegetables, mixed everything together, and my grilled vegetables for my risotto were ready. 


It was now time to clean up the kitchen and prepare my mise en place.


Along with the mise en place is another hint for making risotto: use a second pot to make sure that before you begin that your liquid is hot, just below the boiling point.  Doing so will keep your cooking temperature from dropping as you add the liquid to the risotto.


I added the liquid in one-half cup increments, stirred constantly until the liquid was absorbed, and repeated.  Had my cooking liquid not been preheated, I would have had to have waited for the pot to heat up the liquid first, lenthening my cooking time dramatically.  Instead, this only took about twenty minutes.  I plated and informed The Bride that we were ready for dinner.


Look kids!  It's the Oak Grilled Salmon again!  What can I say, The Bride LOVES that recipe.  This time, to keep things interesting, I ponied up for the Sockeye Salmon.  Sure, it's a few extra bucks per pound, but dear sweet Jesus does it make a difference. 

As for the risotto, it was spot-on.  It reminded me a lot of the ratatouille recipe, which if you recall I was a tremendous fan of.  A risotto is a small commitment of time that rewards the cook with something FAR more interesting than rice.  I love its flexibility and adaptability.  A word of warning with this recipe: add the vegetables a small amount at a time.  Just dumping all of them in at once might tip your vegetable to risotto ratio unfavorably.  Just add a small bit, stir, and then decide whether or not to add more.  Make this to your liking!  Also, if you are cooking for just two, cut this recipe in half.  The Bride and I have leftover risotto for the week.

Monday, July 26, 2010

Summer Sammich

Continuing with the "light and fresh" theme today, I selected the Ultimate Summer Sandwich on page 248.  This sandwich uses grilled chicken breast, pesto, goat cheese, and arugula.  The Bride had actually purchased some turkey tenderloins, so I used these instead of chicken breast.  In either case, it works.  Naturally, the first step was to gather every ingredient together.


What I was eager about most was the pesto.  Like yesterday's grill session, I was able to use fresh basil from my garden.  We are approaching my favorite time of year where fresh produce is abundant and rediculously better than store-bought items.

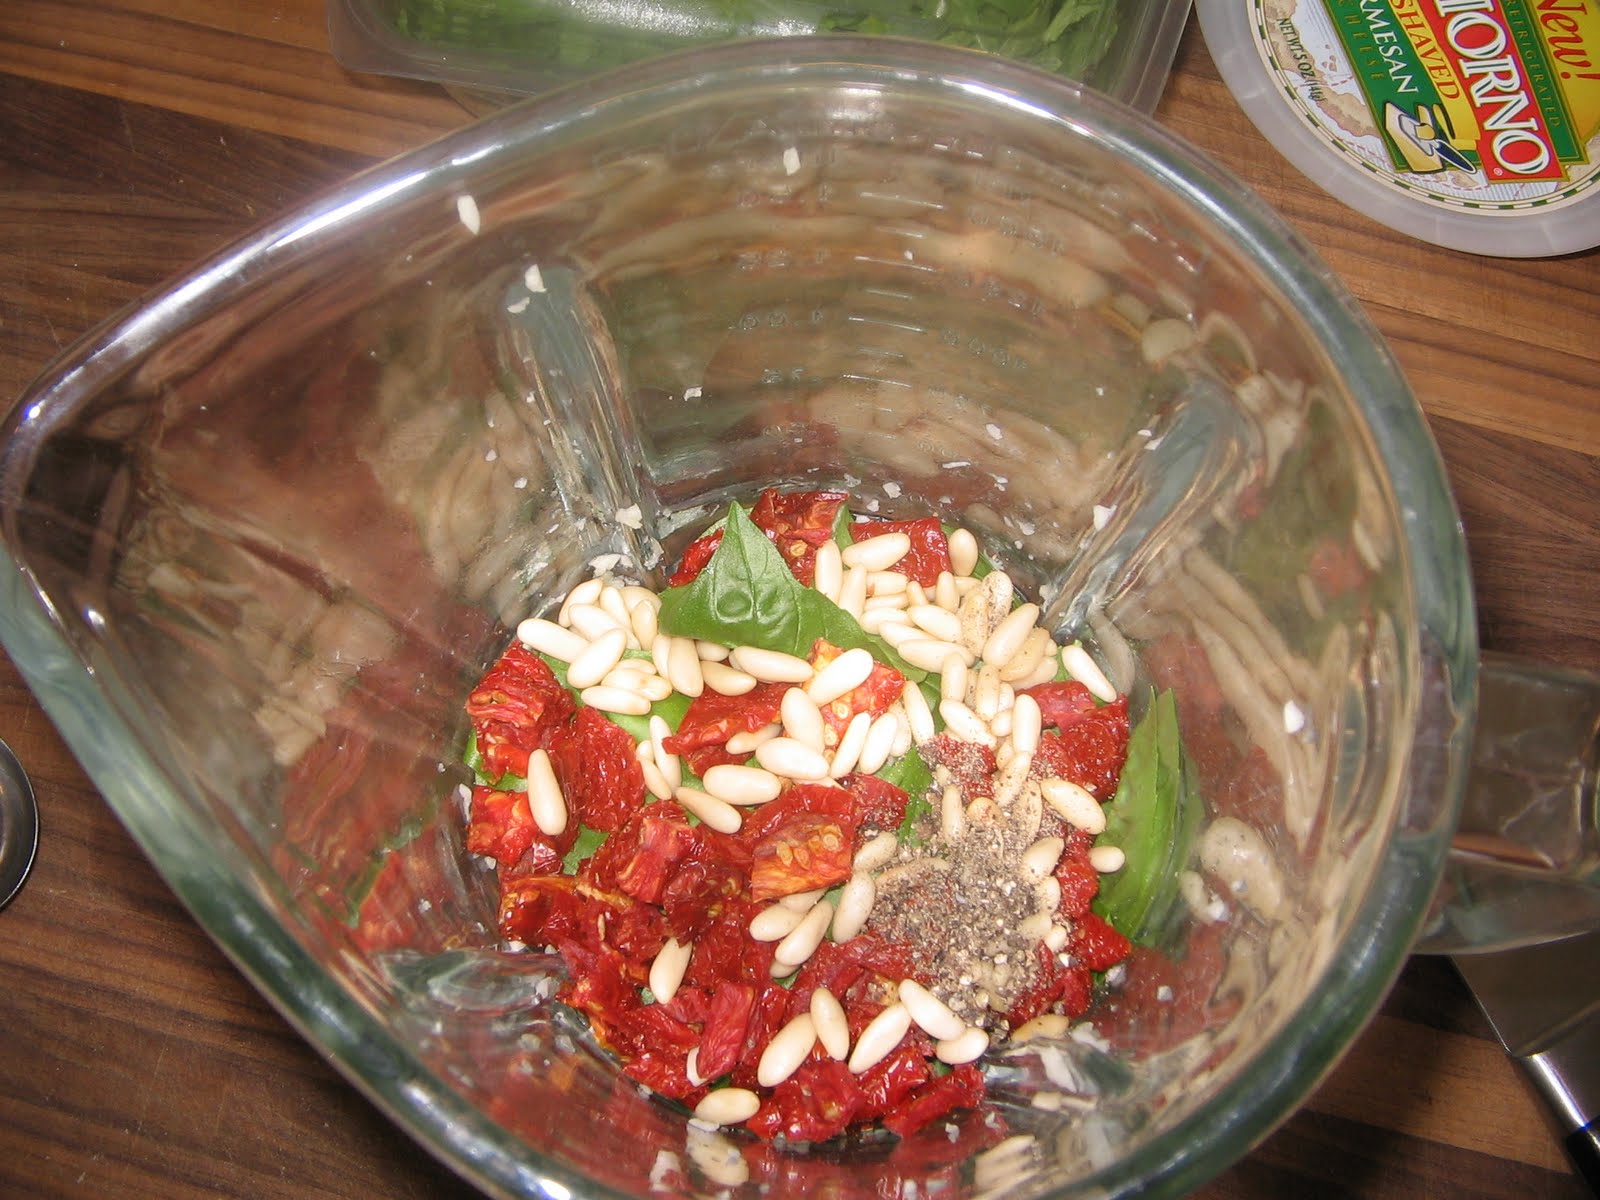
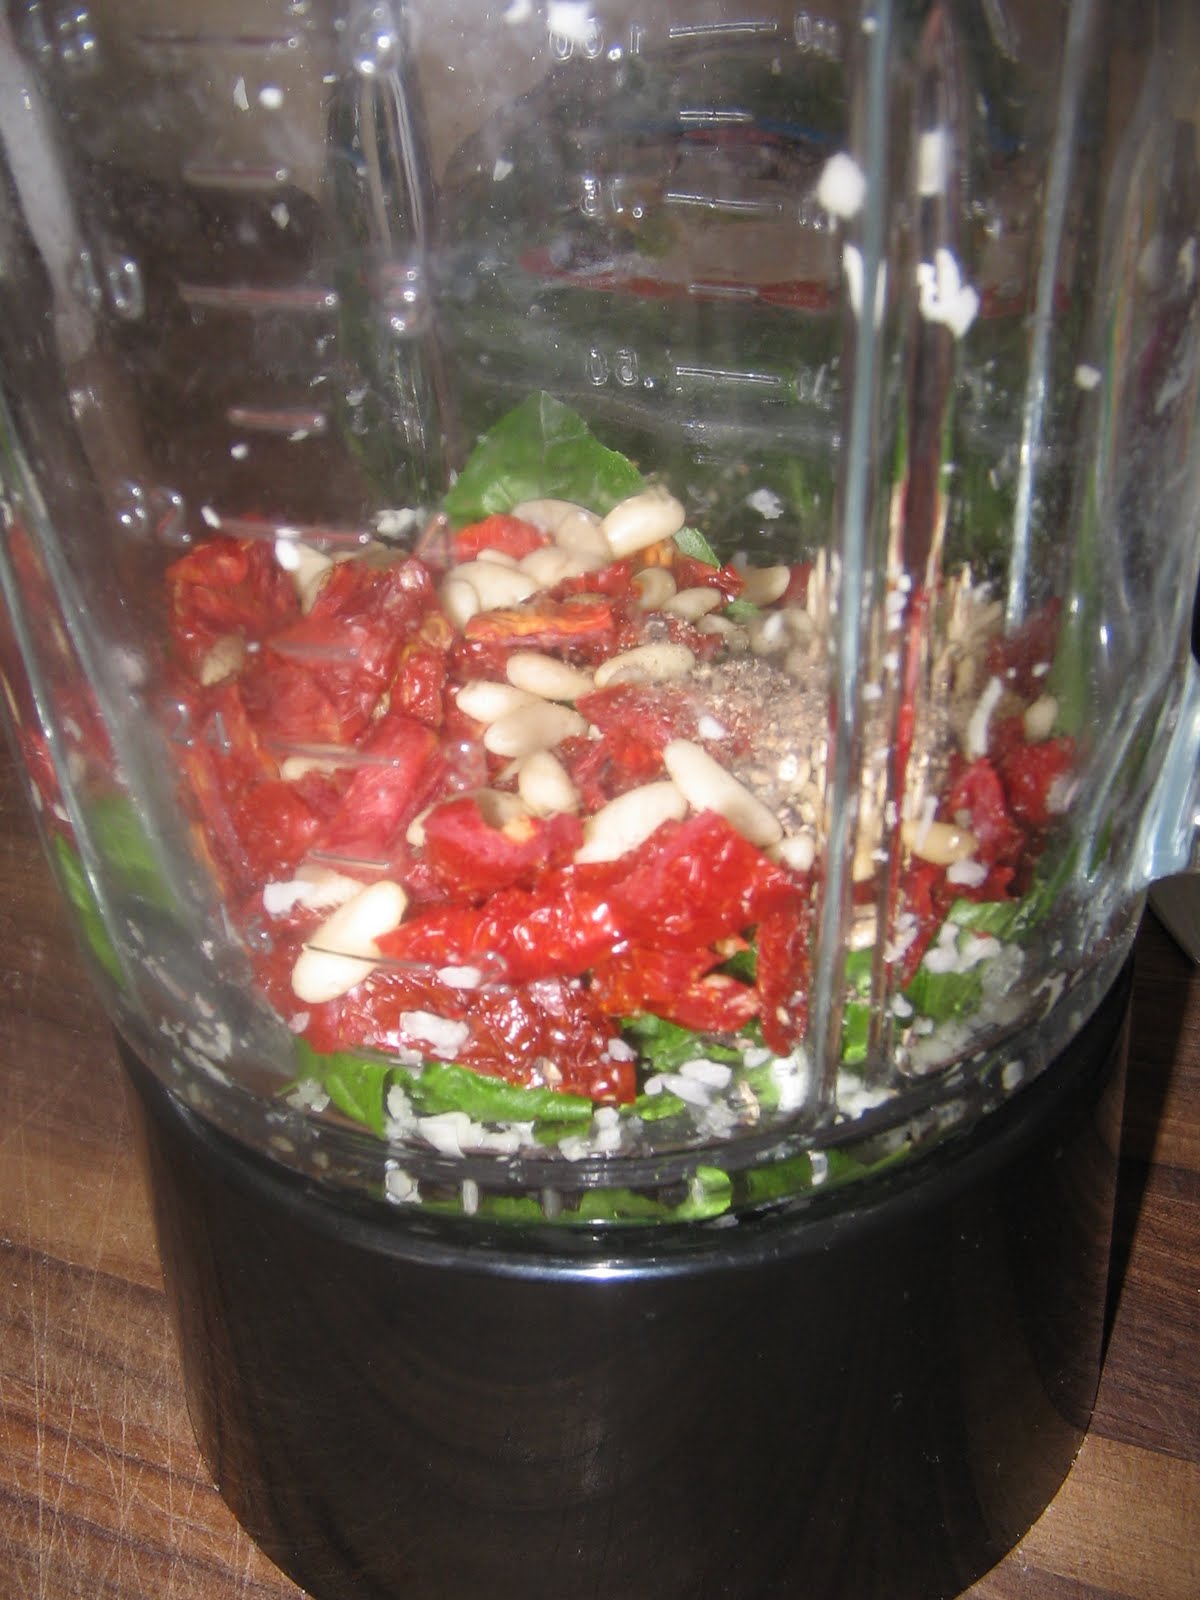
After making the rub and setting the loins in the fridge for a few hours, I started on the pesto.  I've watched my fair share of The Food Network and now it's partner, The Cooking Channel.  Frequently the chefs/hosts use a blender to make their pesto.  I figured I would give it a shot.  I measured the ingredients into the blender:


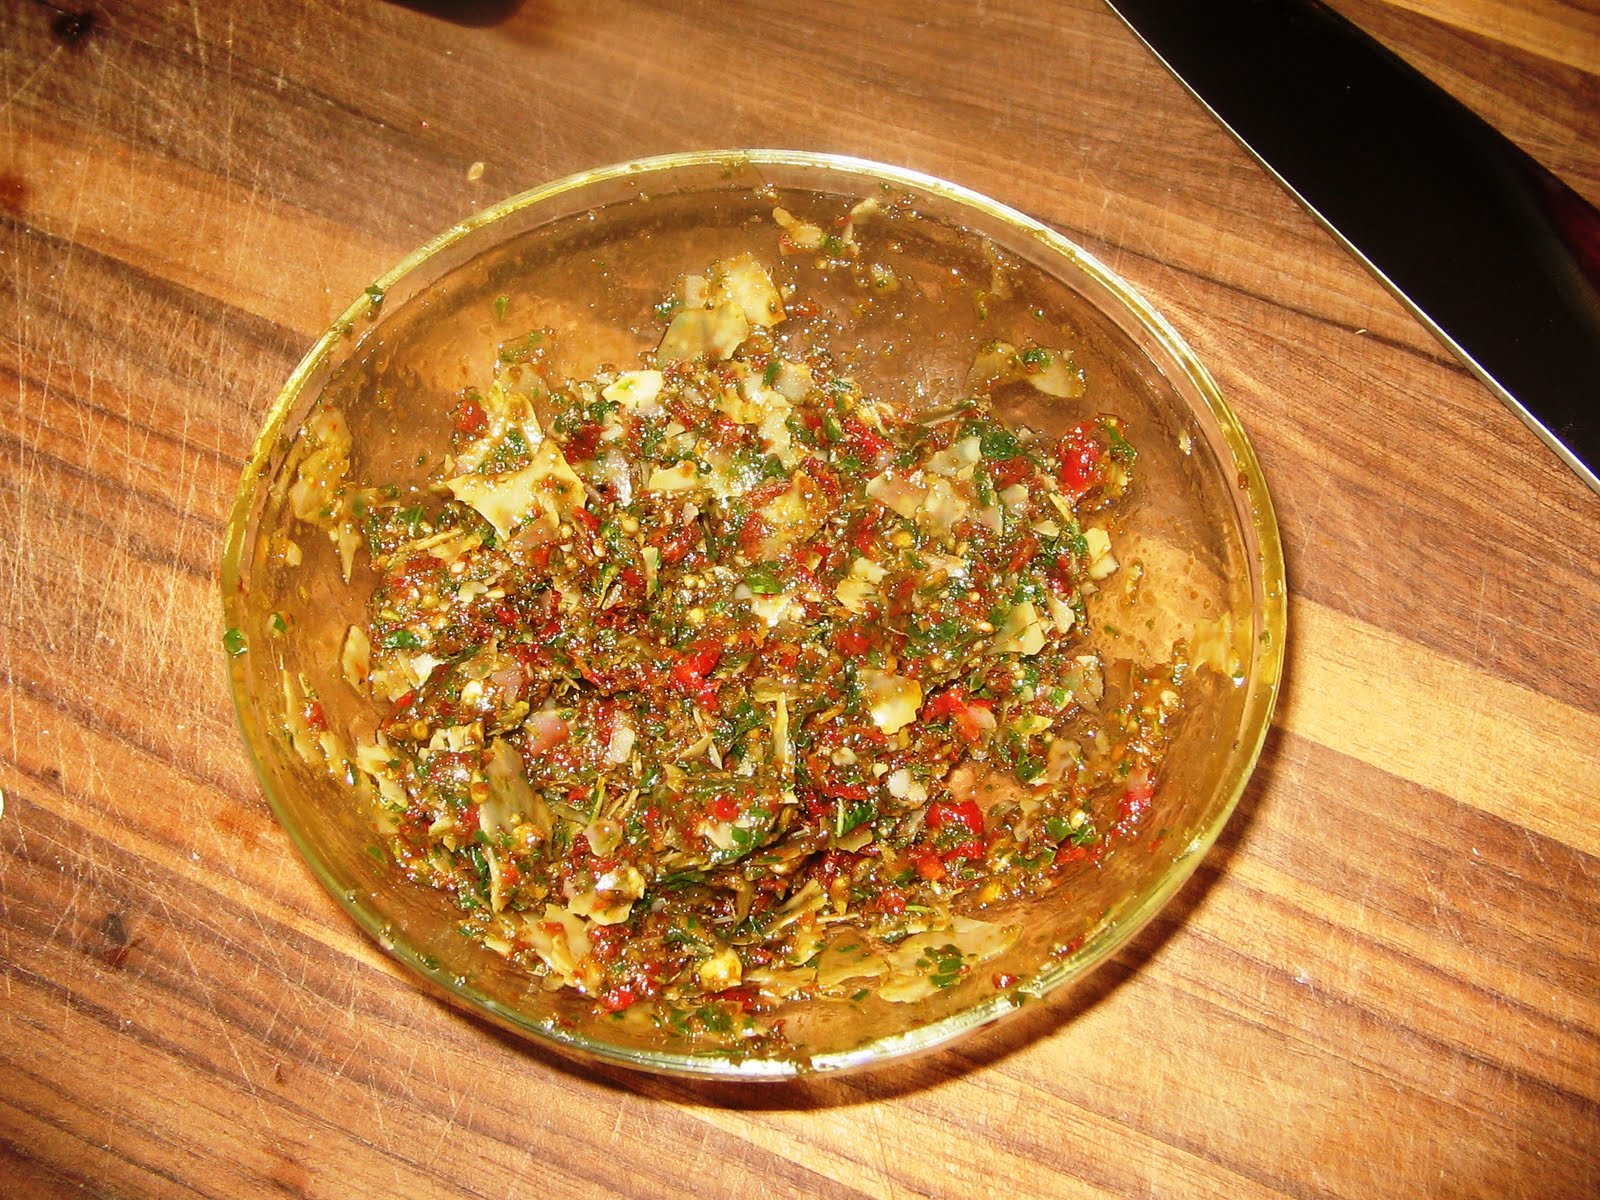
I gave it a whirl, and even like the TV people I drizzled the oil into the hole at the top of the blender:


In short, it didn't work.  I resorted to my old stand-by, the immersion blender.  It pureed the pesto beautifully, whereas the blender tossed the mixture to the sides and the blades just spun uselessly.  I then mixed in the cheese and my pesto was ready.

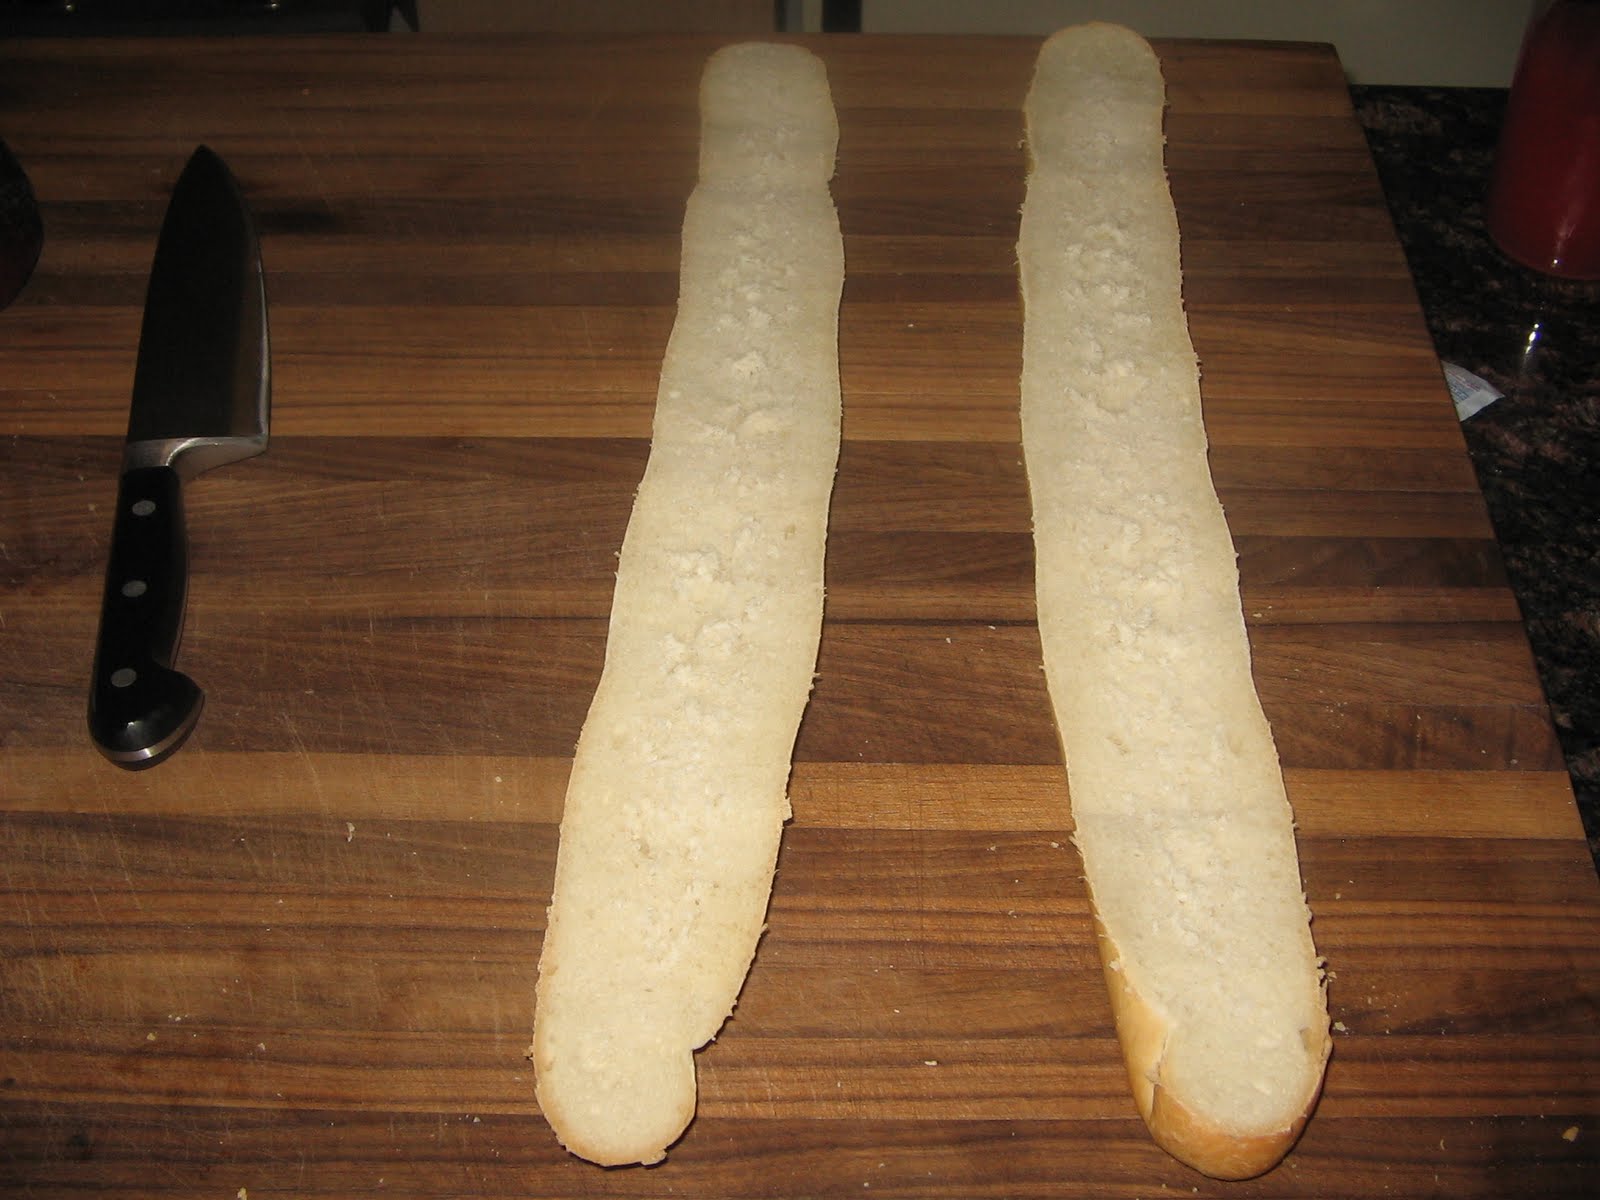
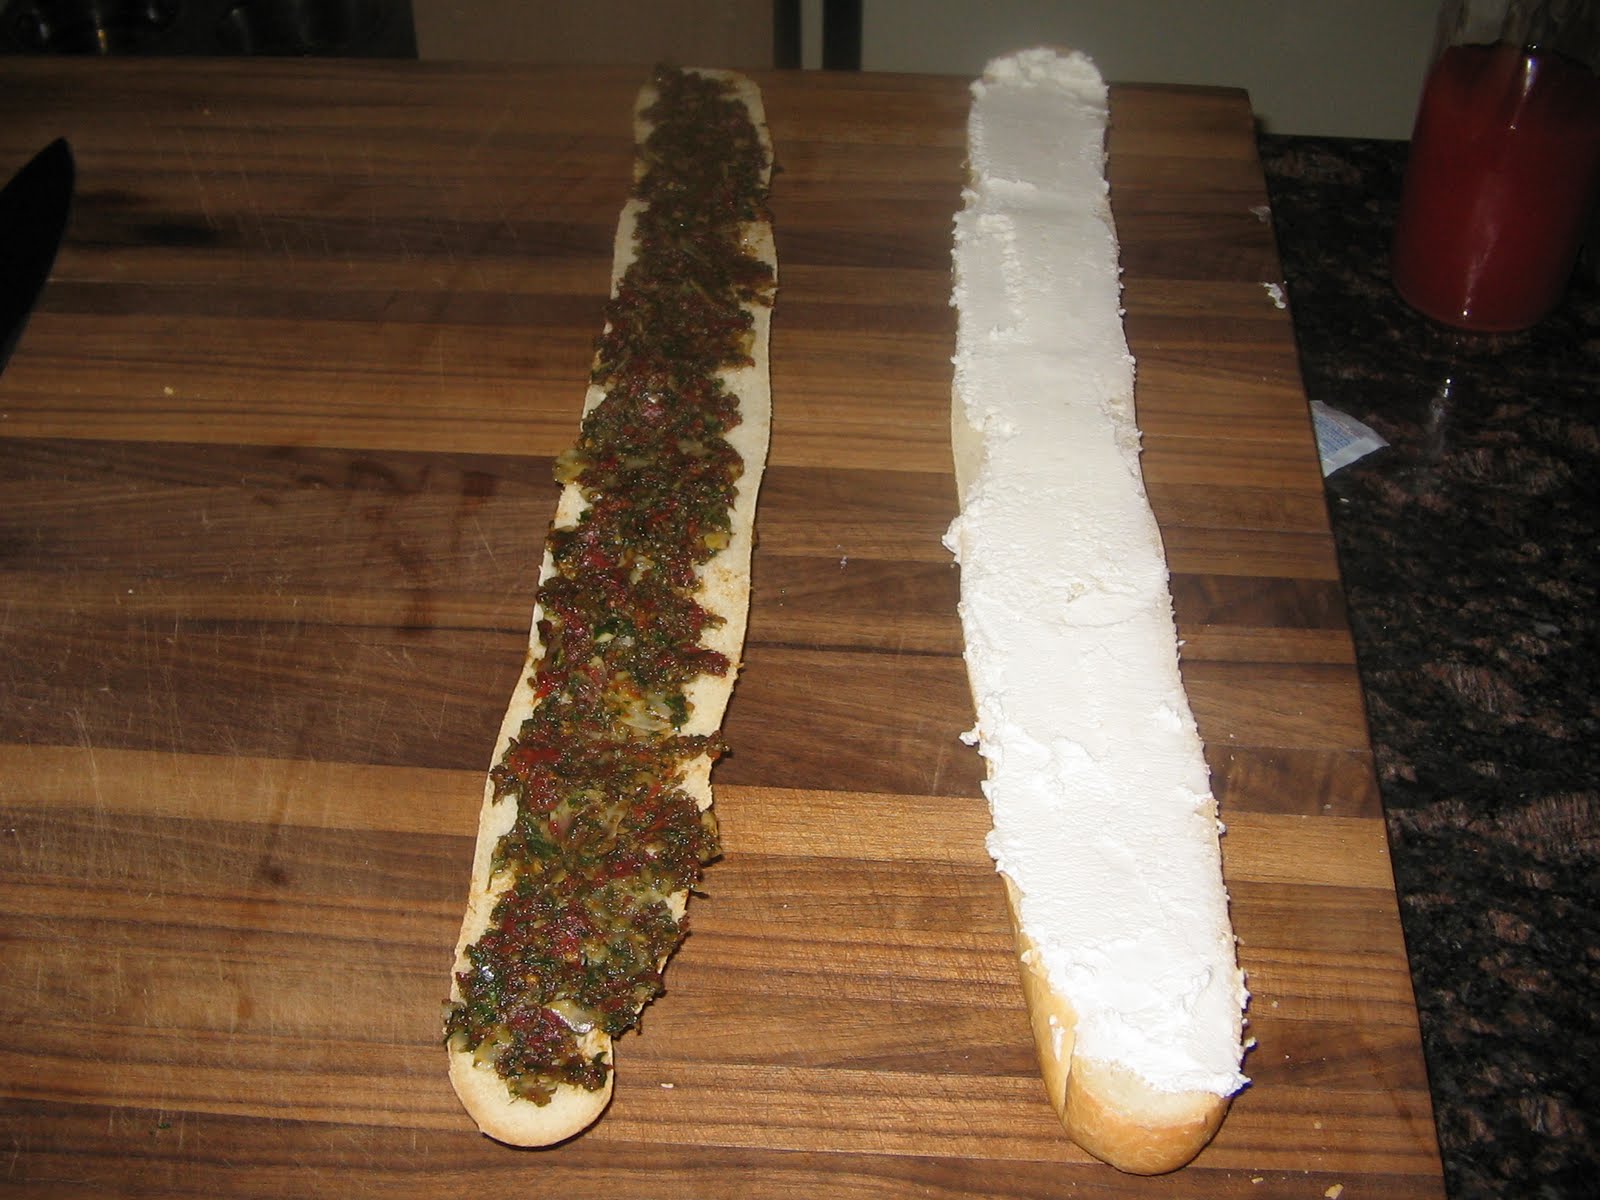
While the loins were on the grill ("getting happy" as Emeril would say), I prepped the sammich.  The first step was to bifurcate the baguette.


Next I applied the pesto to one half and the goat cheese to the other.


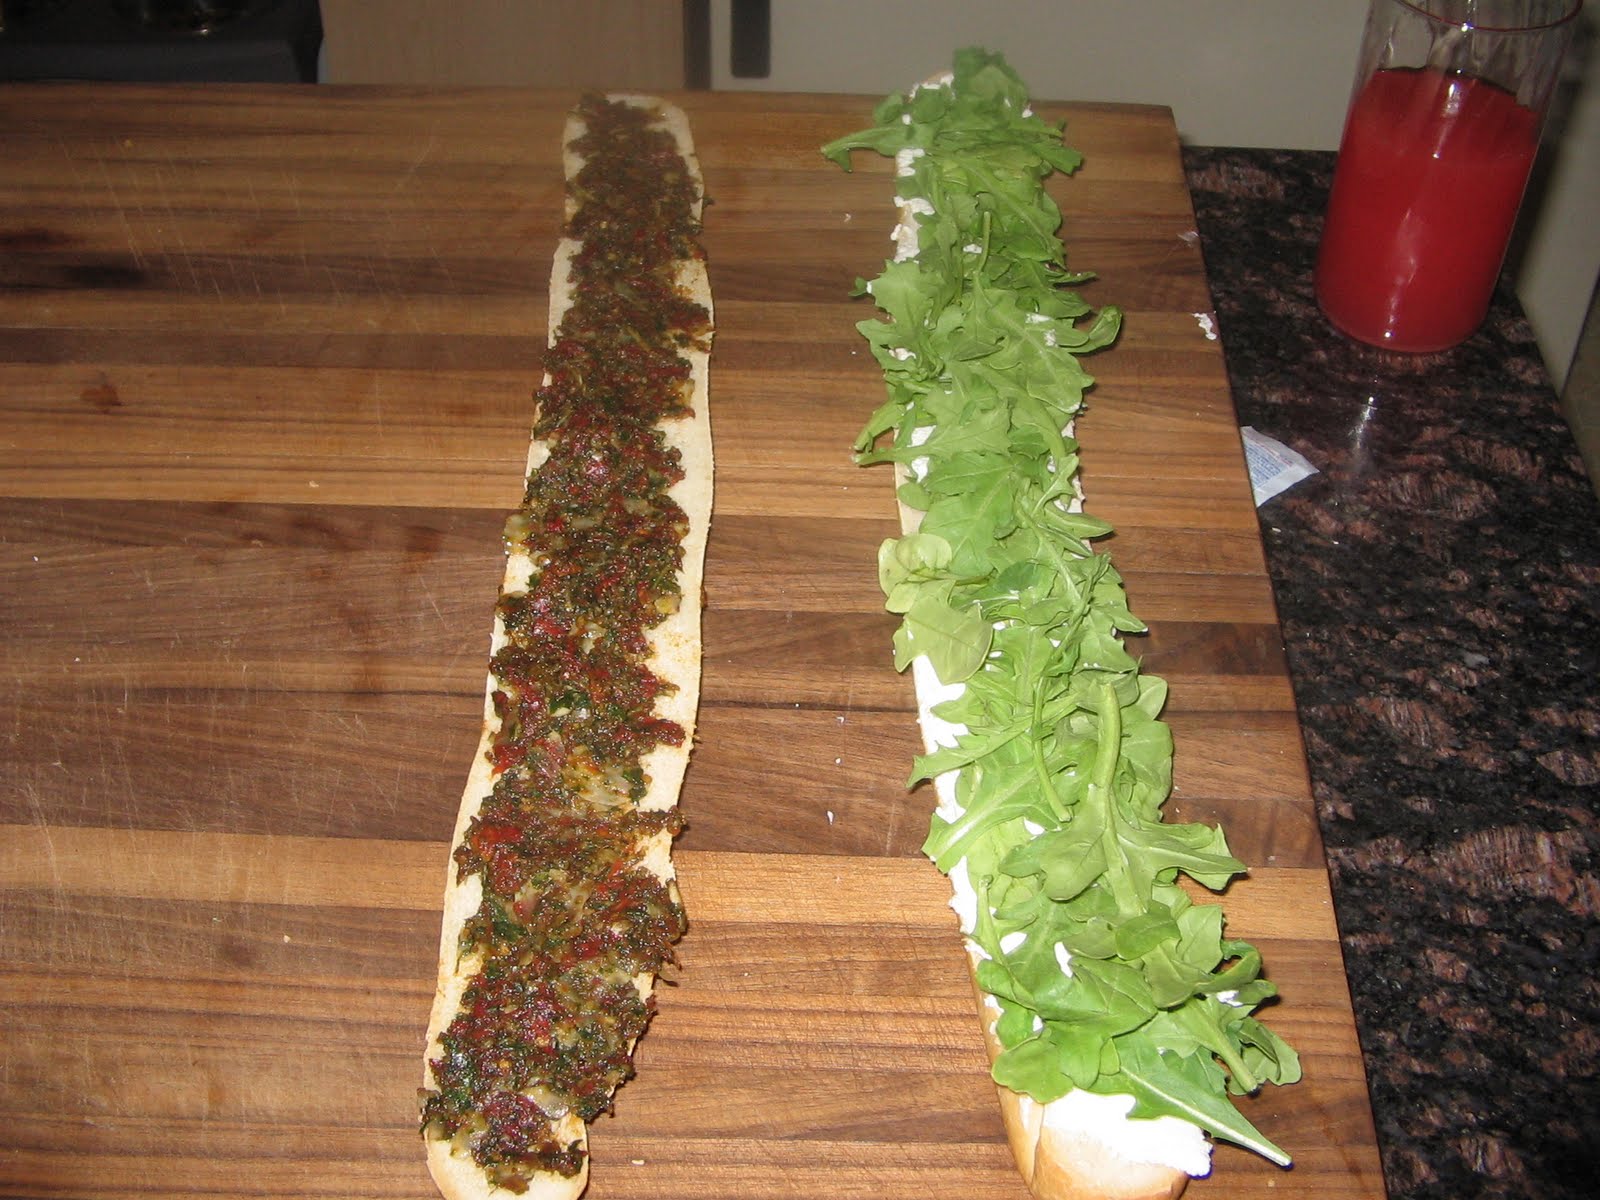
The next layers were the arugula and the red onion (I forgot to take a picture of the red onion layer, but you get the idea).


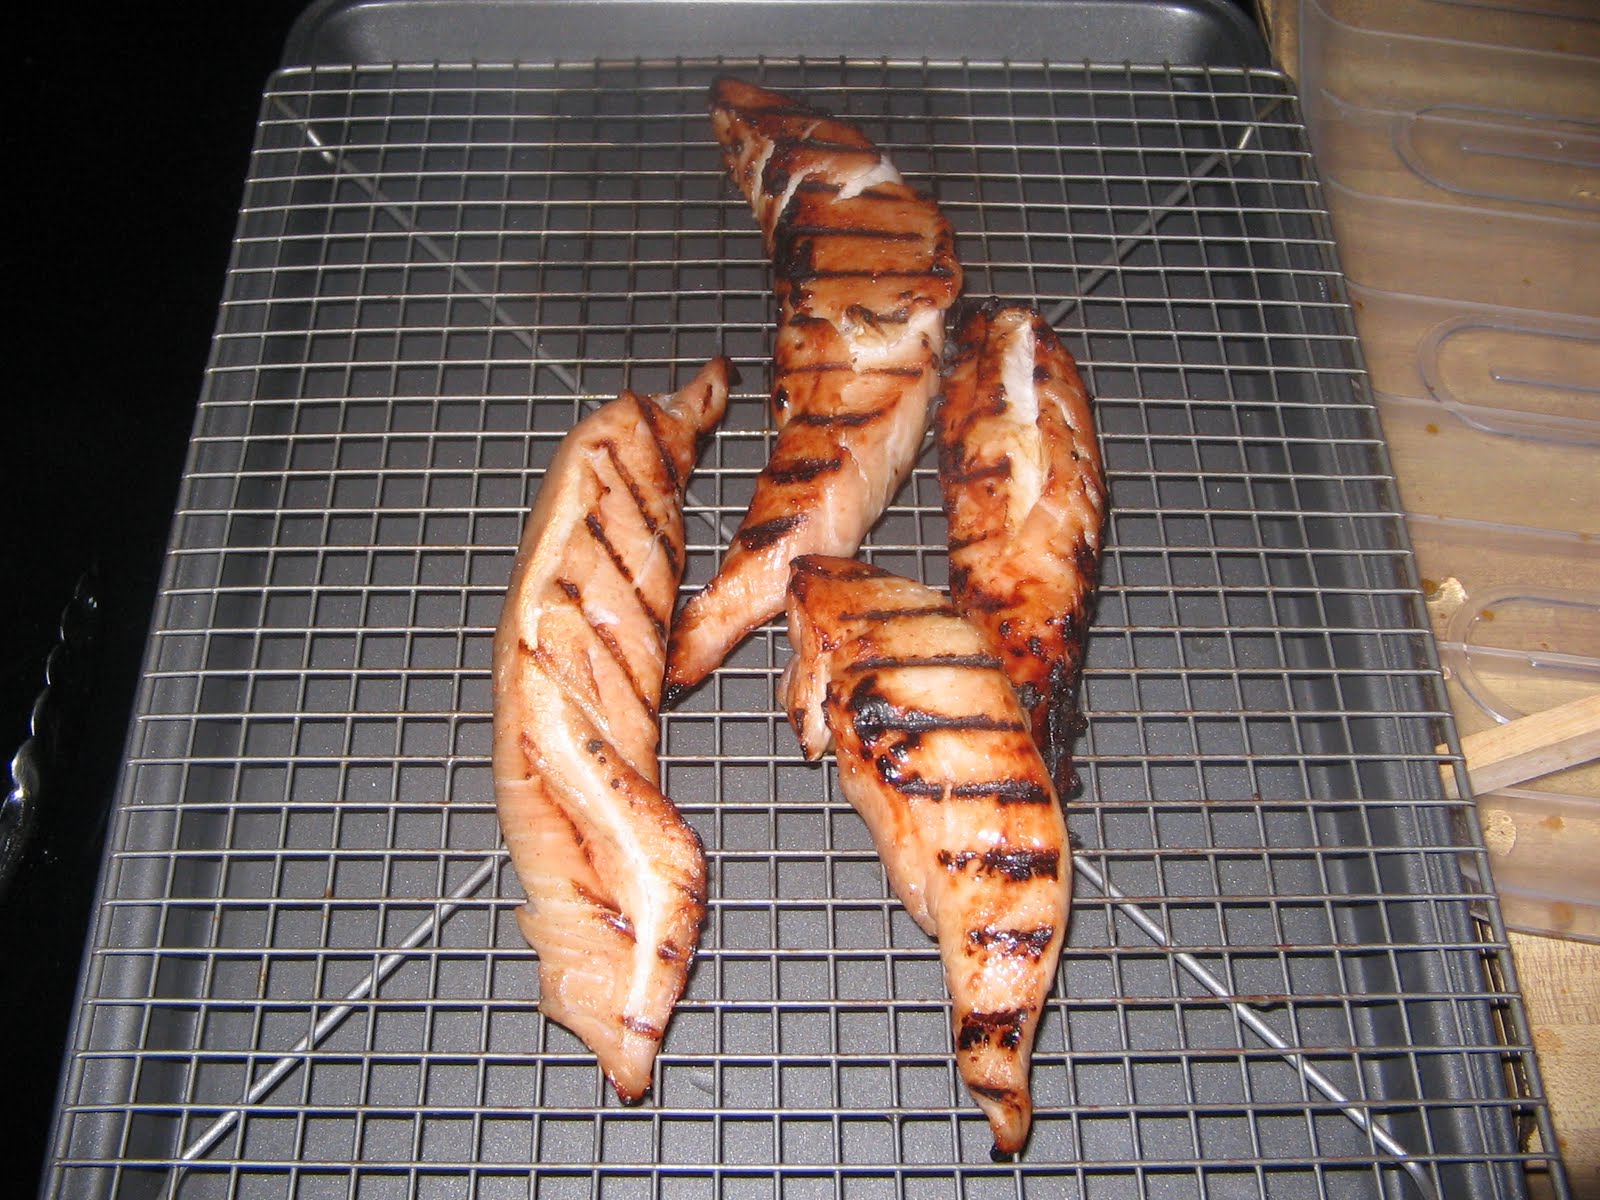
The loins came off the grill and looked rather nice.  The rub had worked well, and the grill marks were noticeable.


I sliced them up and put them on the sammich.


I finally put the two halves together and was ready to plate.


I'll say this...the sandwich was good.  I'll also say this...the sandwich was nowhere near "ultimate."  I am perfectly willing to step up and take some of the blame, I used a day-old baguette.  This made for some slighly tough chewing.  Otherwise, the sandwich delivered what was promised...it was "summertimey" and light.  I thoroughly enjoyed using the fresh ingredients and the fact that I ate half of what you saw and didn't feel bloated by the time I was done.  The ingredients married well and all complemented each other.  I felt a slight need for a dressing, but then again, that could have been from the slightly stale bread.  Even still, the sandwich was not what I would call "ultimate."   It was good, but to throw around a word like "ultimate," you had better be bringing your A game.  Pesto, chicken breast, goat cheese, and arugula - at least to me - does not constitute an A game.  Lobster is bringing your A game.  Kobe beef is bringing your A game.  Chicken breast is not.  So thank you, Weber, for a very nice summer sandwich.  But, unfortunately, I cannot call this "ultimate."  

Sunday, July 25, 2010

Margherita, Not Margarita

The Bride and I wanted something "fresh and light" for dinner tonight, so an easy solution was to try Pizza Margherita on page 337, which required the Pizza Dough recipe on page 339.  I have enough bread-making experience to know what would help pull the dough together.  Thus, I gathered my ingredients:


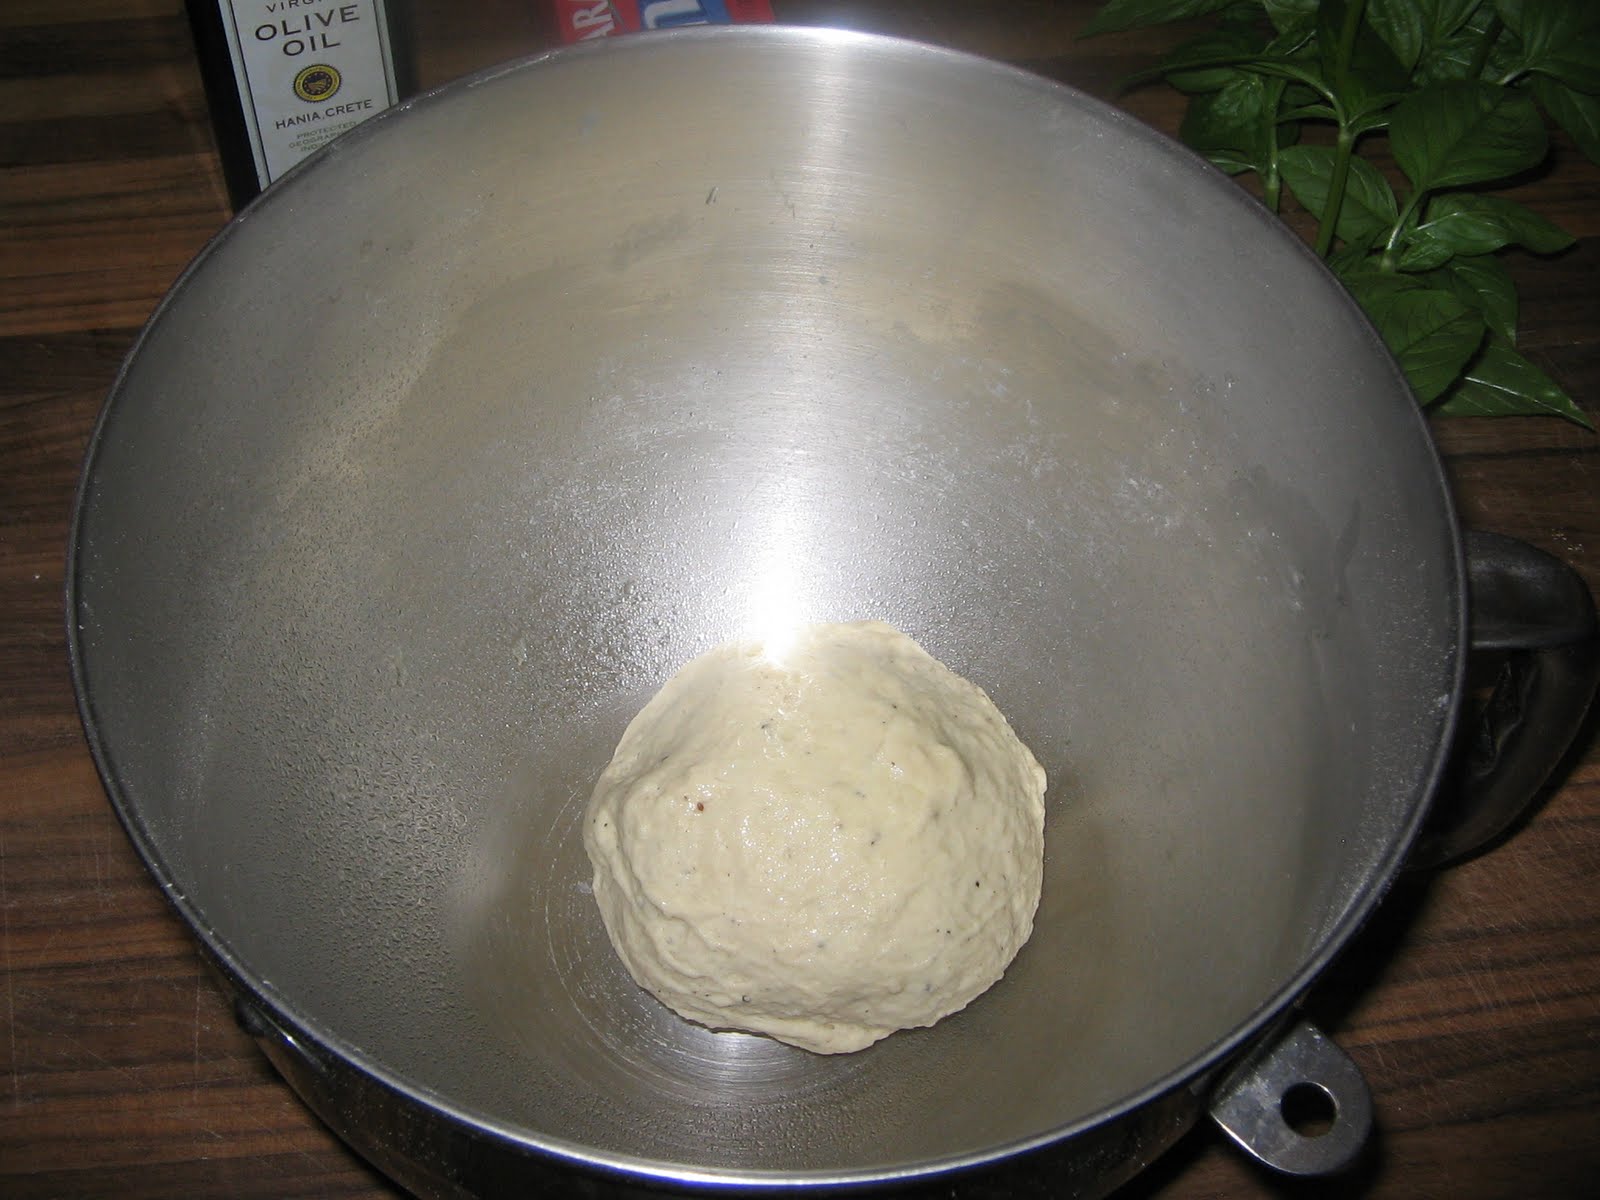
The dough worked well, I formed a boule, tossed it in a light coat of oil, covered it with plastic wrap, and figured on about an hour and a half for it to rise. 


With the weather being what it is, I knew that the dough would not rise well downstairs.  The AC is on max which creates a cooler climate and (perhaps even worse) circulating air.  Yeast prefers a warmer climate with still air.  The solution was to move the bowl upstairs to the third floor where the temperature is about twenty to twenty-five degrees warmer than the downstairs and the air is completely still.  In short, this worked well, and the yeast was ready in about an hour and fifteen minutes.


I was ready to gather my ingredients for the pizza margherita.


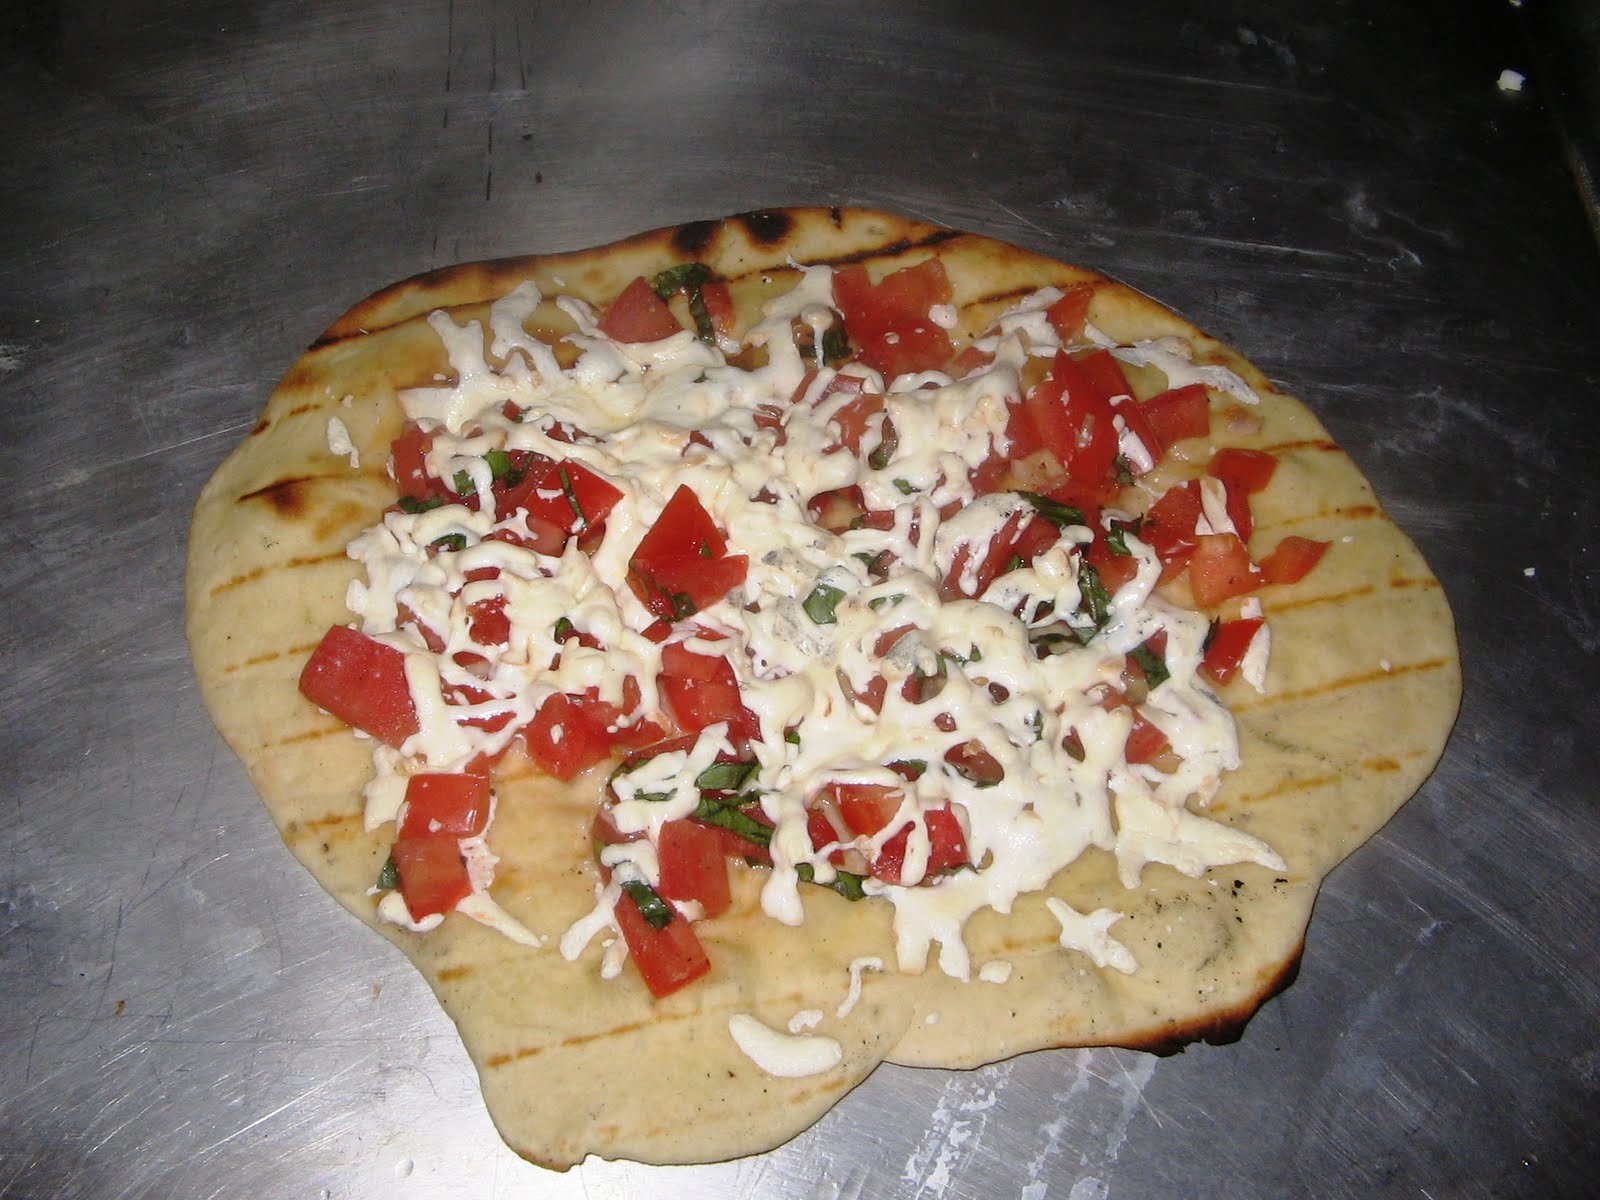
Pizza margherita is all about VERY simple red, green, and white, representing the colors of the Italian flag.  The pizza is usually sauceless, opting for freshly cut tomotoes (red), freshly torn  - never cut as it leads to black edges - basil (green), and a light coating of mozzarella cheese (white).  I prepped the mixture and then readied the dough. 


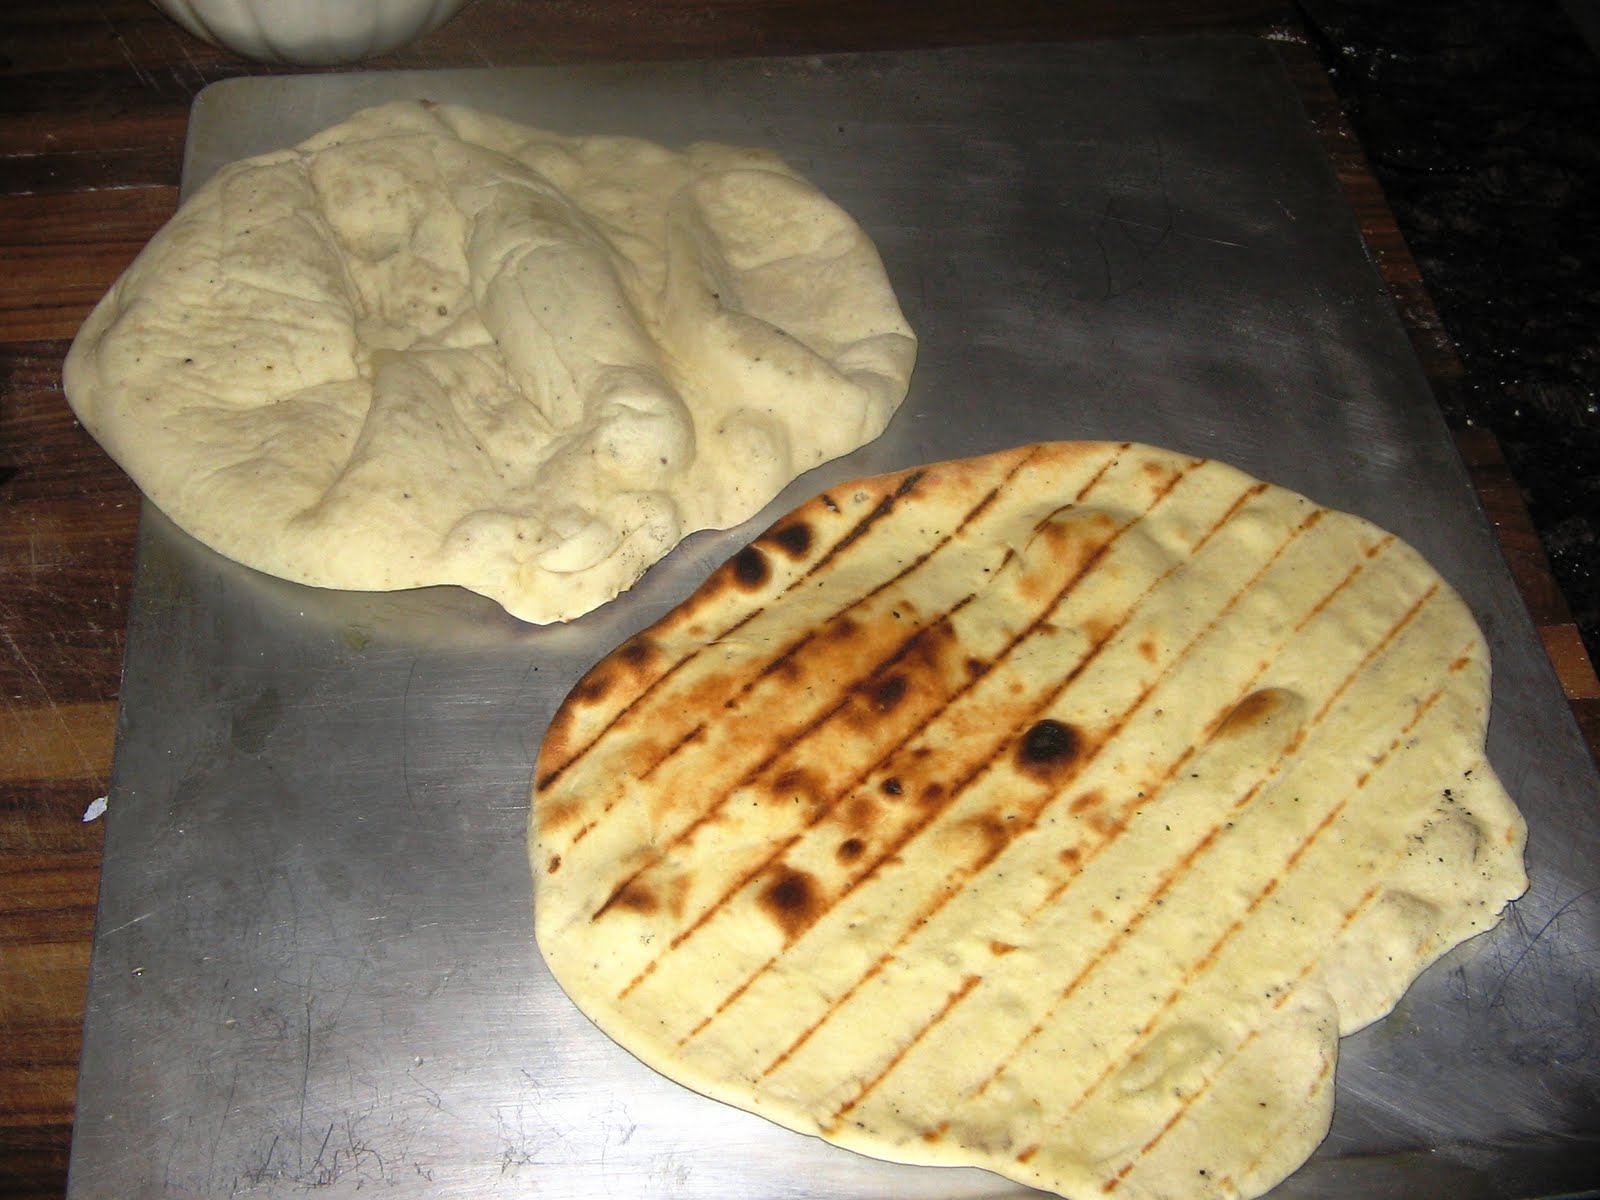
I oiled one side and placed this side down on the grill, covered the grill, and waited until I could just begin to smell the dough cooking.  The yeast will go into overdrive at this point, and this causes massive bubbles to form.  I pinched the bubbles to deflate them, and pulled the dough off the grill.  Below is how each side looked, the side that was down and grilled, and the side that was facing up that was bubbled:


The next step was the put the toppings on the grilled side, and to then place the bubbly side down on the grill.  Weber suggested to put the pizzas on direct medium heat for four to six minutes.  I was apprehensive about this in a big way.  The first side had toasted itself in about one minute.  I knew that grilling the other side for four to six minutes would probably burn the bottoms.  However, only one minute would not warm the toppings, let alone melt the cheese.  I scattered the coals to create low direct heat, and gave the first two pizzas a whirl.  Still, after only two and a half minutes, I could smell burning.  The toppings looked okay:


but the bottom clearly was unedible:


I needed a new strategy.  I decided to boot Weber's instructions and moved ALL of the coals as far to one side as possible and placed the second batch of pizzas as far to the other side of the grill as I could and went with indirect medium heat.  This worked.  After about six minutes they smelled delicious.


The bottoms of the pizzas were perfectly golden brown and not charred at all.  I really liked this dish, especially after the modification of instructions.  This recipe provided The Bride and I with exactly what we wanted: something light and fresh.  The dough was well-seasoned, airy, and crisp.  The tomato and basil were in excellent harmony, with neither ingredient dominating the other.  For the mozarella I made a minor substitution.  I've done grilled pizzas in the past on my gas grill where I used a smoked mozzarella with terrific results.  This tradition continued in today's meal and it continues to be a wonderful idea.  I highly encourage everyone else to do the same.

Wednesday, July 14, 2010

Leaving East, Heading South

I needed something to do with the uncooked leftover shrimp that we unfroze yesterday.  I had thoroughly enjoyed yesterday's Eastern fare, and wanted something interesting today as well.  I also wanted to use ingredients I had on hand, and the only one that didn't require much shopping was the Tequila Shrimp on page 312. 


As I have learned from cooking enough from this book, I remembered to double the marinade.  This is a good practive for anyone using this book.  Other than that, I prepared this much like yesterday where I soaked the skewers and four minutes of grilling later I was ready.  I wanted a side or something, and looking around and what I had on hand, I decided to make shrimp tacos for the final delivery method.  Here I've pulled them off the grill, and you can see the lettuce and tomato I've prepped.


Here is what I was able to eat for lunch!


The shrimp by themselves were very nice.  They distinctly were missing any sort of tequila flavor, which I found interesting.  They were still juicy and delicious, but not what I had anticipated.  I should also note that I made another substitution.  Instead of a jalapeno, I used a New Mexico pepper from my garden.  I've become a recent convert for this pepper.  It has about the same heat as a jalapeno, but a MUCH better flavor.  In the final version of the shrimp, there was just a slight amount of heat about 15 seconds after I swallowed, yet is was gentle enough that I was left sucking air because it was too hot.  I love this pepper. 

Oh, and for those of you who aren't cat haters, here is my cat letting me know that he was also interested in the shrimp.  They apparently smelled that delicious.


Tuesday, July 13, 2010

Should I Satay or Should I Go?

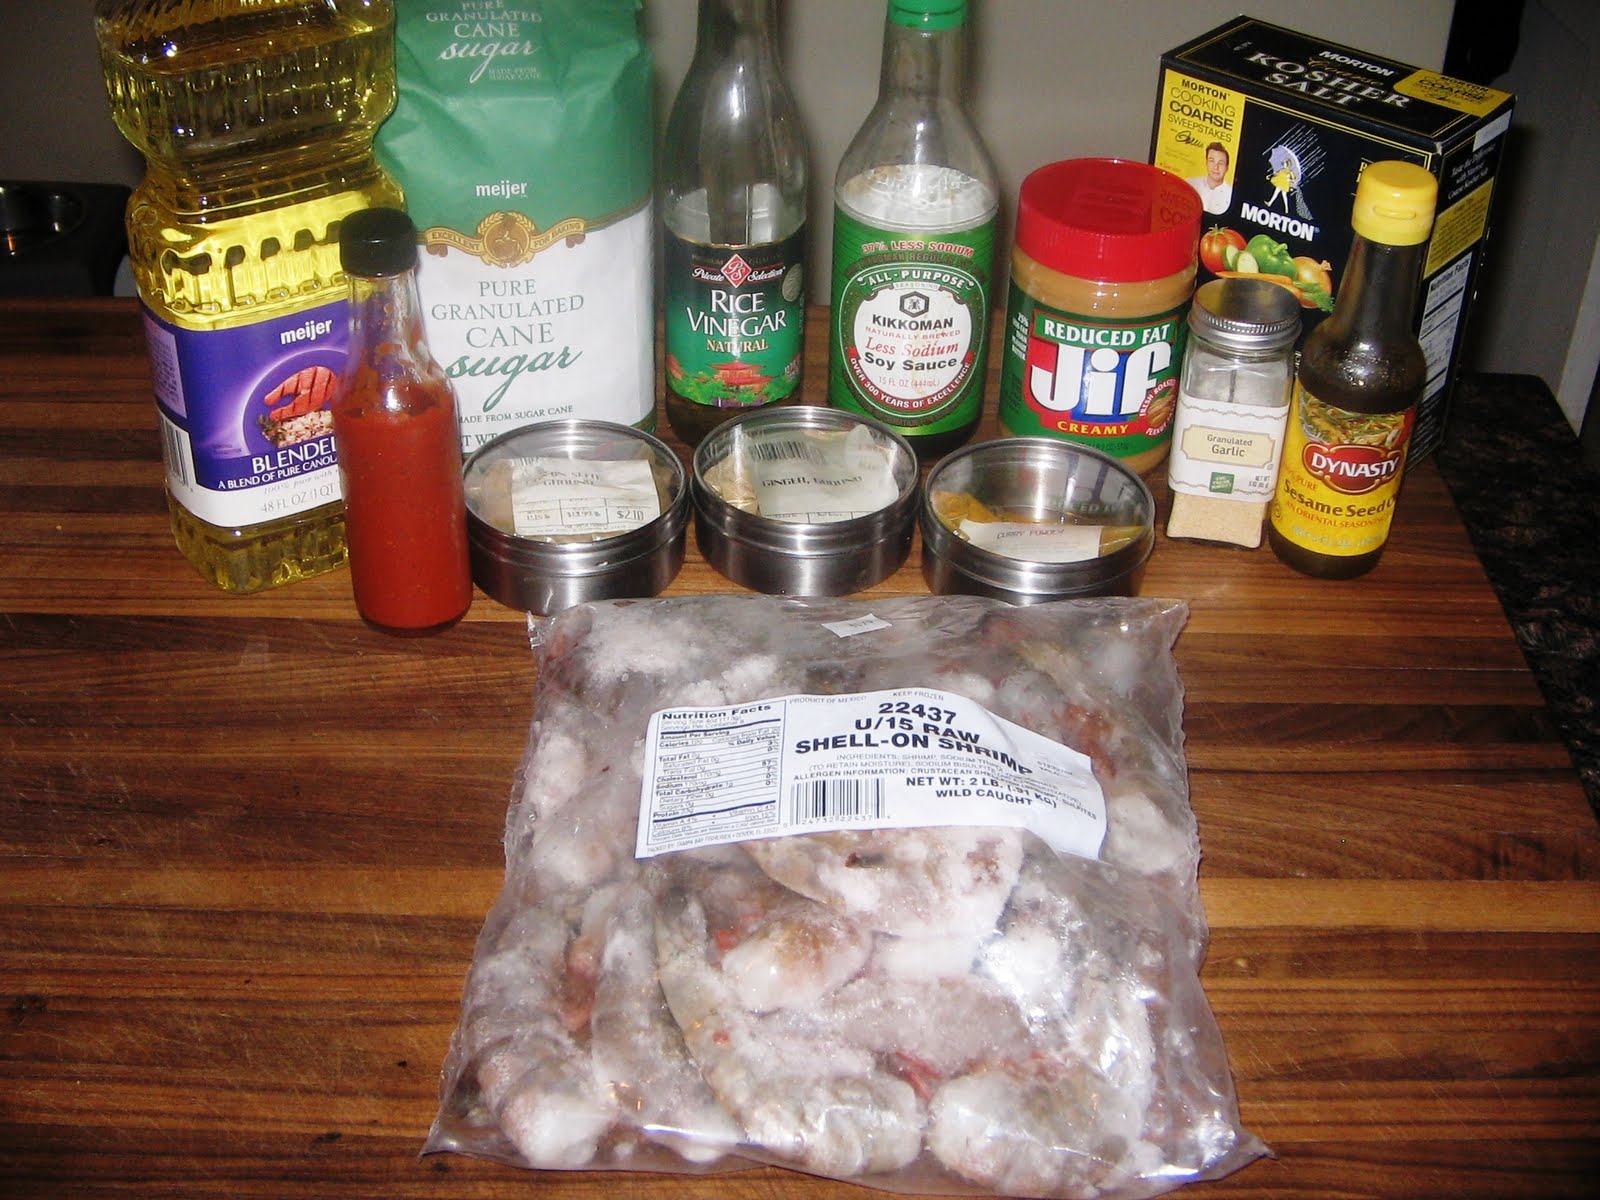
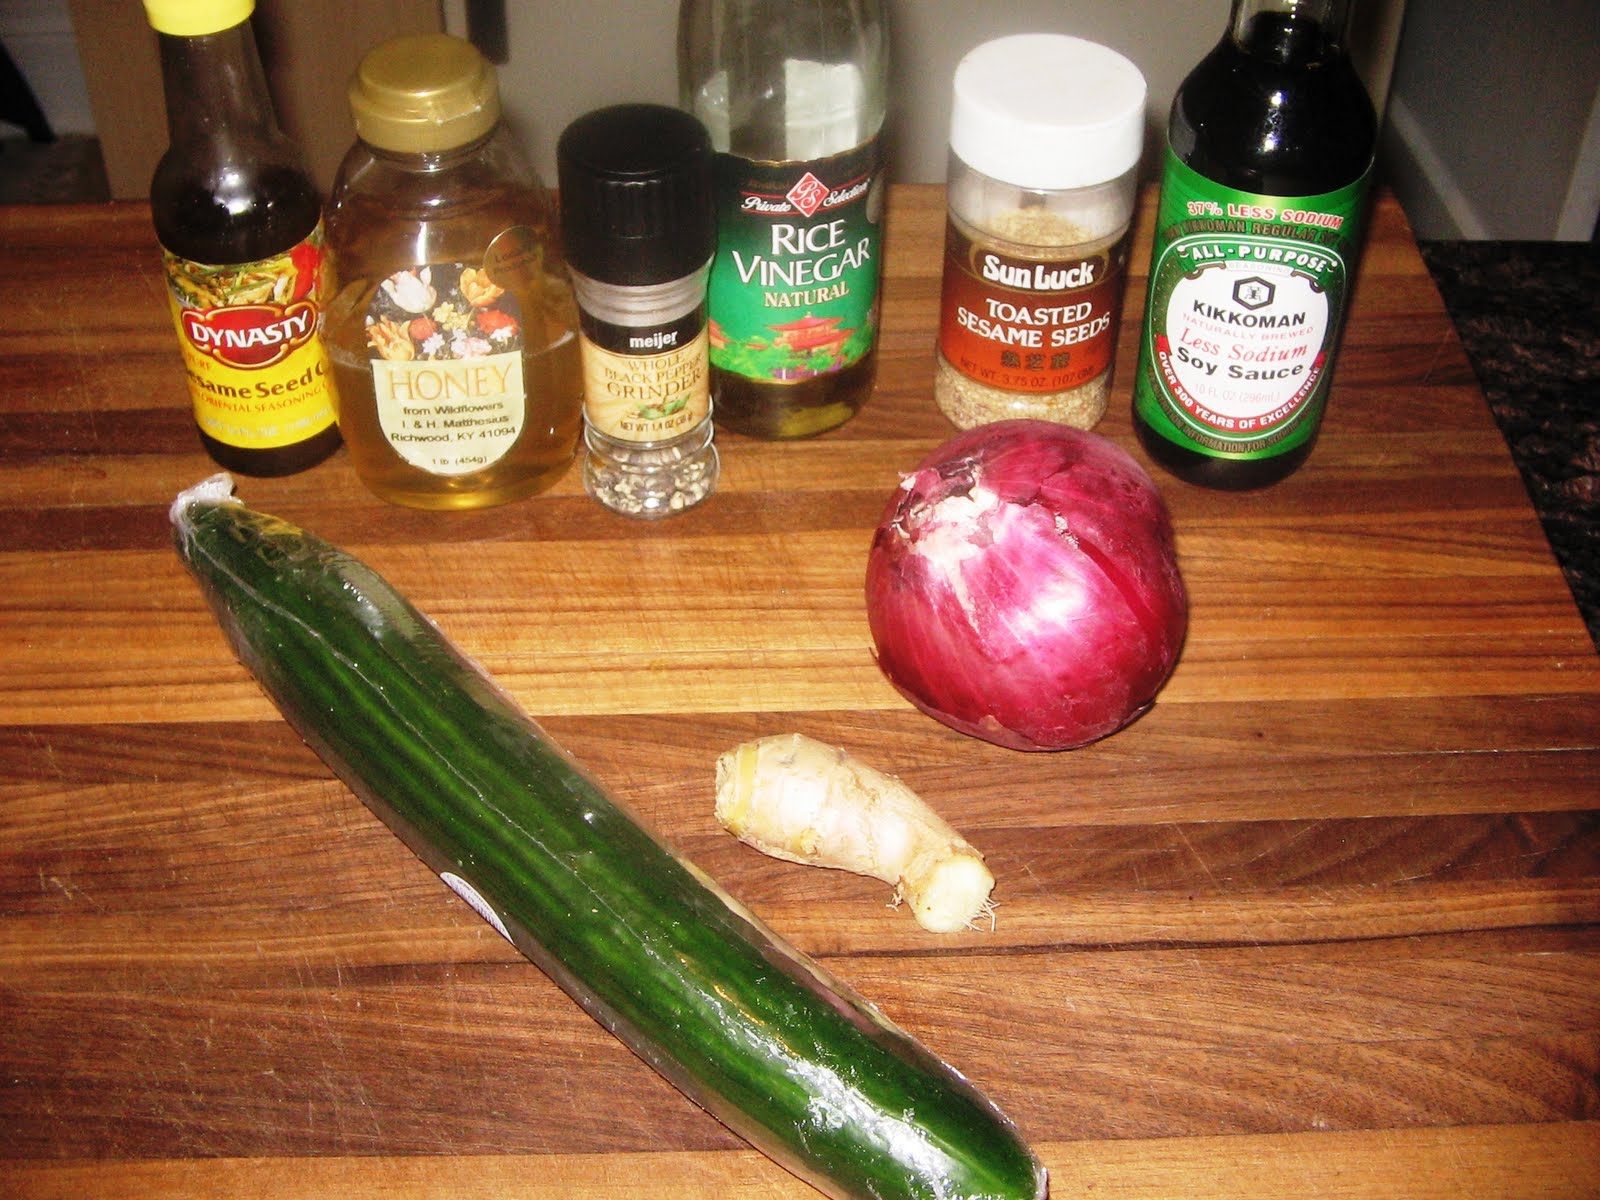
The Bride pulled out some frozen shrimp last night, so I didn't have to think too much about what to make for Shellfish Tuesday.  I wanted something more than the garlic/lemon/herb concoction that I usually pull together when cooking shrimp.  Sure, occasionally I do something along the lines of 'Nawlins shrimp to change it up, but this was going to be my first attempt at anything Polynesian.  I went with Shrimp Satay on page 75.  I know that traditionally a satay only has one piece of protein per skewer and it is usually served on said skewer, but I would be grilling three skewers with five pieces per skewer set as I was running short on skewers.  I was also feeling lazy.  With this in mind, I gathered the materials.


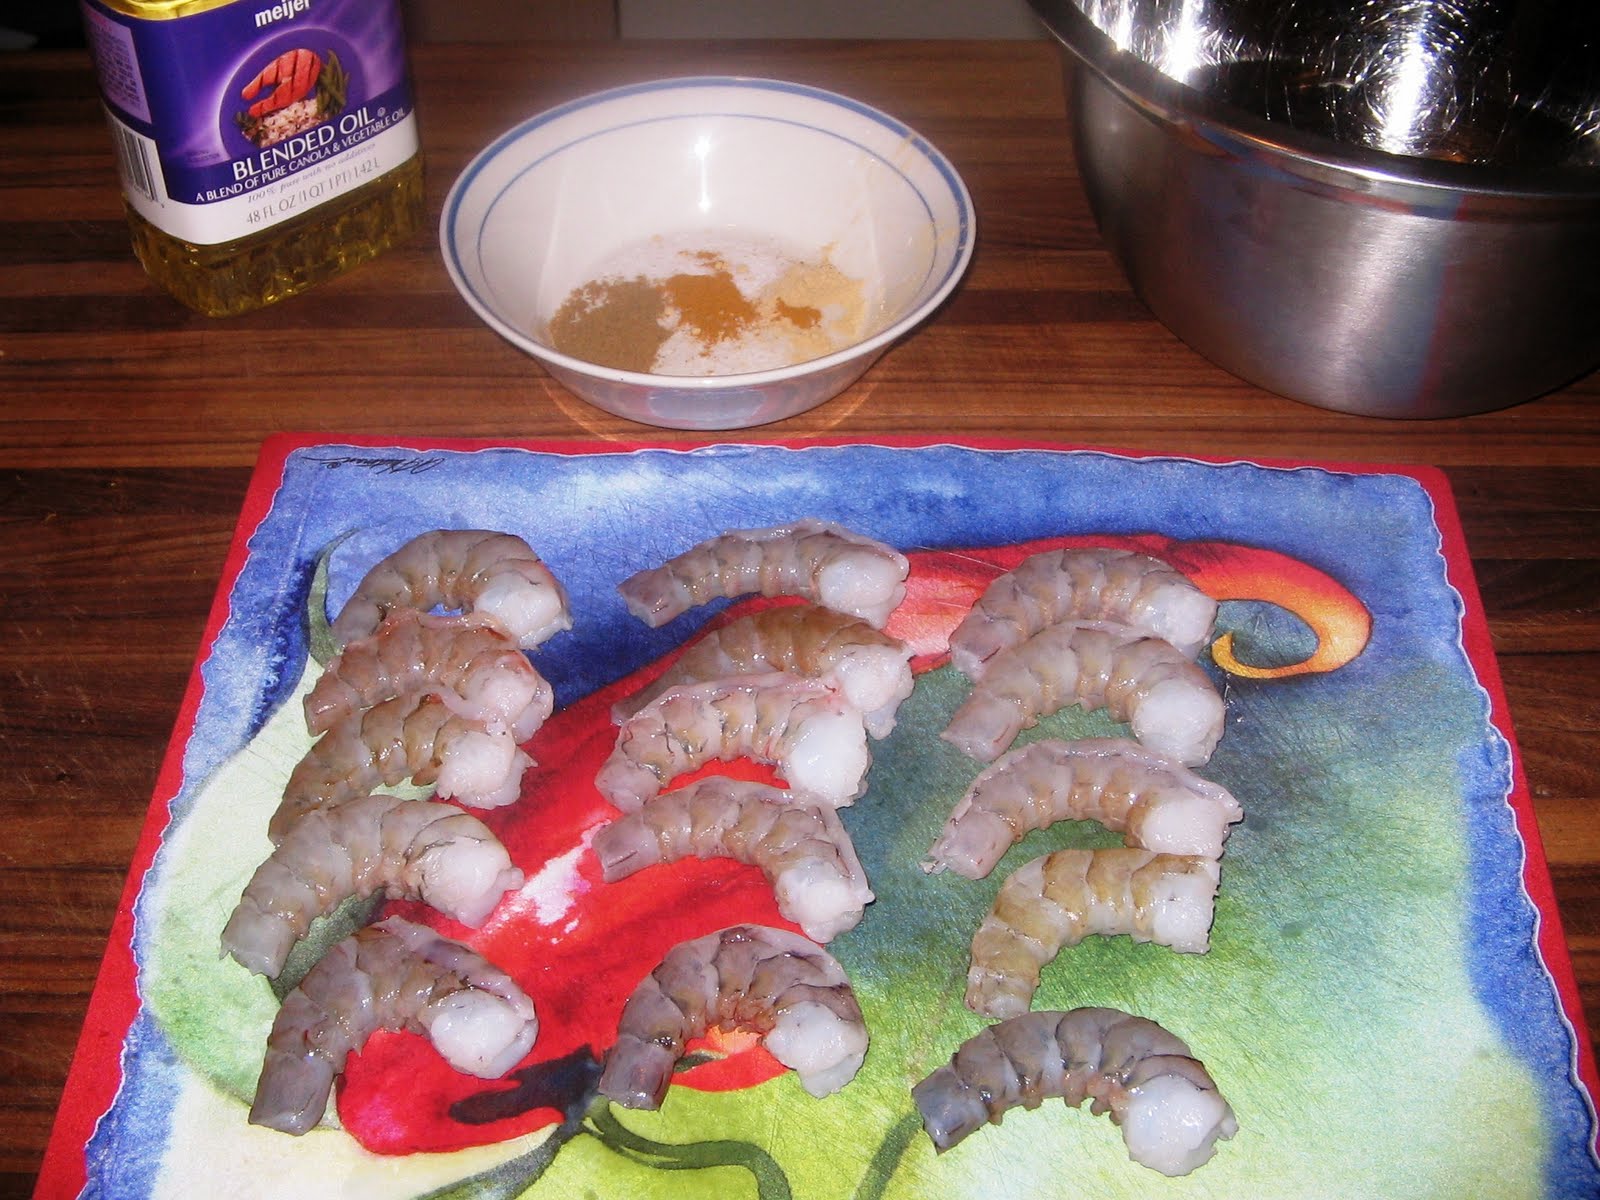
I've always been entertained by the phrase "deveining" shrimp.  It's not a vein that you're removing.  :)


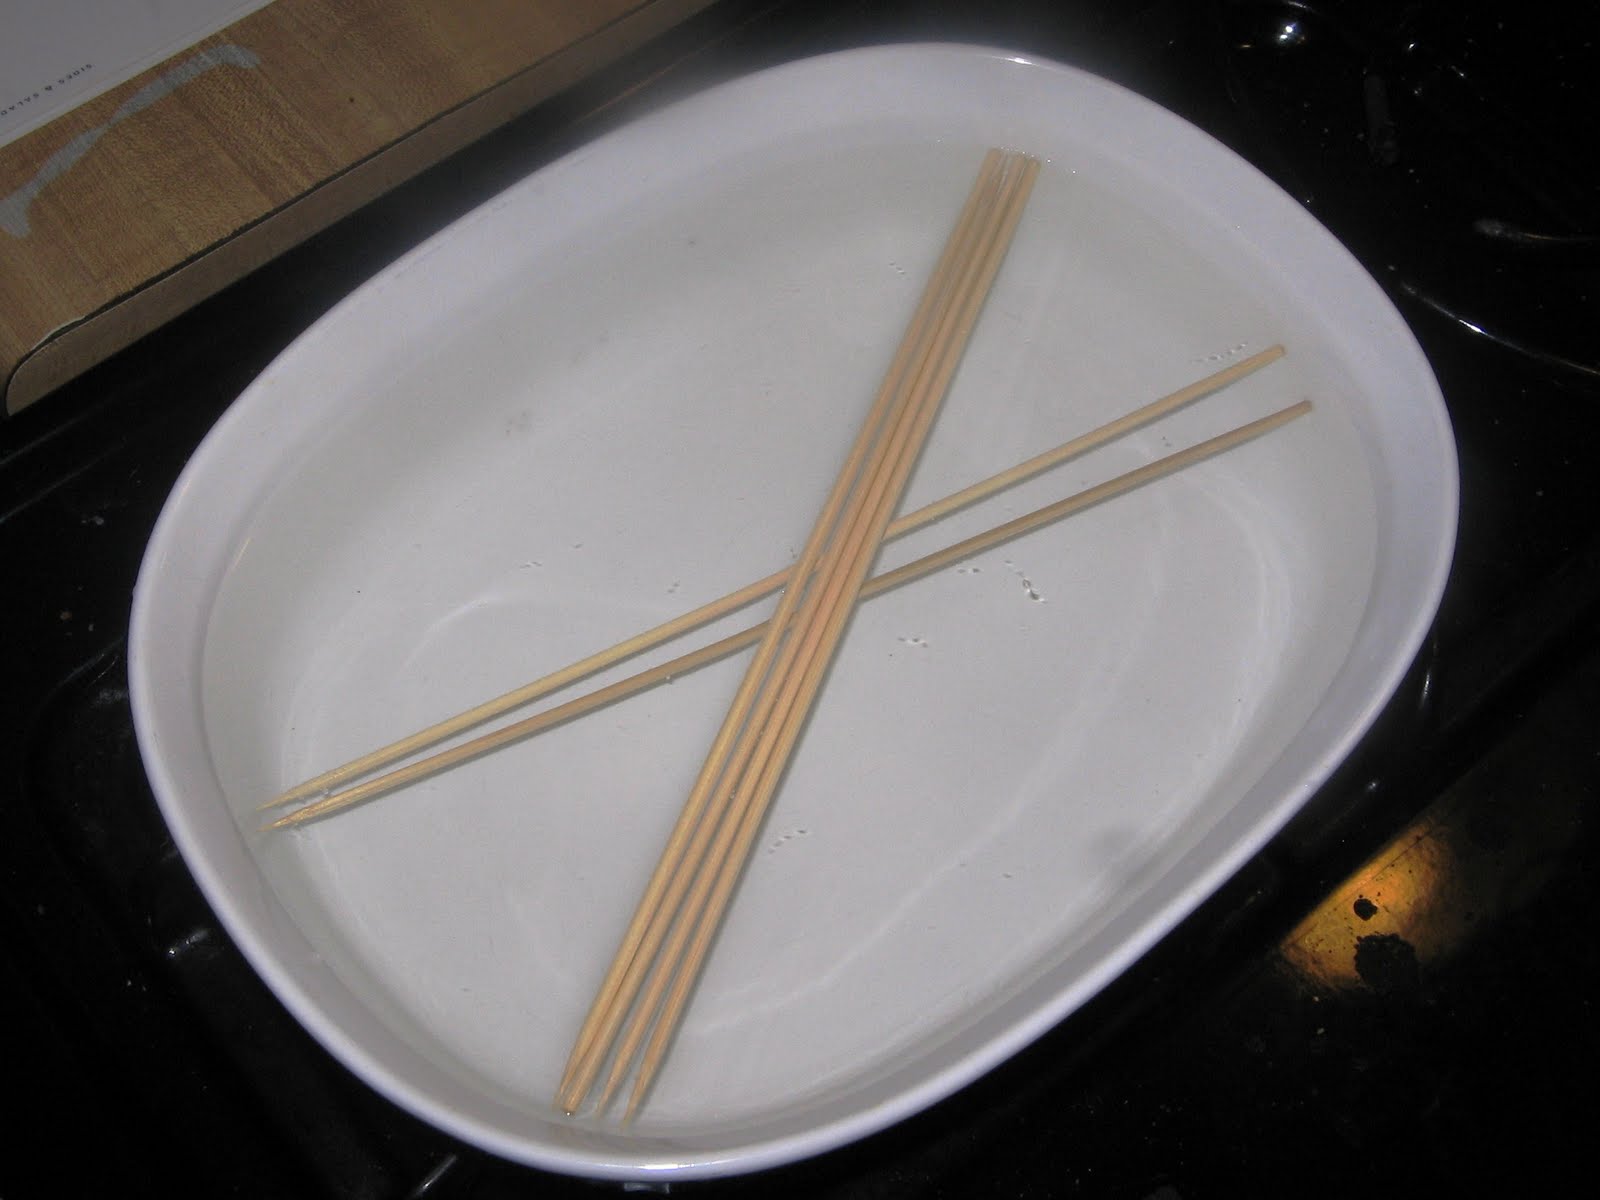
With the shrimp readied and resting in the fridge, I remembered (for once) to soak the skewers.  This is an easy step that keeps your skewers from turning to pure carbon.


With those in order, I went about making my salad which I wanted to be crisp and summertimey.  I selected the Cucumber Salad With Toasted Sesame Seeds on page 359.  What drew me to this salad was that, like last week, there were several common ingredients with the main dish. 


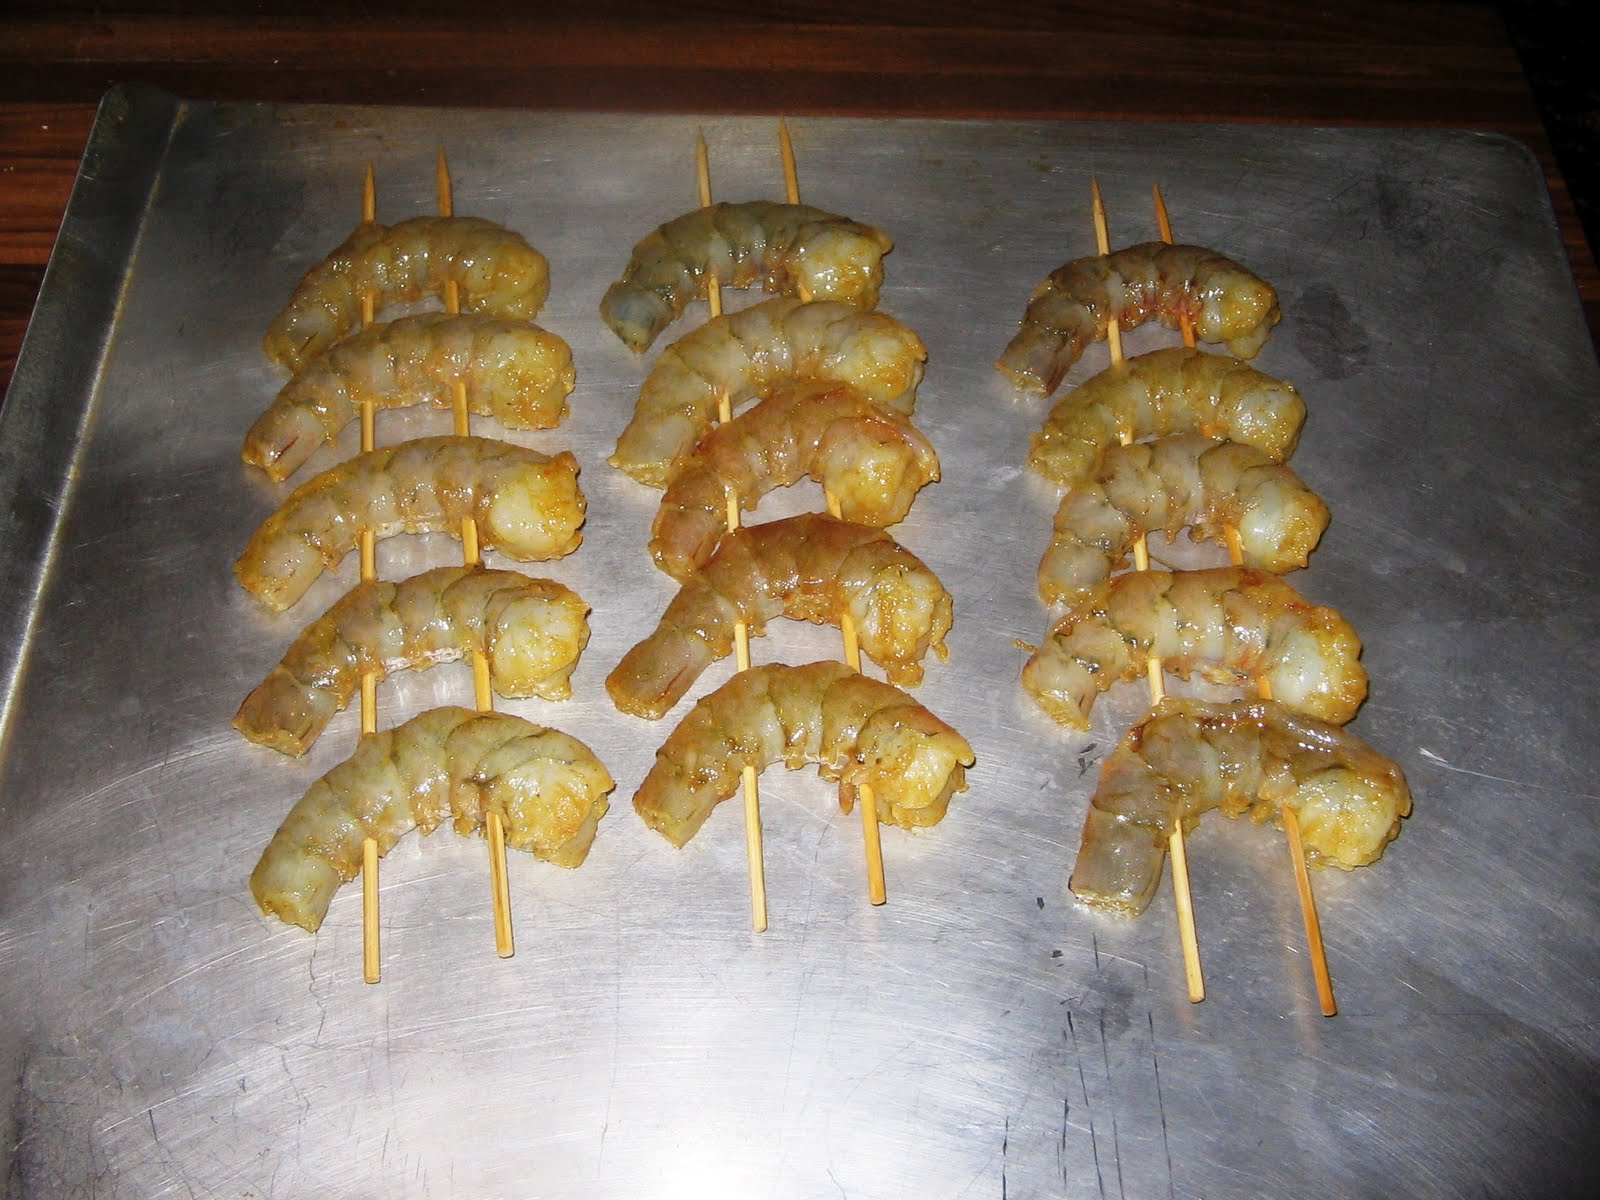
The salad came together quite quickly, and so I pulled the shrimp and set them on their skewers.  I was ready to grill!


And so was the dog!


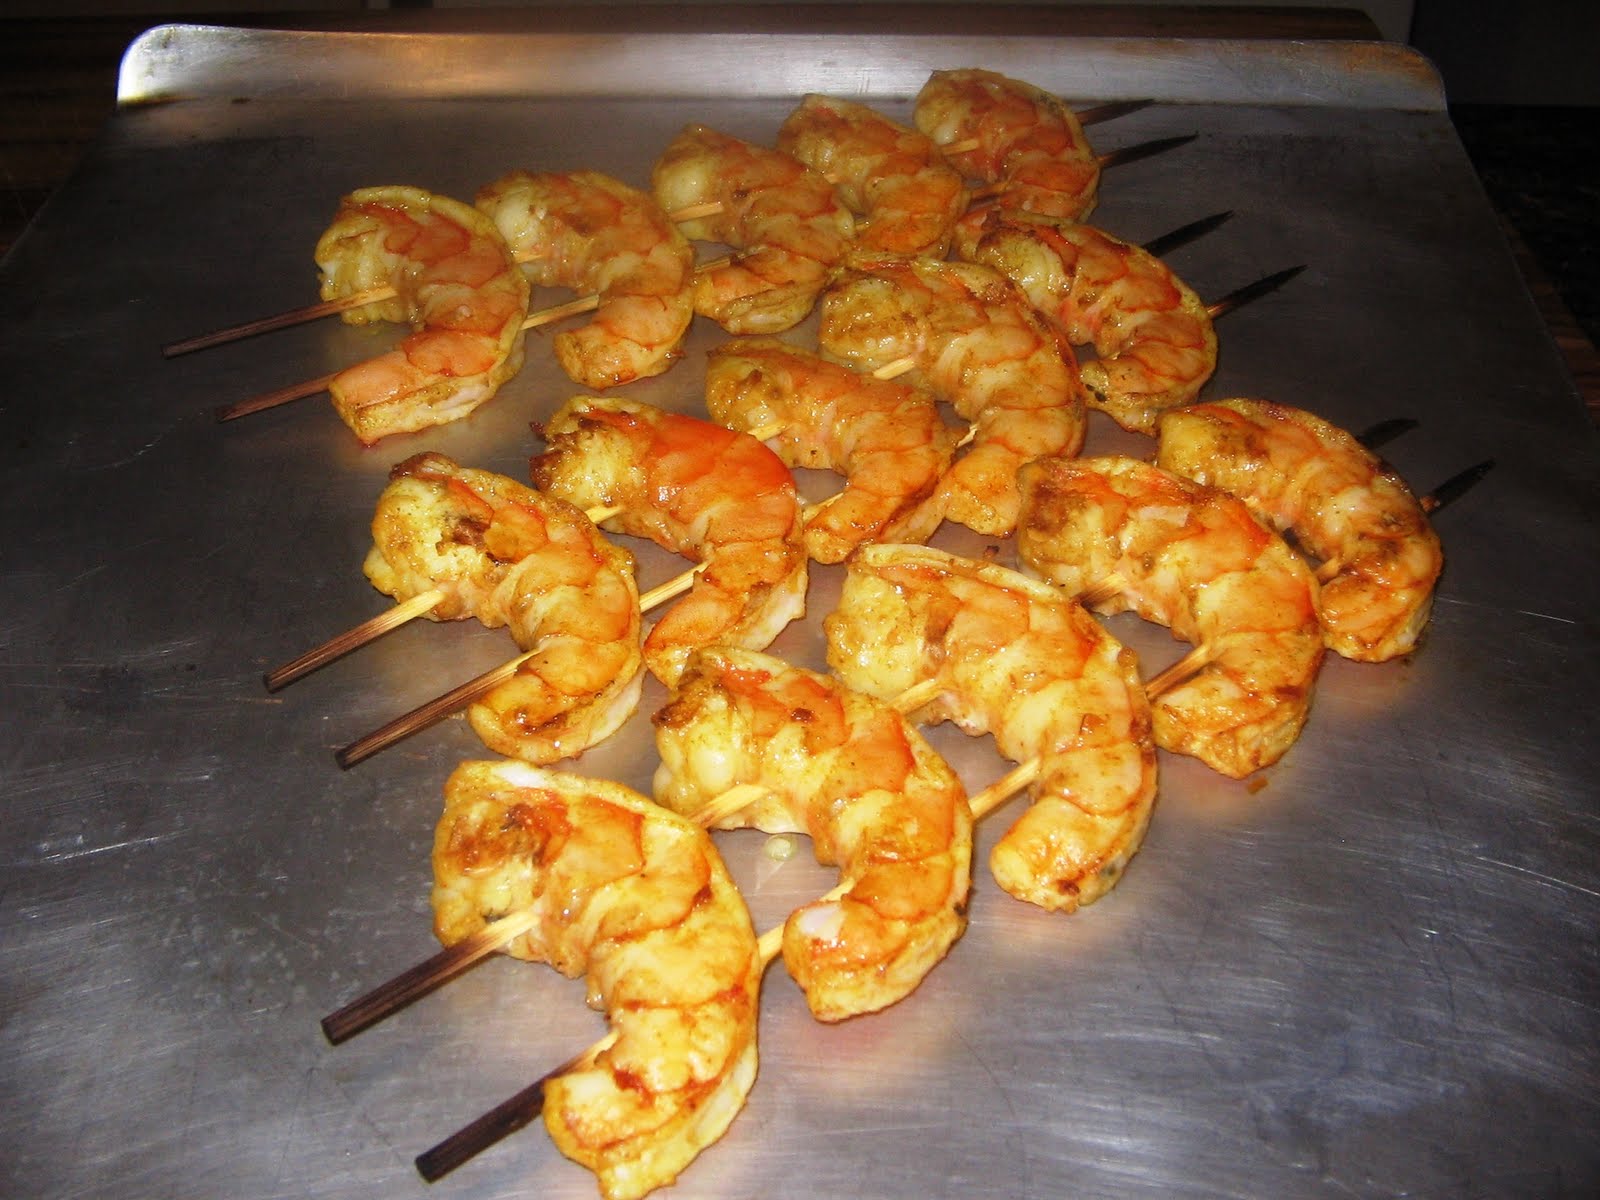
The shrimp were done in four minutes, and I was ready to eat.  Notice that, except for the very tips, the skewers held up well.  Soaking did its job.


For plating the meal, I used my squeeze bottle.  It makes presenting a nice meal rather easy.


This was exactly what I wanted.  I've had peanut sauces at various restaurants, but this outright spanked them all.  This was, by far, the best peanut sauce I've ever had, and it was rediculously easy.  The spice rub for the shrimp will only need a minor tweak, but this sauce is definitely a keeper.  It had the perfect texture, viscosity, spice, and arrangement of savory ingredients.  Well done, Weber! 

The salad went well with the meal, but I did make some minor modifications.  I only used half the red onion, as I tend to prefer a two to one ratio of cucumber to red onion.   Next time I will also reduce the amount of fresh ginger by half.  It wanted to be harmonious with the shrimp, but the ginger was just a bit too noticealbe and unsubtle.  The salad will be used again, and with these adjustments should be pretty darned near perfect.  The crispness and brightness of the dressing and cucumbers are excellent for summer dinners.  

Tuesday, July 6, 2010

Back From Memphis

The Bride and I celebrated this great nation's birthday with a BBQ trip to Memphis.  It was wonderful, we ate a rediculous amount of BBQ, and I gained three pounds in four days.  So this week we decided it was high time to get back to eating better. 

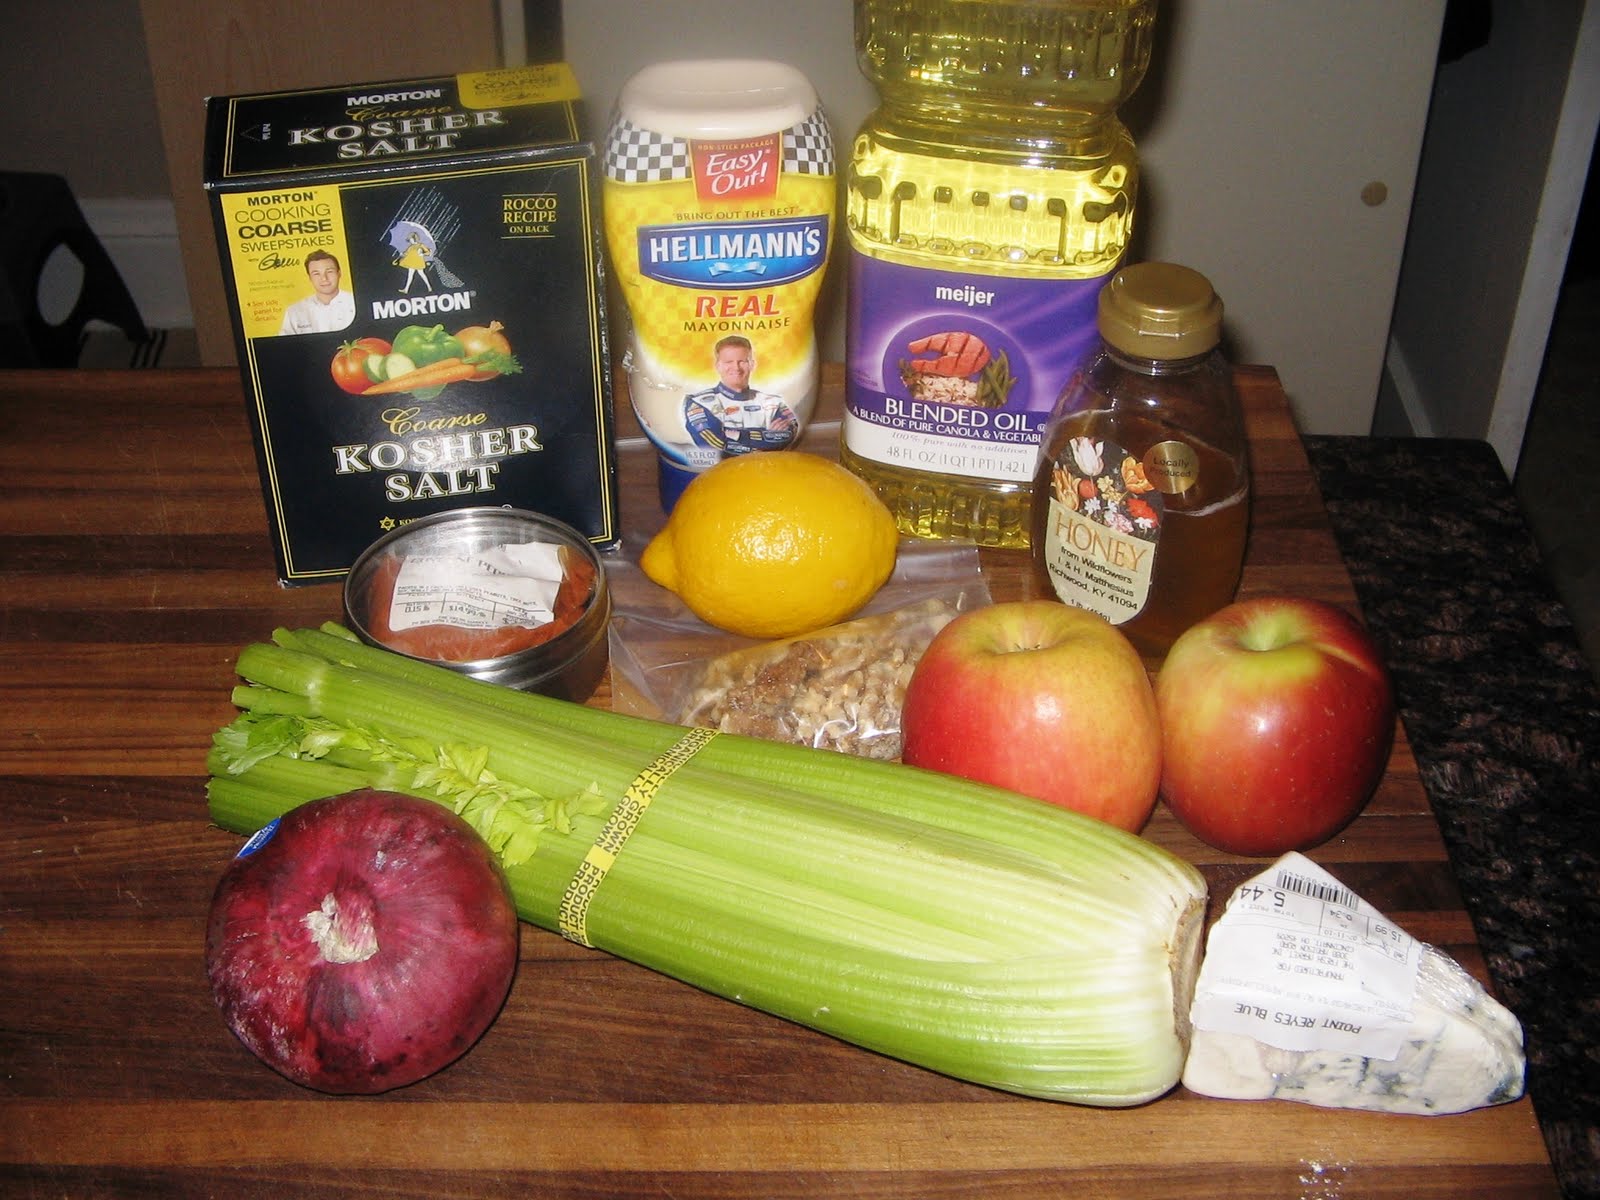
Last night The Bride wanted the Oak Grilled Salmon that was posted earlier, and I threw together the Blue Cheese, Apple, and Honey Walnut Salad on page 359 for added nutritional benefit.


I went with two different types of apples, just to give the salad some extra diversity.  Also, the local honey I picked up at the Hyde Park Fish Market continues to impress.  The Guide said to either roast the walnuts in the oven, or if you felt brave to try the grill.  I wasn't feeling brave, and went the oven route.  The recipe said to roast them for twenty to twenty-five minutes.  I went for the longer time, and realized afterward that I should have taken the shorter time.  I was amazed at how just five additional minutes could char the walnuts as much as it did.  Regardless, the salad was refreshing and a welcome treat compared the Memphis standard of baked beans and slaw.  The salmon recipe continues to be a hit in the Bogdan household; we have prepared it three times now.


Today I decided that I was in the mood for scallops.  The Grilled Scallops With Chili Dipping Sauce on page 317 seemed enticing. 


Now that summer is in full swing, I am starting to take advantage of my now-ready herb garden.  The mint you see is from said garden, and the other herbs are ready to go.  I have been sandbagging a few recipes for the last couple of months, waiting for summer produce to be ready at the markets and for my own garden to be taken advantage of.  You will see more appearances of these ingredients throughout the summer.

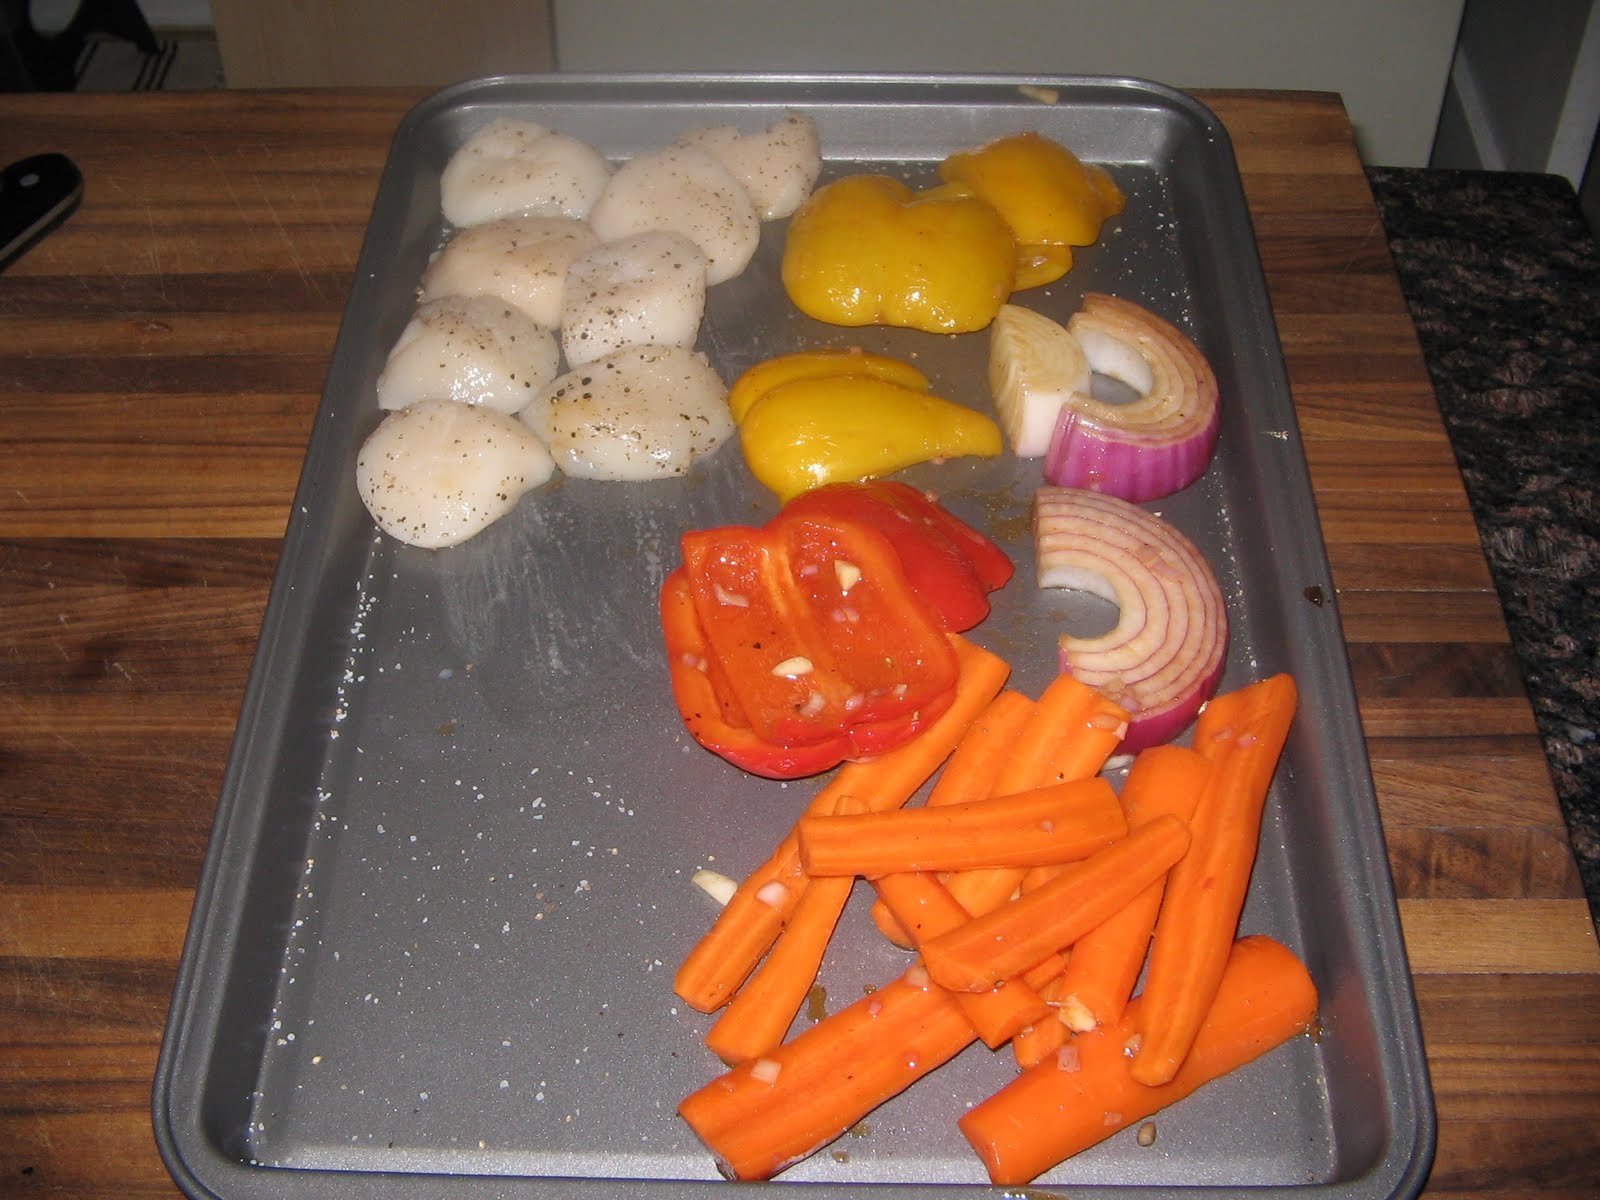
To go along with the scallops, I wanted vegetables.  None of the remaining recipes seemed to really match up well with the scallops, so I went with the Mango Marinade on page 52.  What drew me to this marinade was the fact that it shared many common ingredients as the scallop recipe (can you find them all?) which allowed for some uniformity on the plate. 


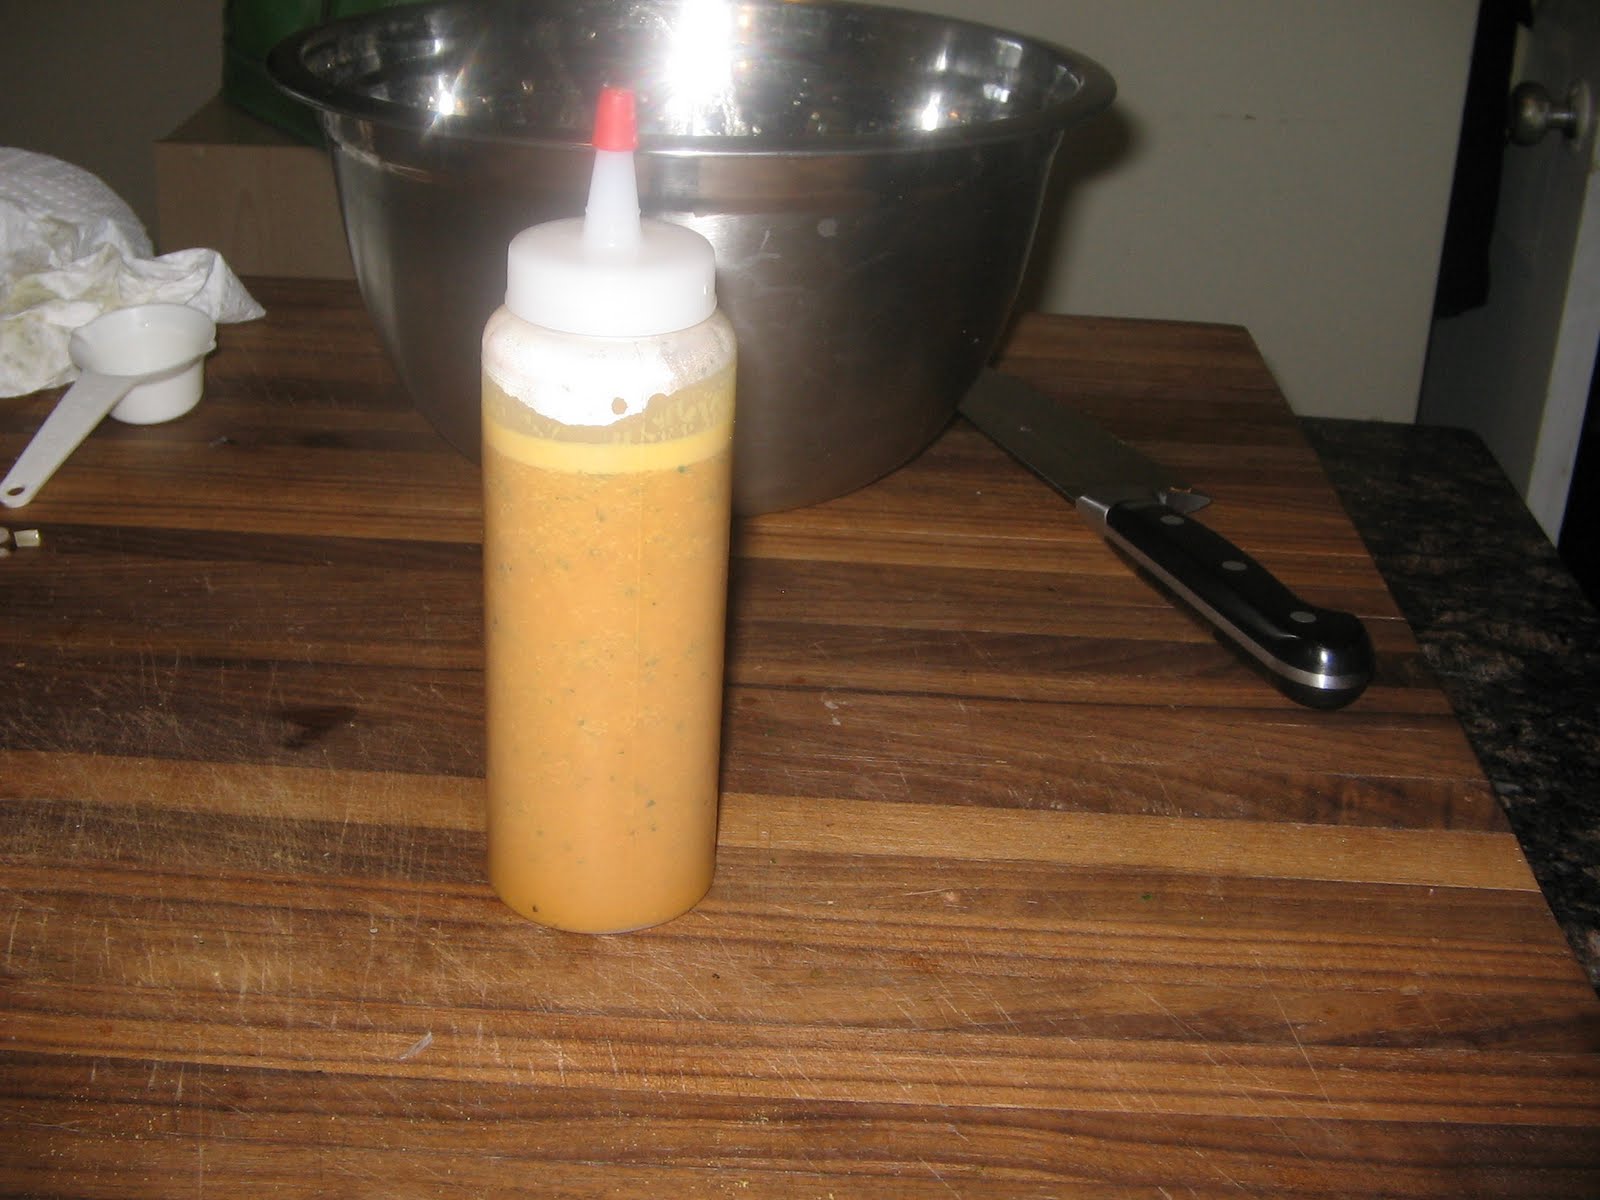
For the vegetables that were going to be used with the marinade I simply raided my fridge.  The first thing on the agenda, however, was to make the sauce for the scallops.  After a brief whir with the immersion blender, I loaded the sauce into a cheap squeeze bottle to chill in the fridge while the rest of the dinner came together.  This one-dollar investment has been used over and over in my kitchen, and I recommend it for everyone who likes to use sauces. 


So I prepped the veggies I found in my fridge, readied the scallops, and gathered everything for The Forge.


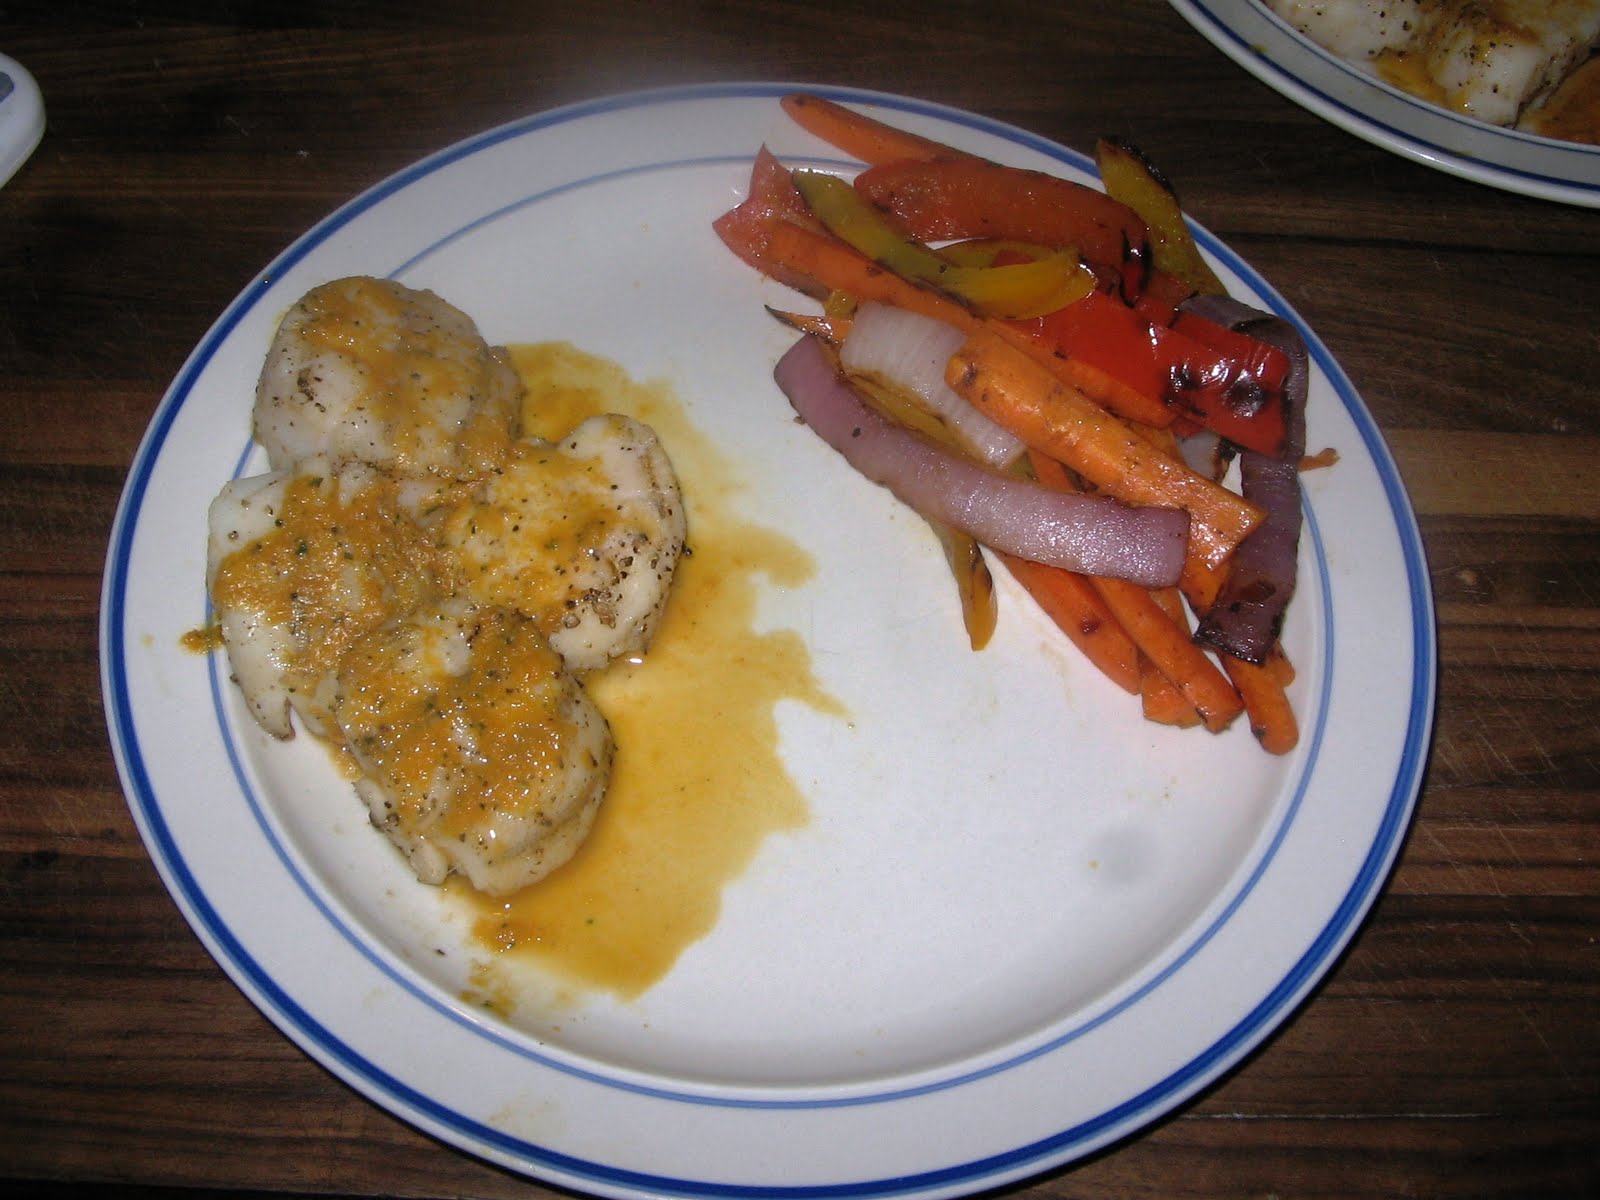
With everything off the grill, it was time to plate!


I made a major mistake.  This was supposed to be a dipping sauce, and I spread it on the scallops when I plated.  For me, this sauce had the perfect amount of heat.  The sauce was flavorful, and had a nice lingering sensation.  However, not everyone (read: The Bride) is a chilehead, and this dish is difficult to eat if you aren't.  Word to the wise, use a small dipping bowl when you plate this!  Otherwise, I am a big fan.  The vegetables turned out great, and the harmony that I was seeking between the scallops and vegetables was achieved.  I highly recommend both recipes from today.

Think of this as Julie and Julia, but for dudes.

Followers

About Me

My photo
Cincinnati, Ohio, United States
Just a regular dude...now learning to bake