New Blog!

I have started another project! If grilling isn't manly enough for you, check out my French Baking Blog! http://aguyandhisoven.blogspot.com

Total Awesome People Who Visited This

Sunday, October 3, 2010

Das Chickengrillen

First, I would like to note just how much I love football Sundays.  Between two jobs and grad school, they are my one day of rest, and also a day to cook something that would normally take too long on any other night.  I intentionally picked a recipe that would require a fair amount of time today, and also went with something seasonal: the Oktoberfest Brined Chicken on page 230. 


I was glad to see Weber finally mention something about brining.  I've been a big believer in brining for about four years now, and feel that Weber is missing the boat on a few recipes by omitting that step.  The first tip I can give anyone when it comes to brining is to use a large, cheap bucket that you can buy for about five bucks.  Here's mine:


This bucket is a dedicated brining bucket, and that is the only time I ever use it.   The first step was to create the brine, which according to Weber I had to bring the spices to a boil and then let them cool for two hours to return to room temperature.  Although I had time today, I was uninterested in wasting two hours waiting for water to cool.  My solution was to only use half of the water in the boiling phase, empty the boiled water into the bucket, and then introduce the remaining water.  This had two advantages: first, removing the water from the pot would prevent the residual thermal energy from the heated pot from keeping the water hot; second, bringing in the cool water would expedite the cooling process dramatically.  With the brine now ready, I put in the bird.


We have a second fridge, and I always make sure that I have room for my brining bucket.


Brining is not quick, especially with whole birds.  So, eight hours later, I emptied the brine, and learned how to truss a bird.  First step, cut a three-foot piece of string, place the bird on its back, and bring the string under the bird's rear end.


Wrap each drumstick once to help keep them snug to the bird.
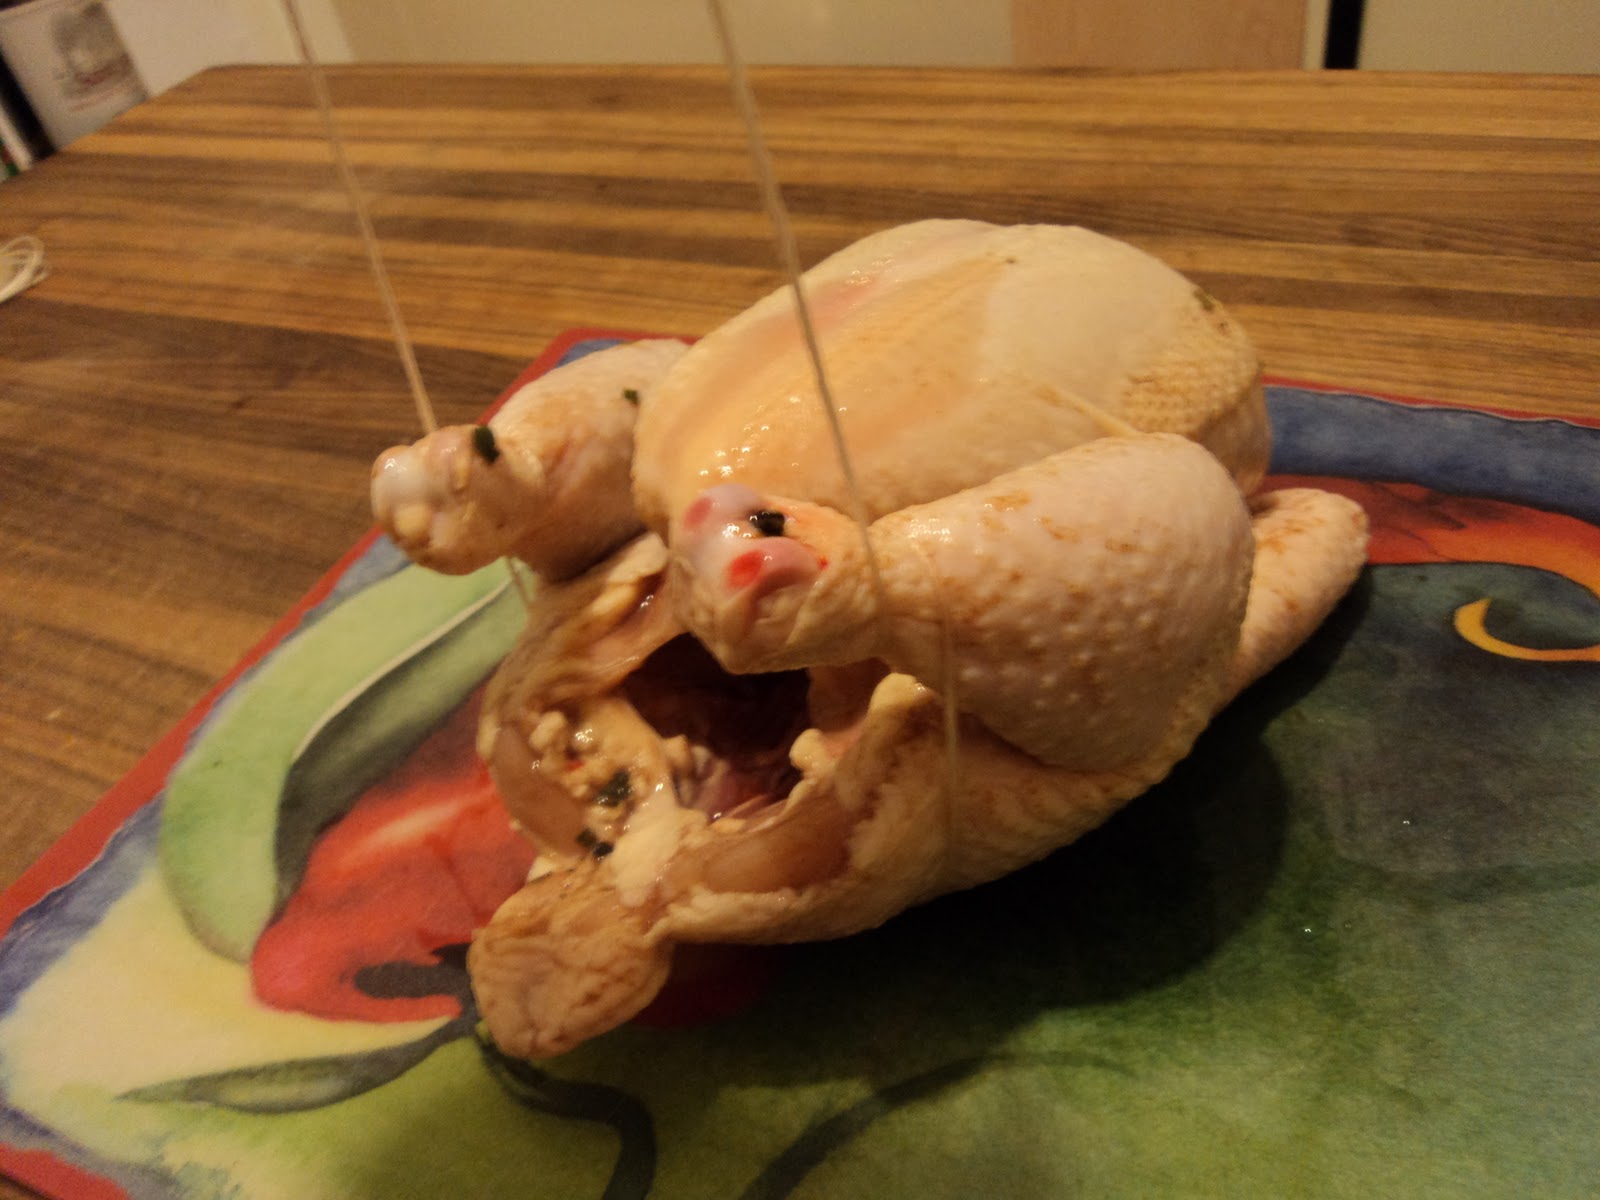

Cross the string ends over the breasts.


Flip over the bird.
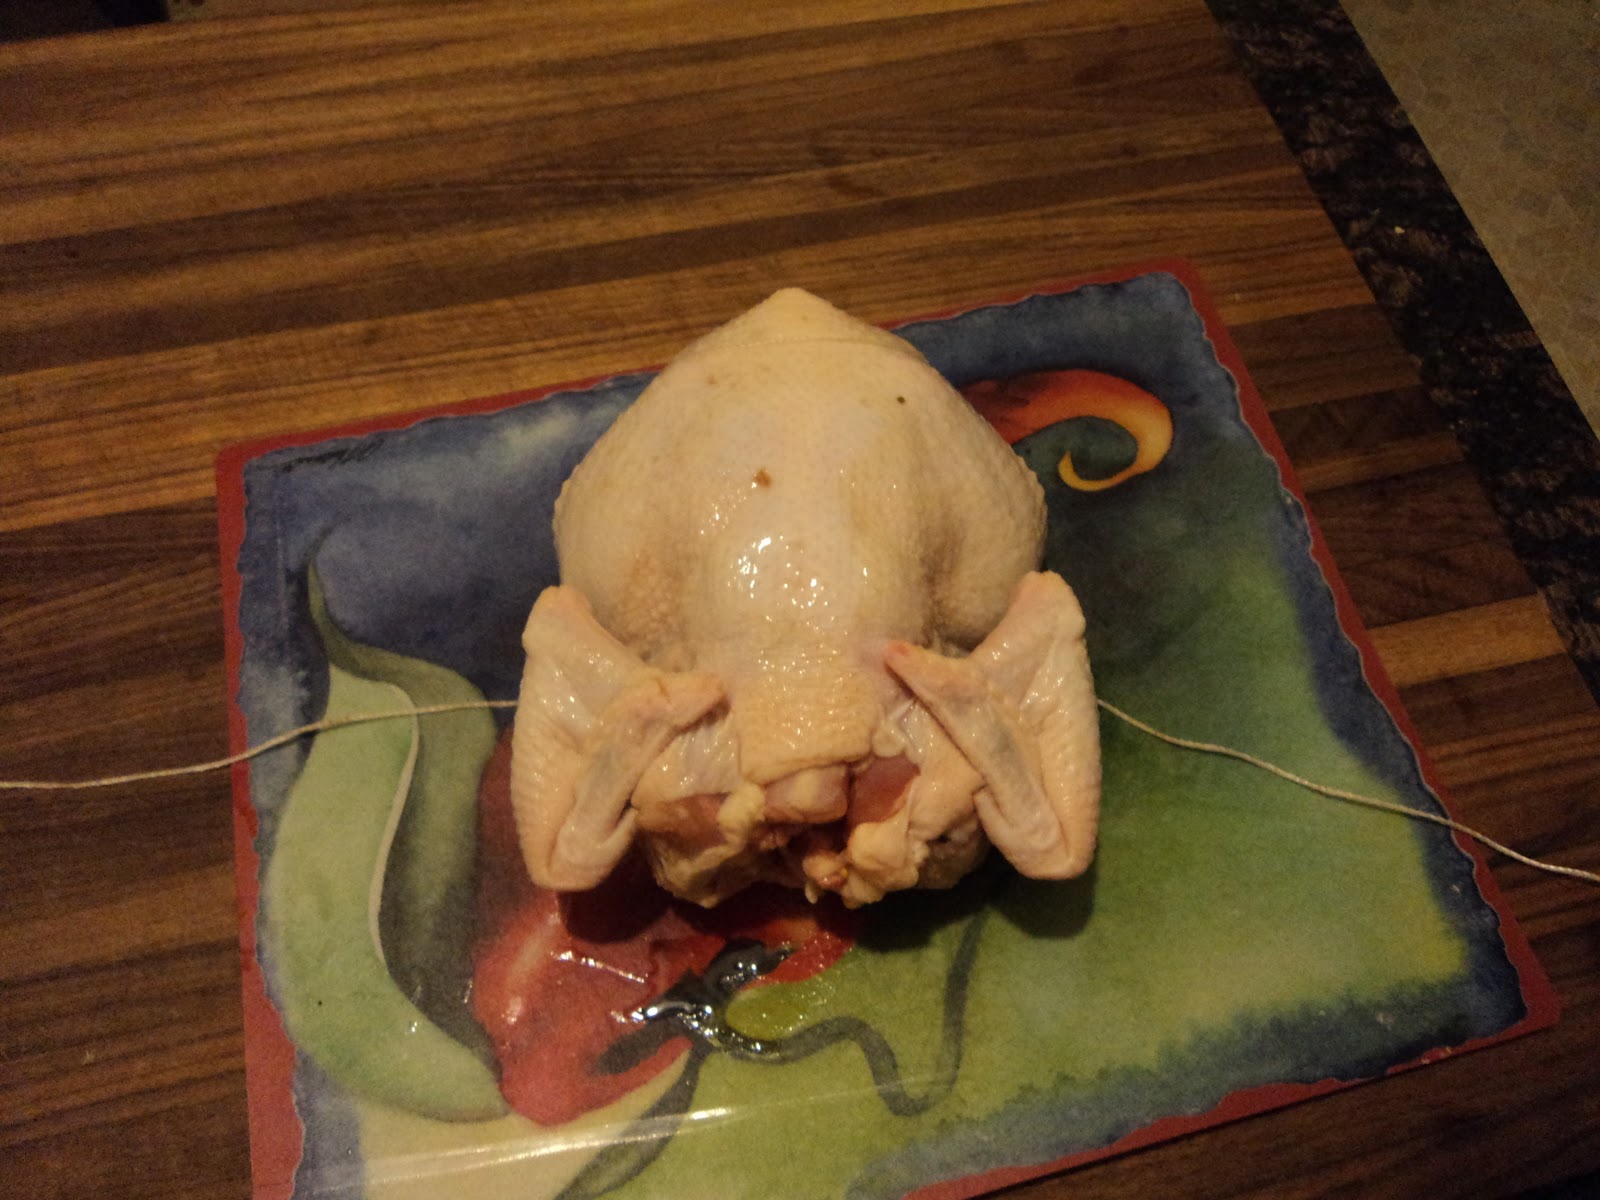

Cross the string ends over each other (I even twisted them around each other to hold them together).


Flip the bird onto its back again, and secure the trussing with a knot.
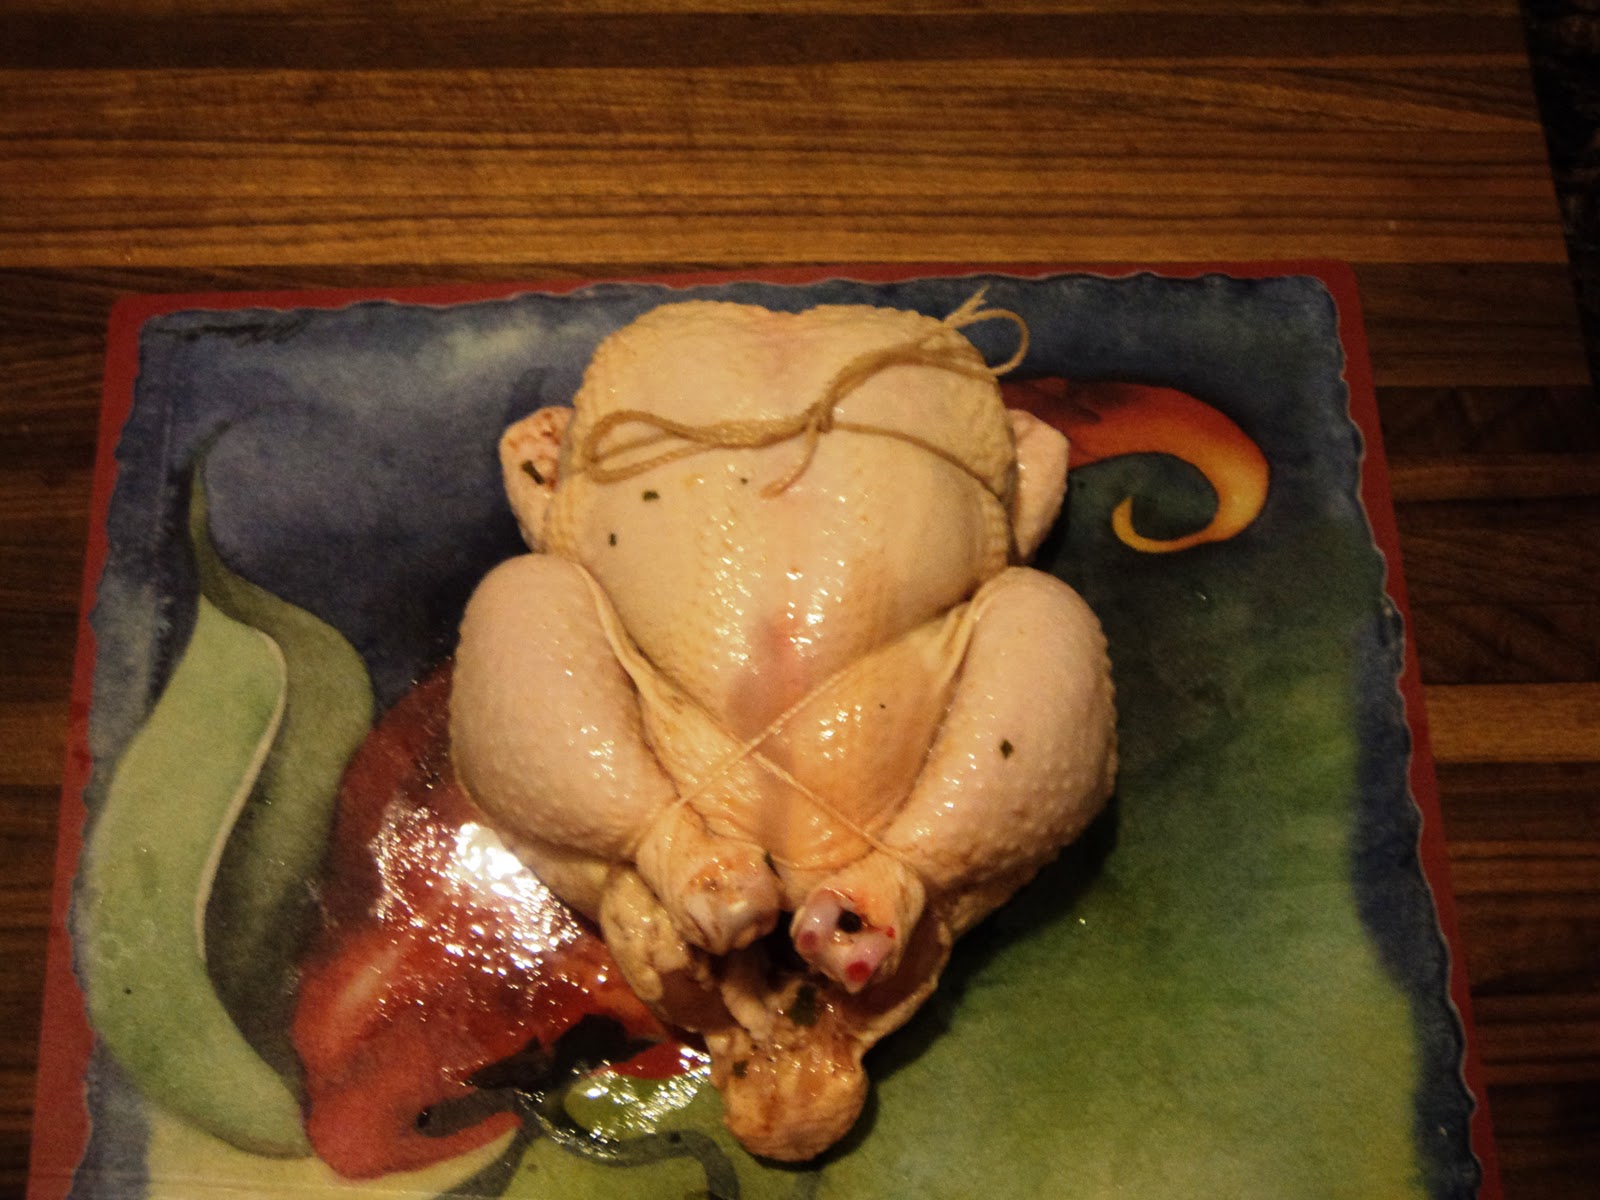


The point of all this is minimize surface area.  The drumsticks, for example, when untrussed can lose moisture in almost every direction.  When secured close to the bird, they can only lose moisture in one direction.  If this isn't done, the drumsticks (and other parts that stick out) can dry out while you are waiting for the rest of the chicken to finish cooking.  After about seventy minutes I declared Das Bird ready and pulled it from the grill.


As you can see, somewhere in the cooking process the string around the legs burned away.  Oh well.  They didn't dry out, so it must have happened late.  I let it rest for about ten minutes to let the juices redistribute, and then started slicing.


What I liked about this recipe was the subtle complexity of the flavors.  Some recipes can be rather unidirectional or otherwise dominated by one or two elements.  Though I tried, I could not pick out any one thing that I was tasting.  The flavors were deep and well intermingled.  It had sort of a sweet baking spice note to it, but that was the best I could do.  Next time I would increase the salt in the brine, but otherwise this was an easy and delicious meal.

Saturday, October 2, 2010

East Meets West

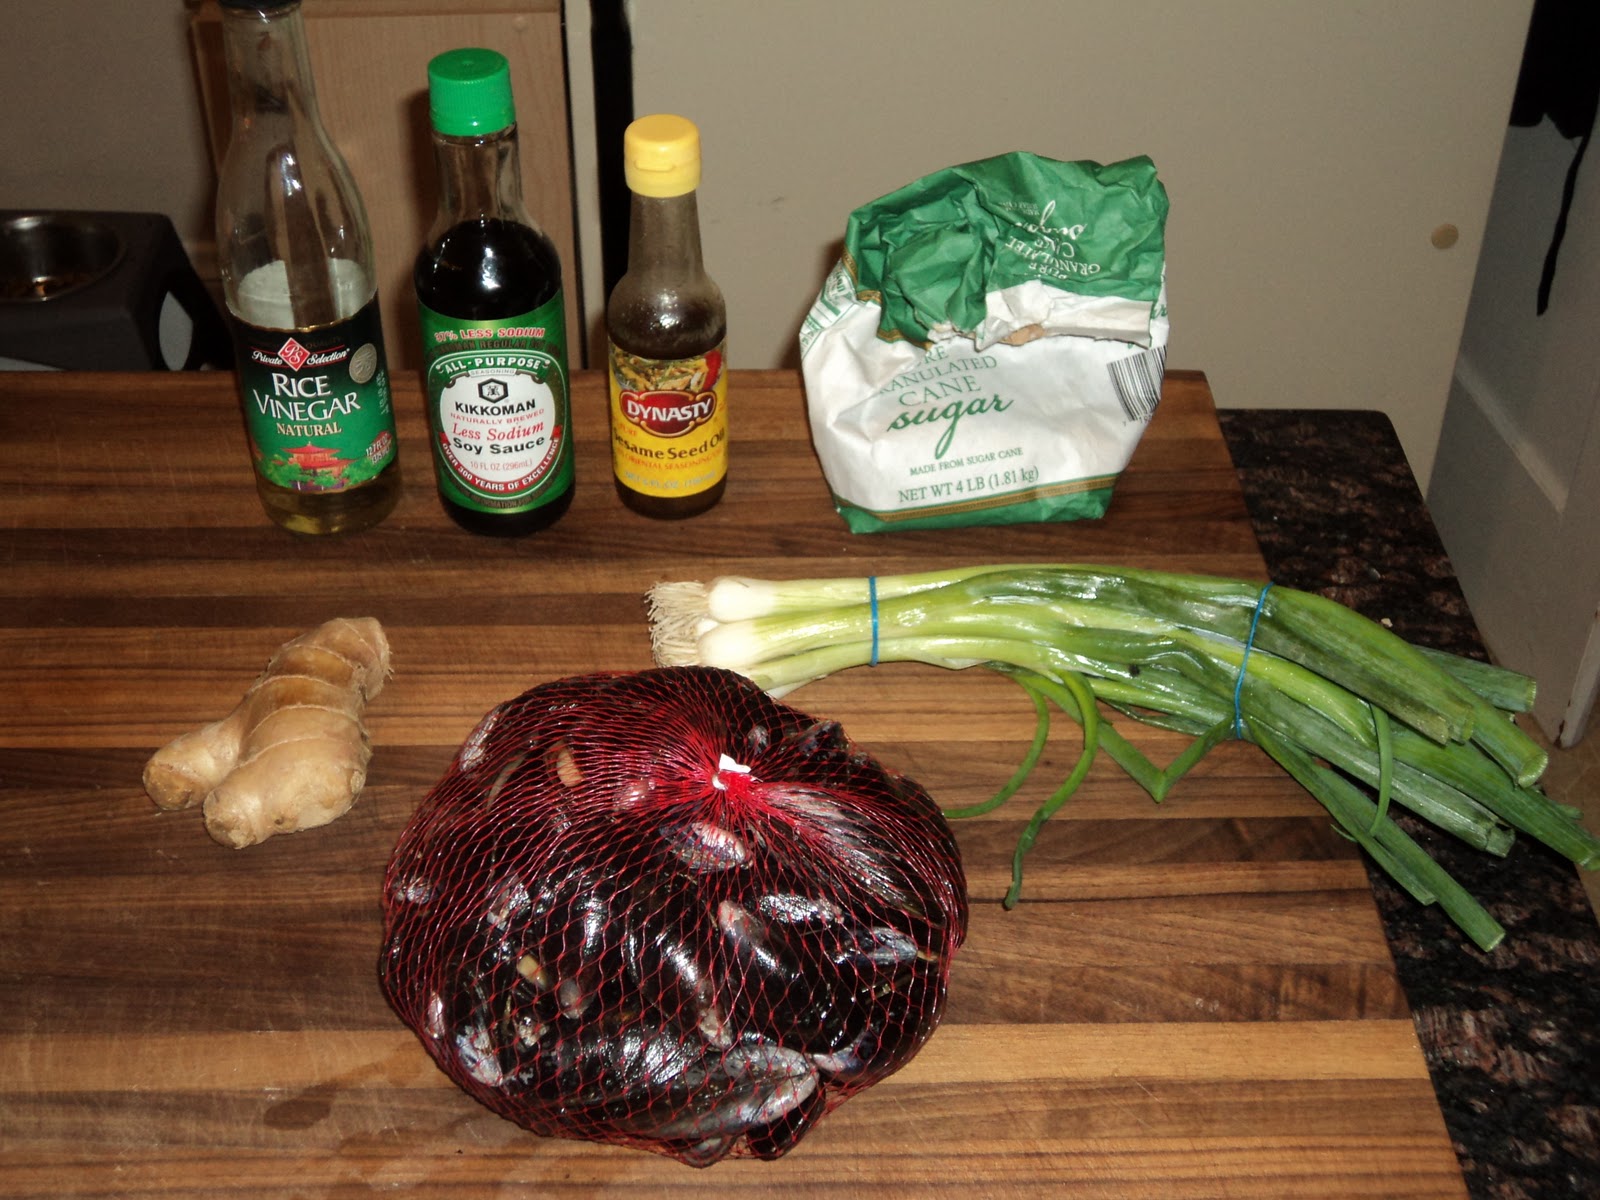
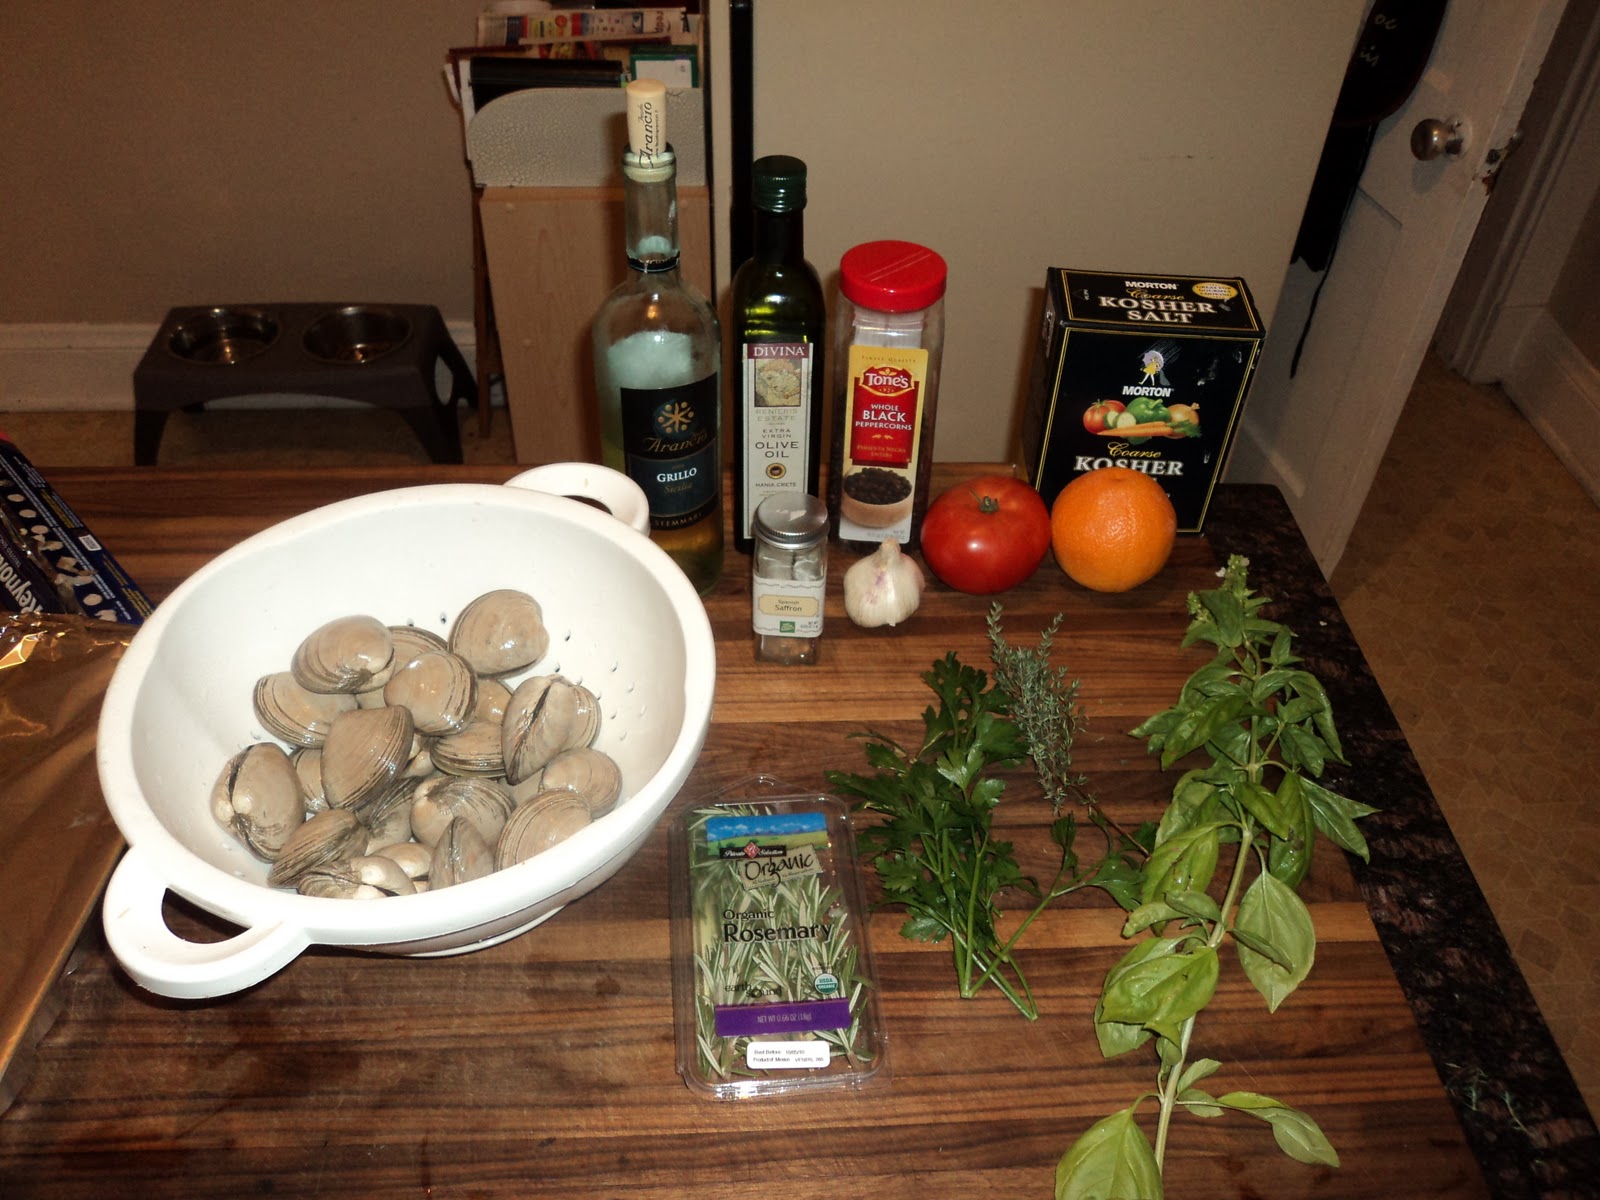
As I happened to actually get some sleep last night, I woke up on time and in an affable mood.  I also happened to know that tonight would be a little on the cold and drippy side, as far as the weather was concerned.  To remedy this, I figured that I would stop by Findlay Market to pick up some shellfish and have something in a nice broth for the evening's chilly weather.  I picked out the Clams Provencal on page 323 and the Gingered Mussels, also on page 323. 

First up this evening was the Gingered Mussels, which would serve as the appetizer.


A few notes about shellfish.  First, sort through them and start weeding out bad ones.  Good shellfish should be closed, but occasionally one will be open in an attempt for oxygen.  Sometimes, however, one is open because it is dead.  To tell the difference, give the open shell a tap.  For example:

This mussel is clearly dead.  It did not respond at all.  It is best to throw this one away.  Next up:


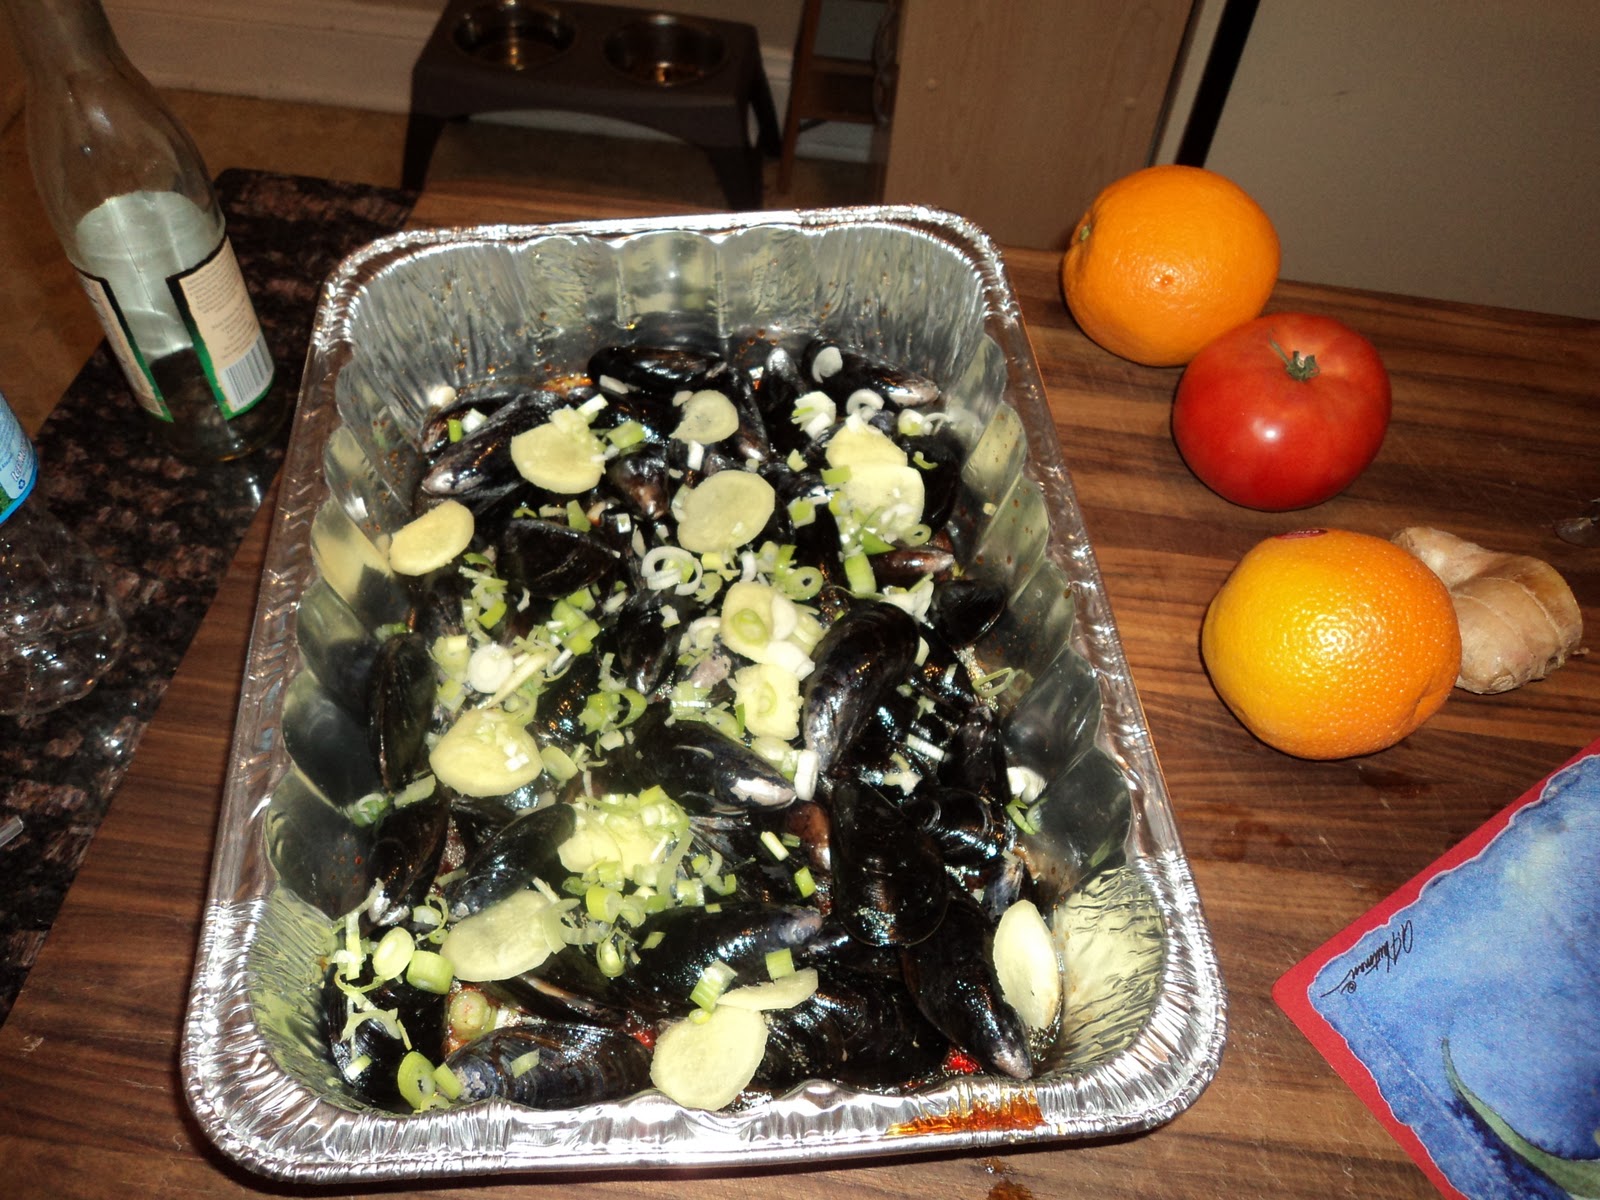
This one responded well to the "attack" and closed on its own.  This one is safe.  After sorting through all of the mussels, I mixed the broth (once again, I had to double the recipe) and prepped the ginger and scallions.  Everything went into the aluminum pan that would go on the grill.


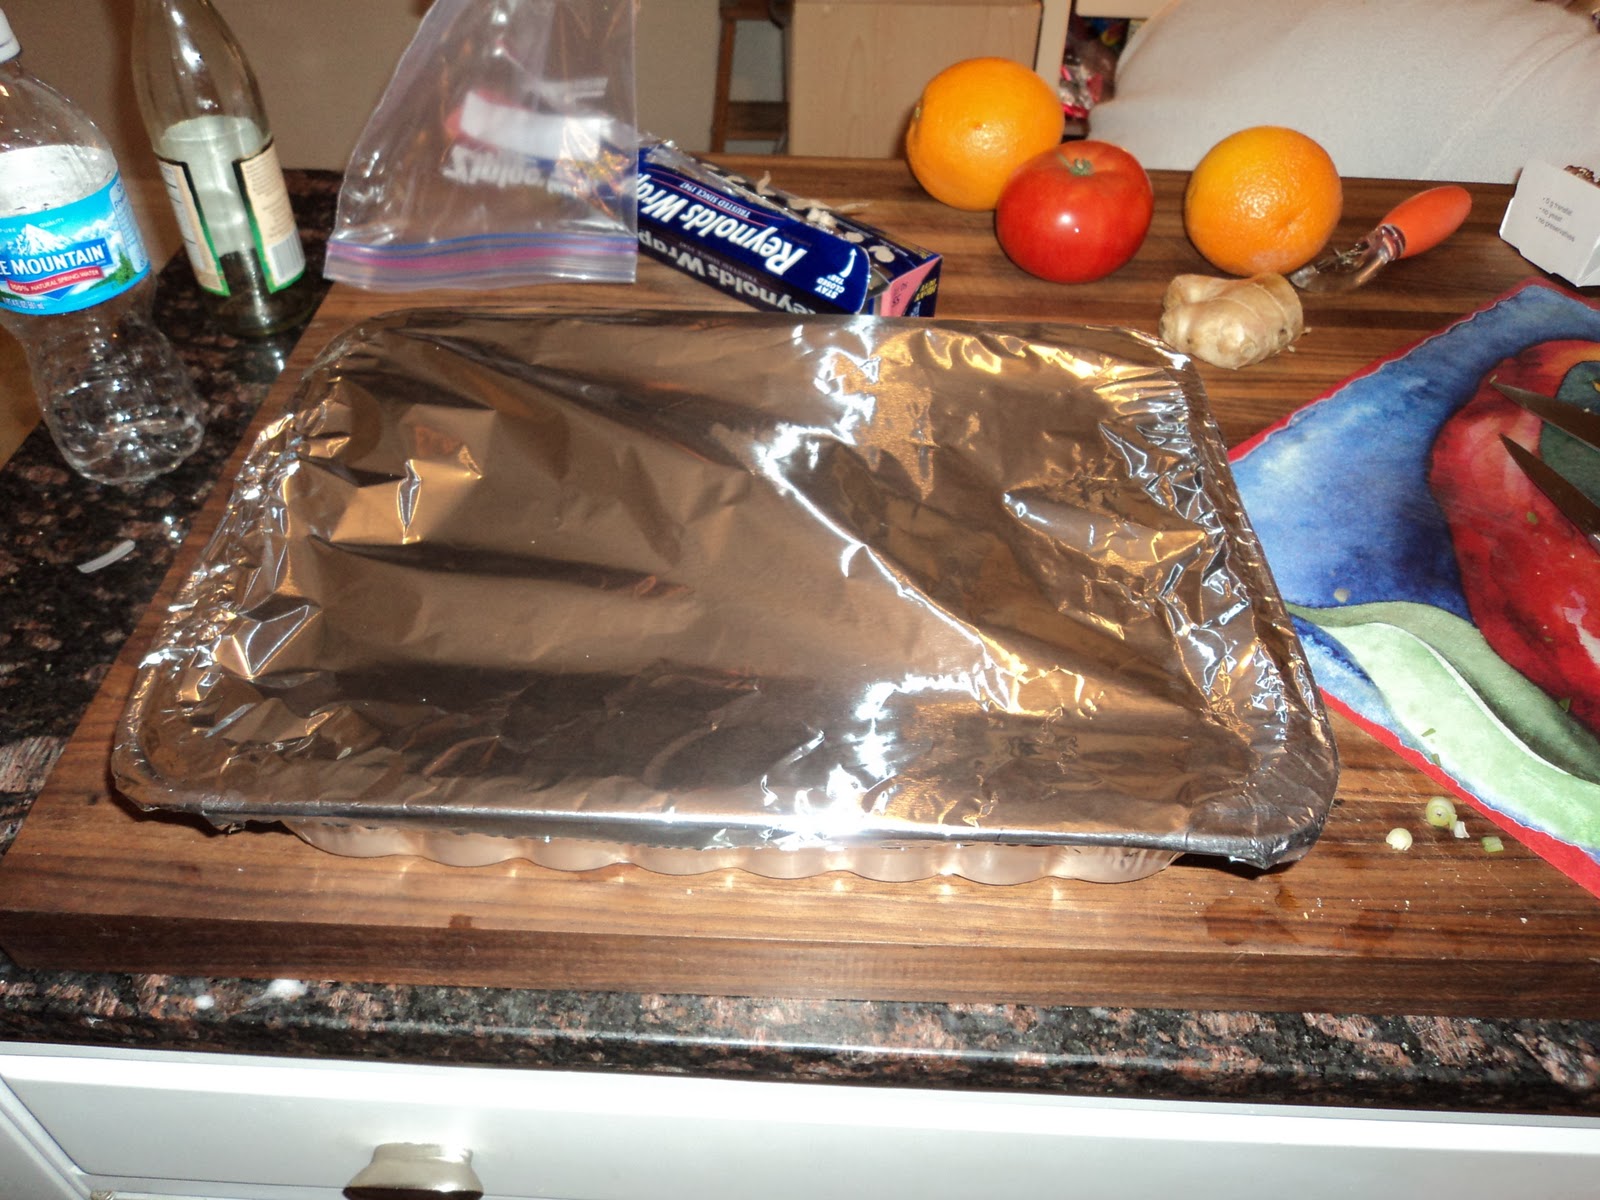
The next step was to cover it with aluminum foil.  This would trap the moisture and steam the mussels with the broth. 


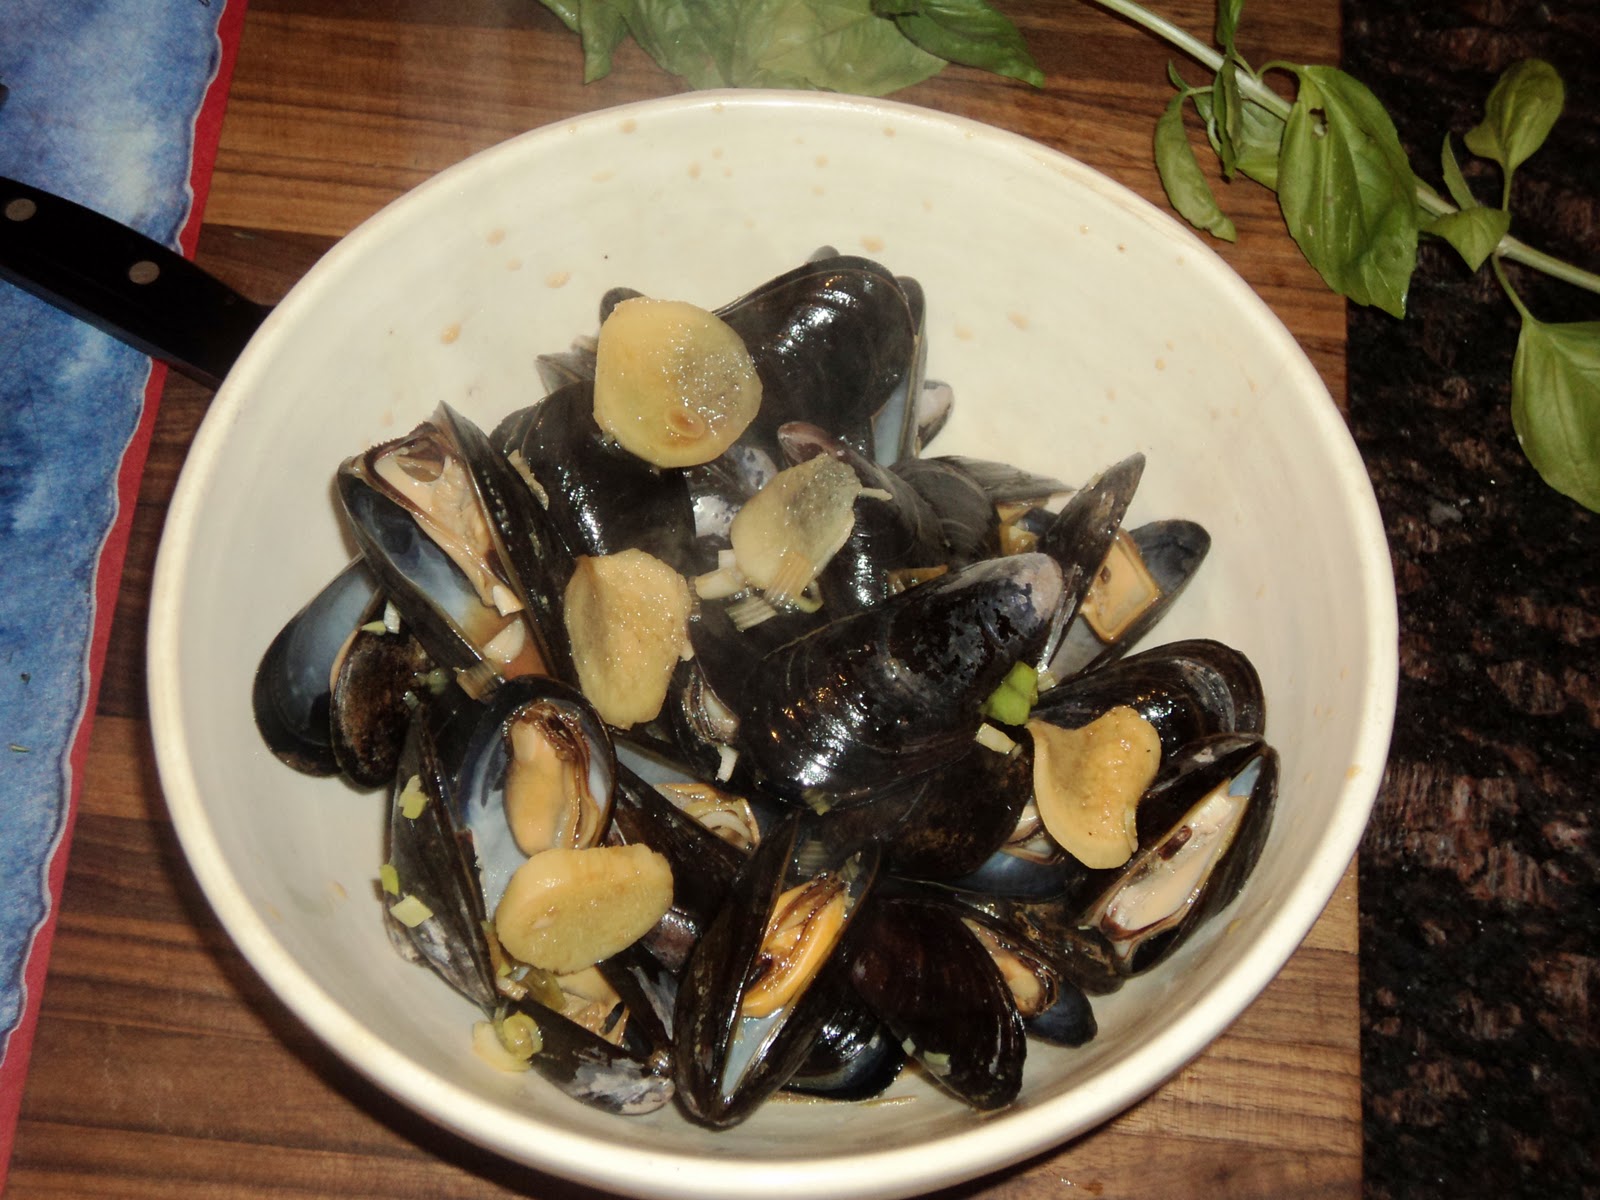
I checked the mussels after the recommended time, and most were not open enough.  Mussels go through two stages of opening, the first where the bi-valve angle is about twenty to thirty degees.   At the second stage, when the mussel is ready, the angle increases beyond a forty-five degree angle.  I gave them an additional three minutes, and at this point they were ready.  I plated (really bowled) them, and we had our first course.


This was amazing.  I love mussels, but have always done a bit of a Belgain-style, mostly because of a trip to an amazing Belgian mussels and beer bar in D.C.  This was a nice change of pace with flavors from the opposite side of the planet.  As I was prepping the second course, The Bride came into the kitchen to return the bowl, which was quite empty and dry.  She even finished off the "soup" that the broth created.  I scarfed mine down in less than five minutes, dunking each mussel into that broth, which really could not have been much easier. 
From there I began assembling the second course, the Clams Provencal.


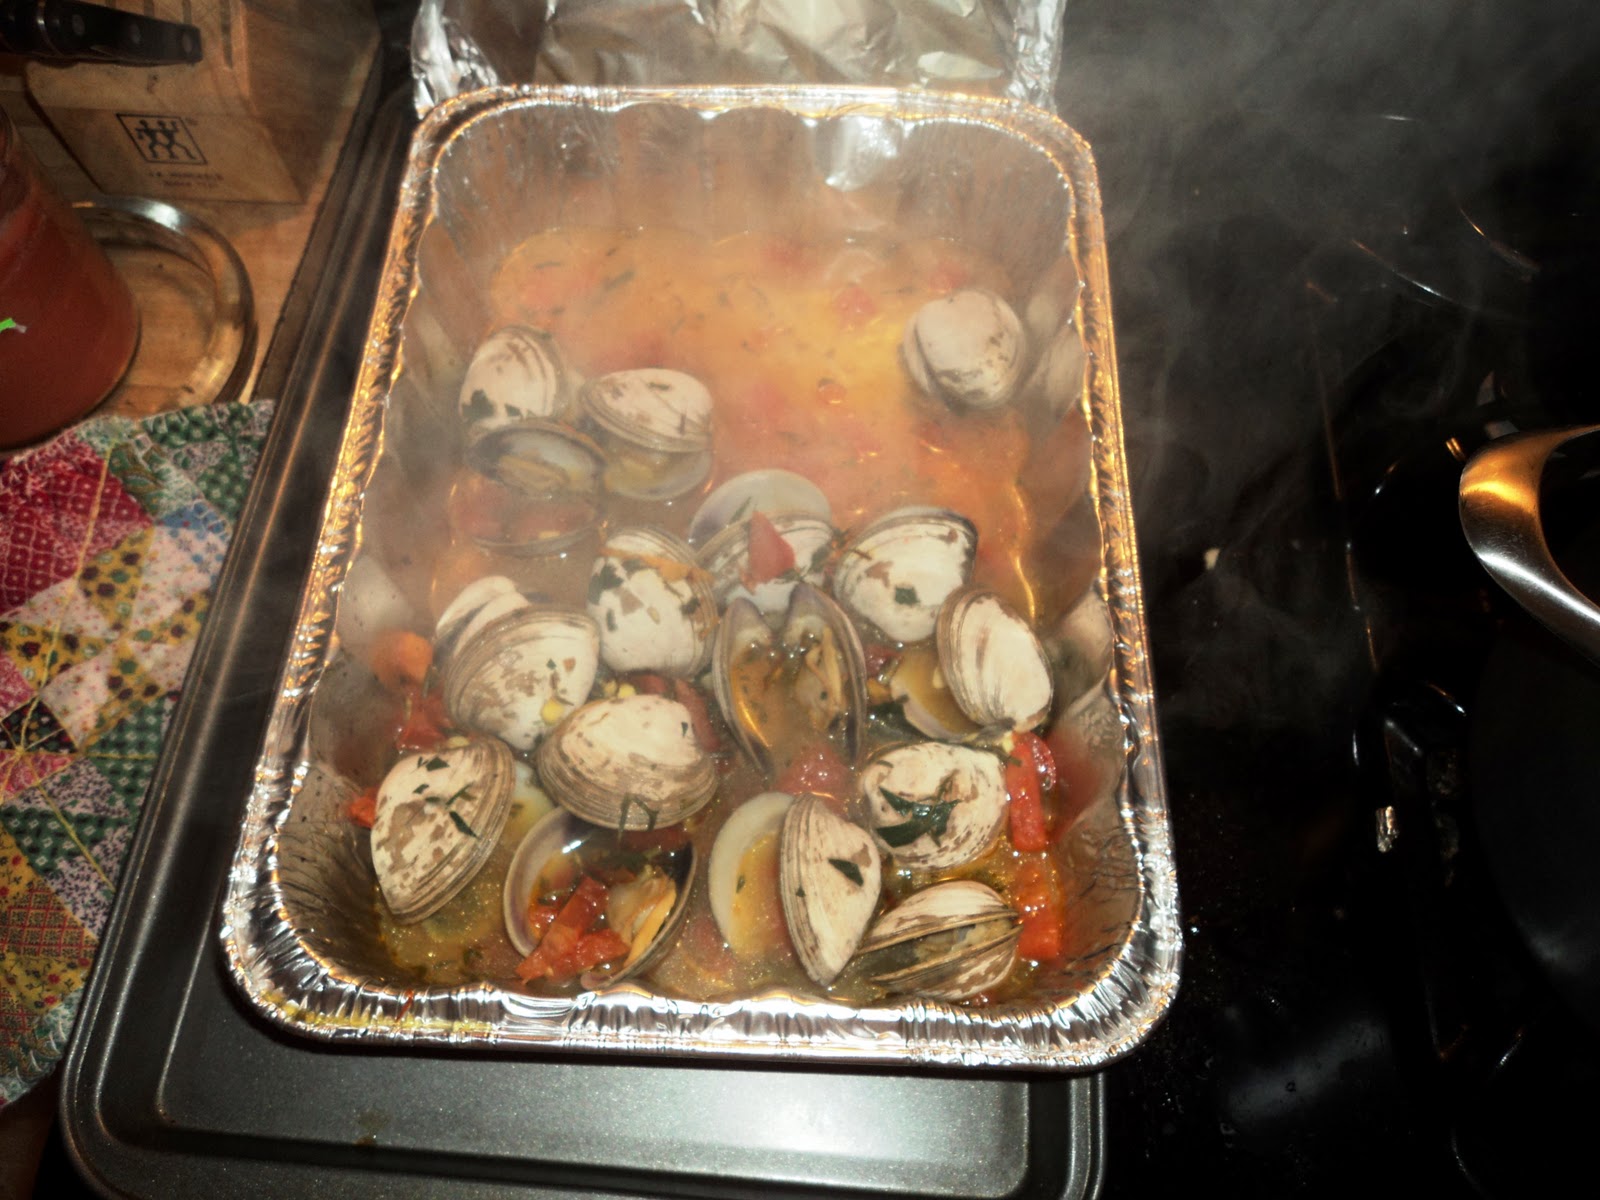
The procedure was primarily the same: create the broth, check the shellfish for dead soldiers, and assemble everything in the pan. 


Like the mussels, they required a longer grilling time than what was suggested, but once most had opened, I pulled them off the grill.


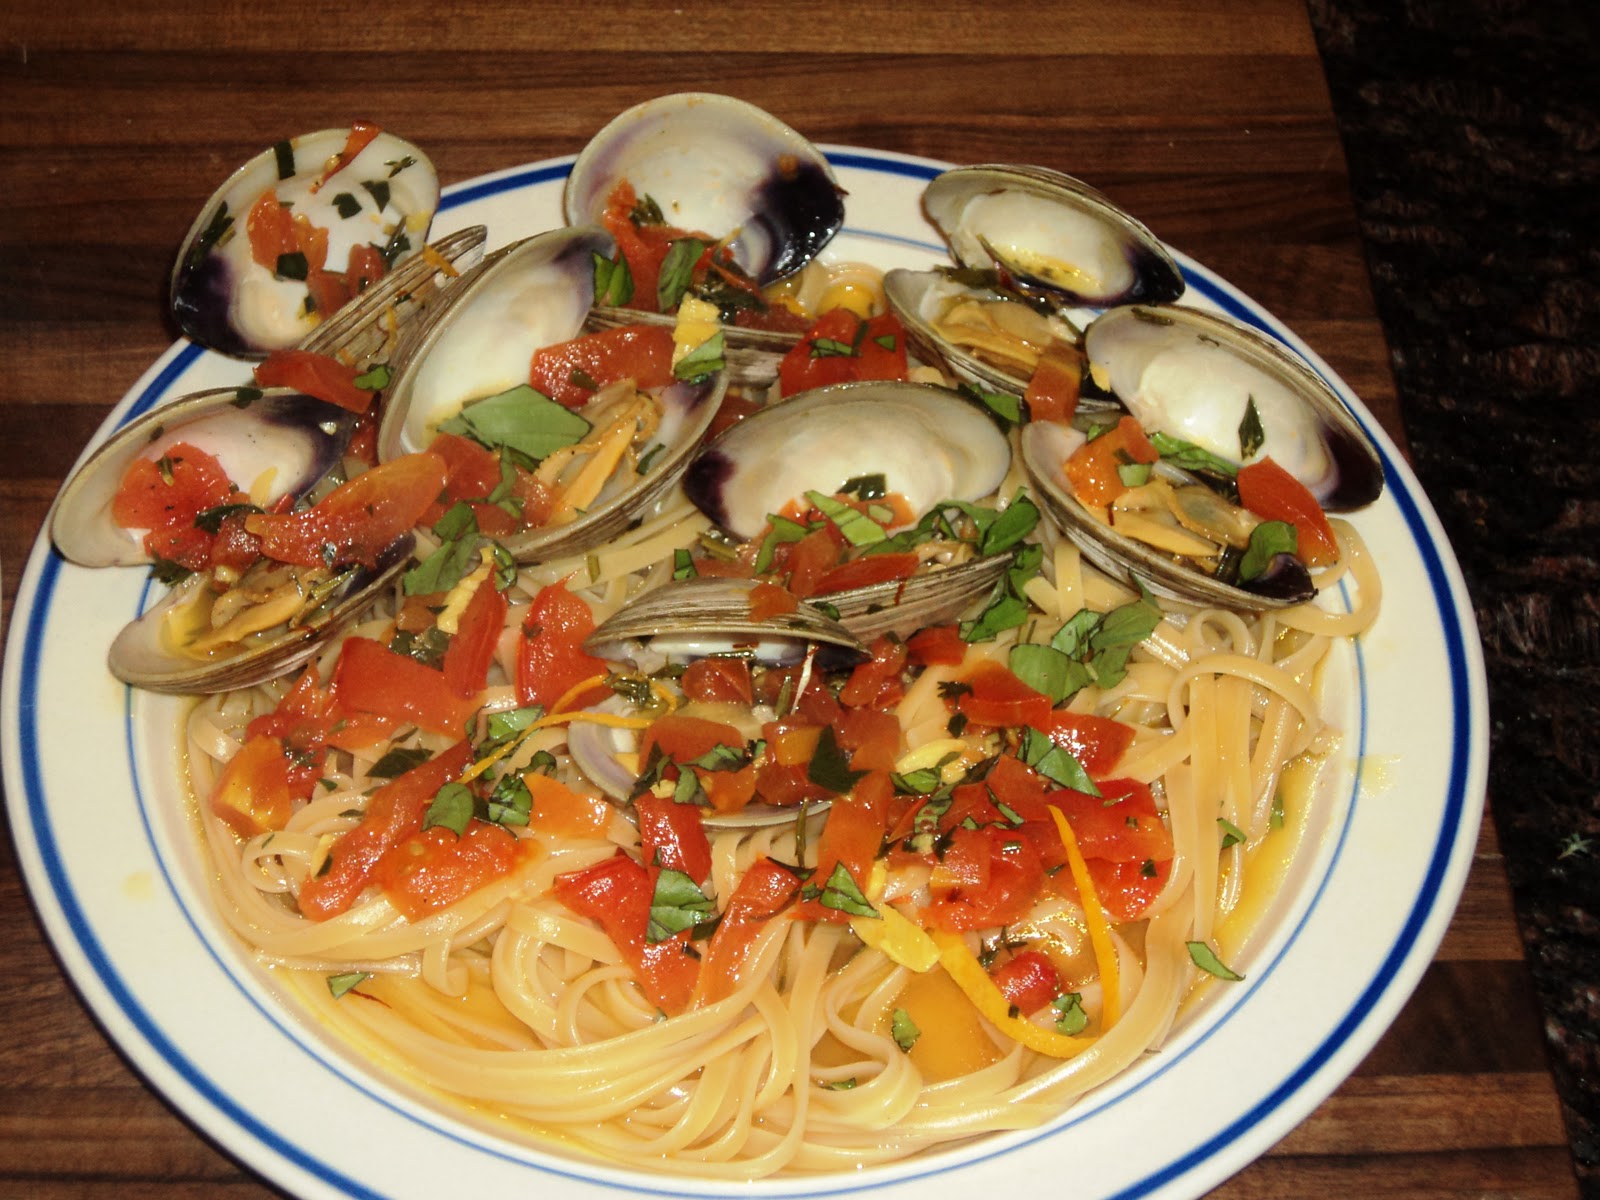
Although the recipe doesn't state it, I decided that it would be a good idea to serve this on a nice bed of linguine.  I placed the noodles on the plate, picked out the clams that were done, and ladled on the sauce/broth.  Some, however, did not open, and THESE SHOULD NOT BE PLATED!


Seriously, just throw this away.  This goes for the mussels, as well.  Plate the opened ones, and get ready for some deliciousness.


What a wonderful plate of cold-night-remedy.  As I stated to The Bride, this was quite slurpable.  It was a nice call on my behalf to add the linquine.  The Bride, who really isn't much of a fan of clams, even said, "Yeah...so this will totally be a craving later on."  It was clean, fresh-tasting, and loaded with flavor.  Not that I've ever been there (but it is certainly a goal to do so) but this reminded me of what I think of when I think of Provence.  It was nice to have most of the fresh herbs come from my garden; they added a nice touch.  In all, this dish had a broad spectrum of flavors, all with amazing depth.  This was classic Provence: simple, fresh, and down-to-earth.  It's a keeper.

Thursday, September 30, 2010

Crampin' My Style

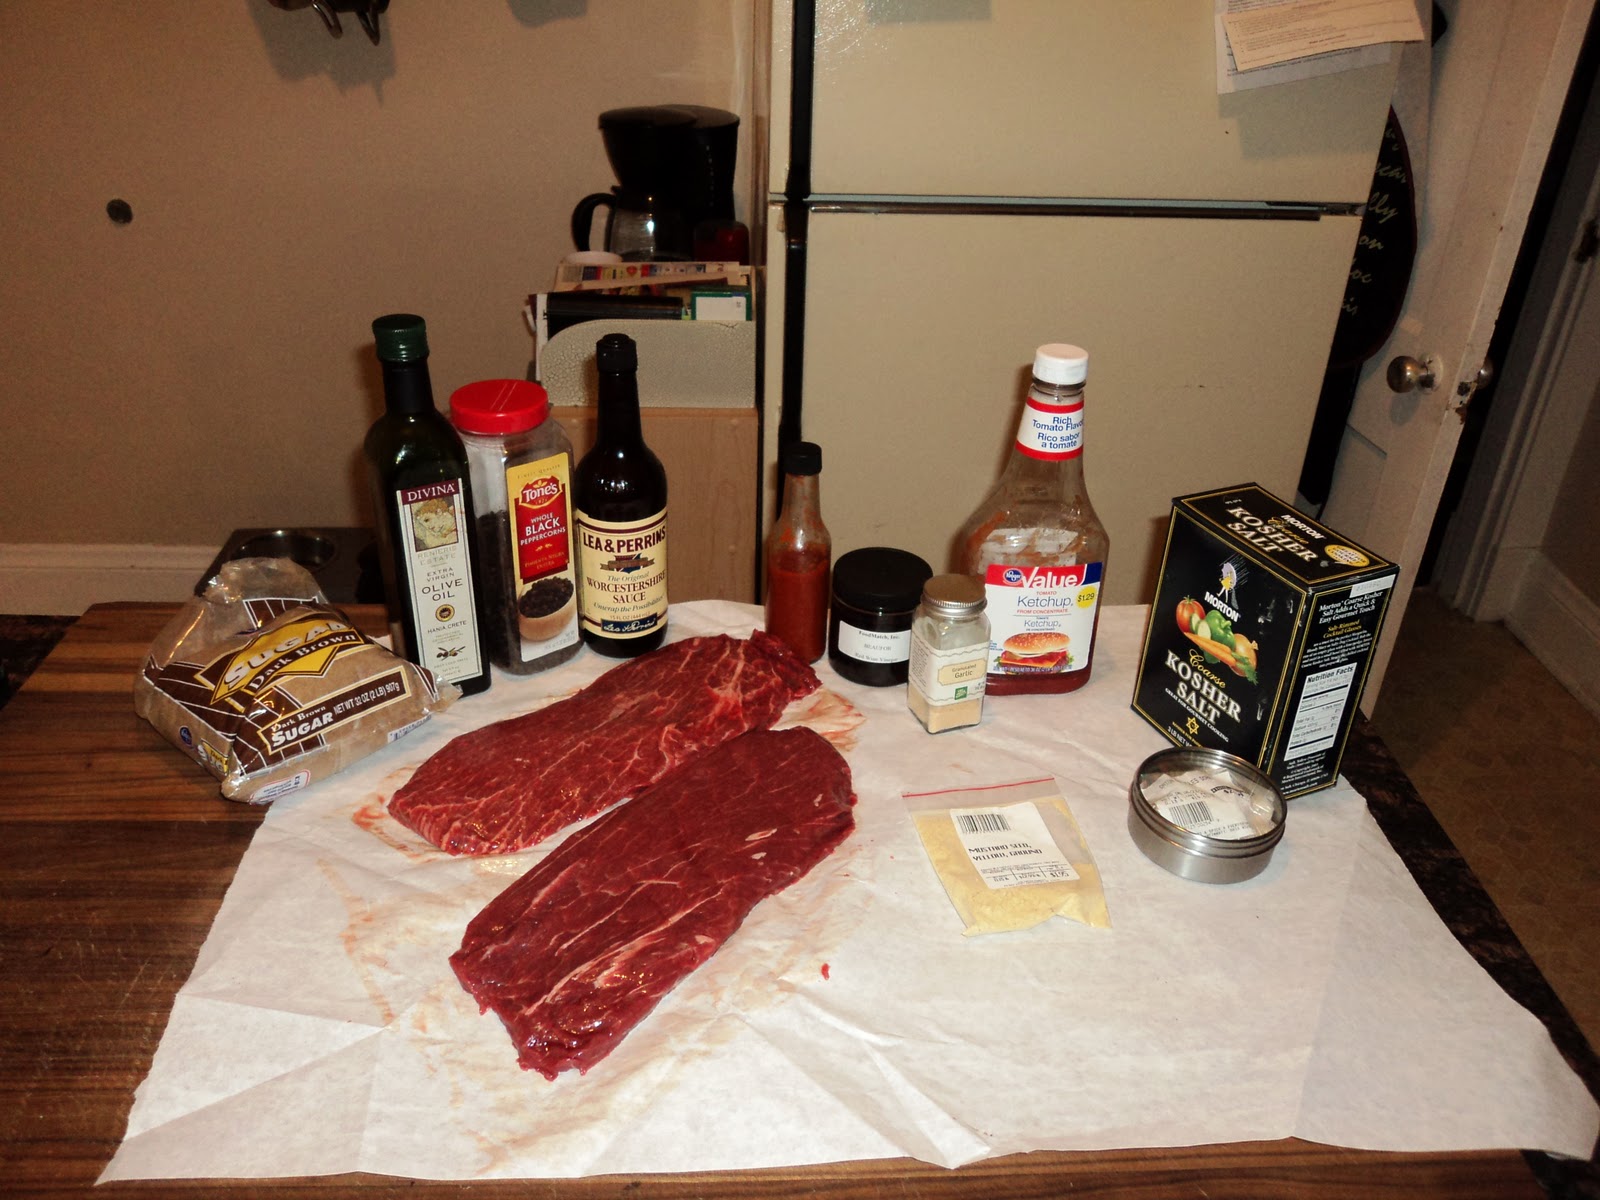
So the beginning of the school year has certainly impaired my energy level and desire to cook.  Quite frankly, I've been so exhausted that I've turned, in a word, lazy.  Looking back at this blog, this will only be the third entry for September.  Per usual, I emailed The Bride early this morning to find out what she might want for dinner.  I believe the exact response was "big fat steak with blue cheese."  Looking at The Guide, there wasn't a recipe that involved blue cheese and steak (although there is one for burgers that I've already done).  So I went with a steak that involved a cut of meat that I've never worked with before, the Flatiron Steaks With Steakhouse Sauce on page 100.  The Bride and I went down to Findlay, ate some gelato, and then picked up what we needed.


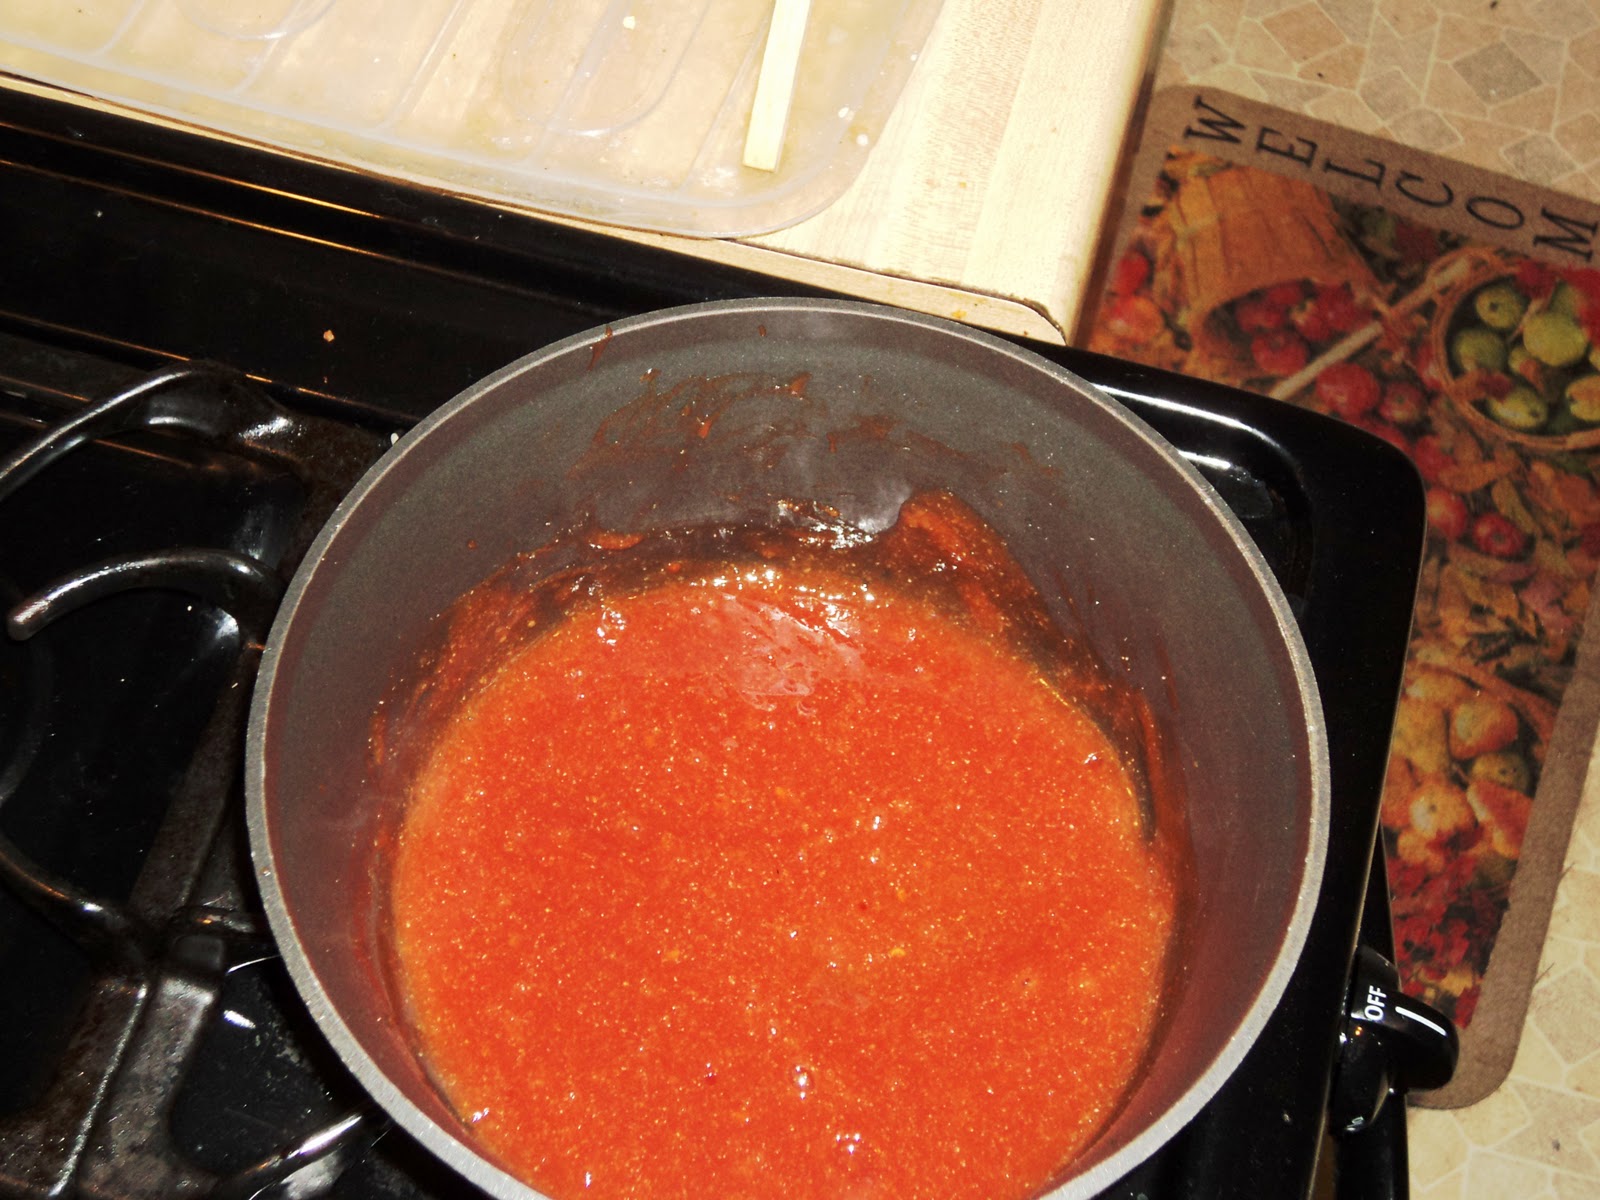
This looked (and proved to be) an easy recipe.  While the coals were firing up, I prepared the sauce.


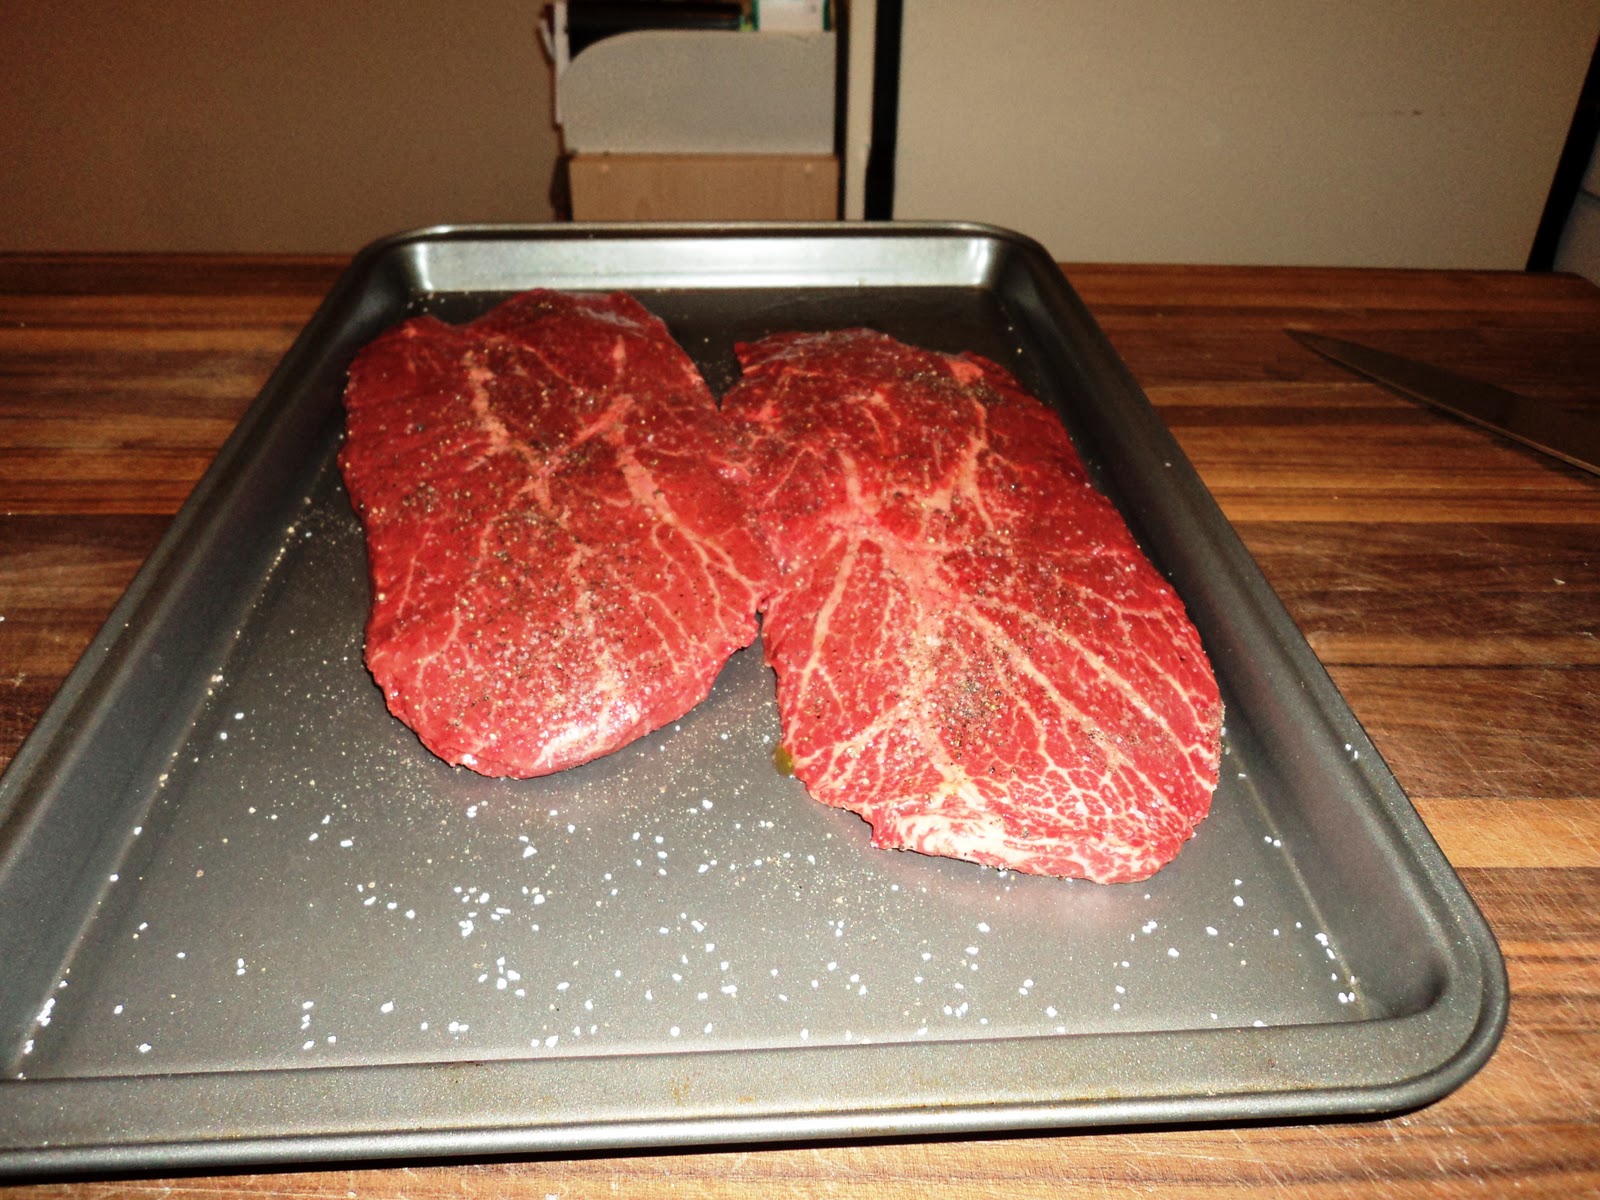
From there, I added the salt and pepper to the steaks before bringing them outside.


As you can see, these are truly long and flat steaks.  They sat well below the edges of the pan, and so this was going to be a quick burn.  The Guide suggests a total cooking time of only three to five minutes, flipping the steaks once.  I opted for the longer of the times, as I was hesitant to eat raw meat. 


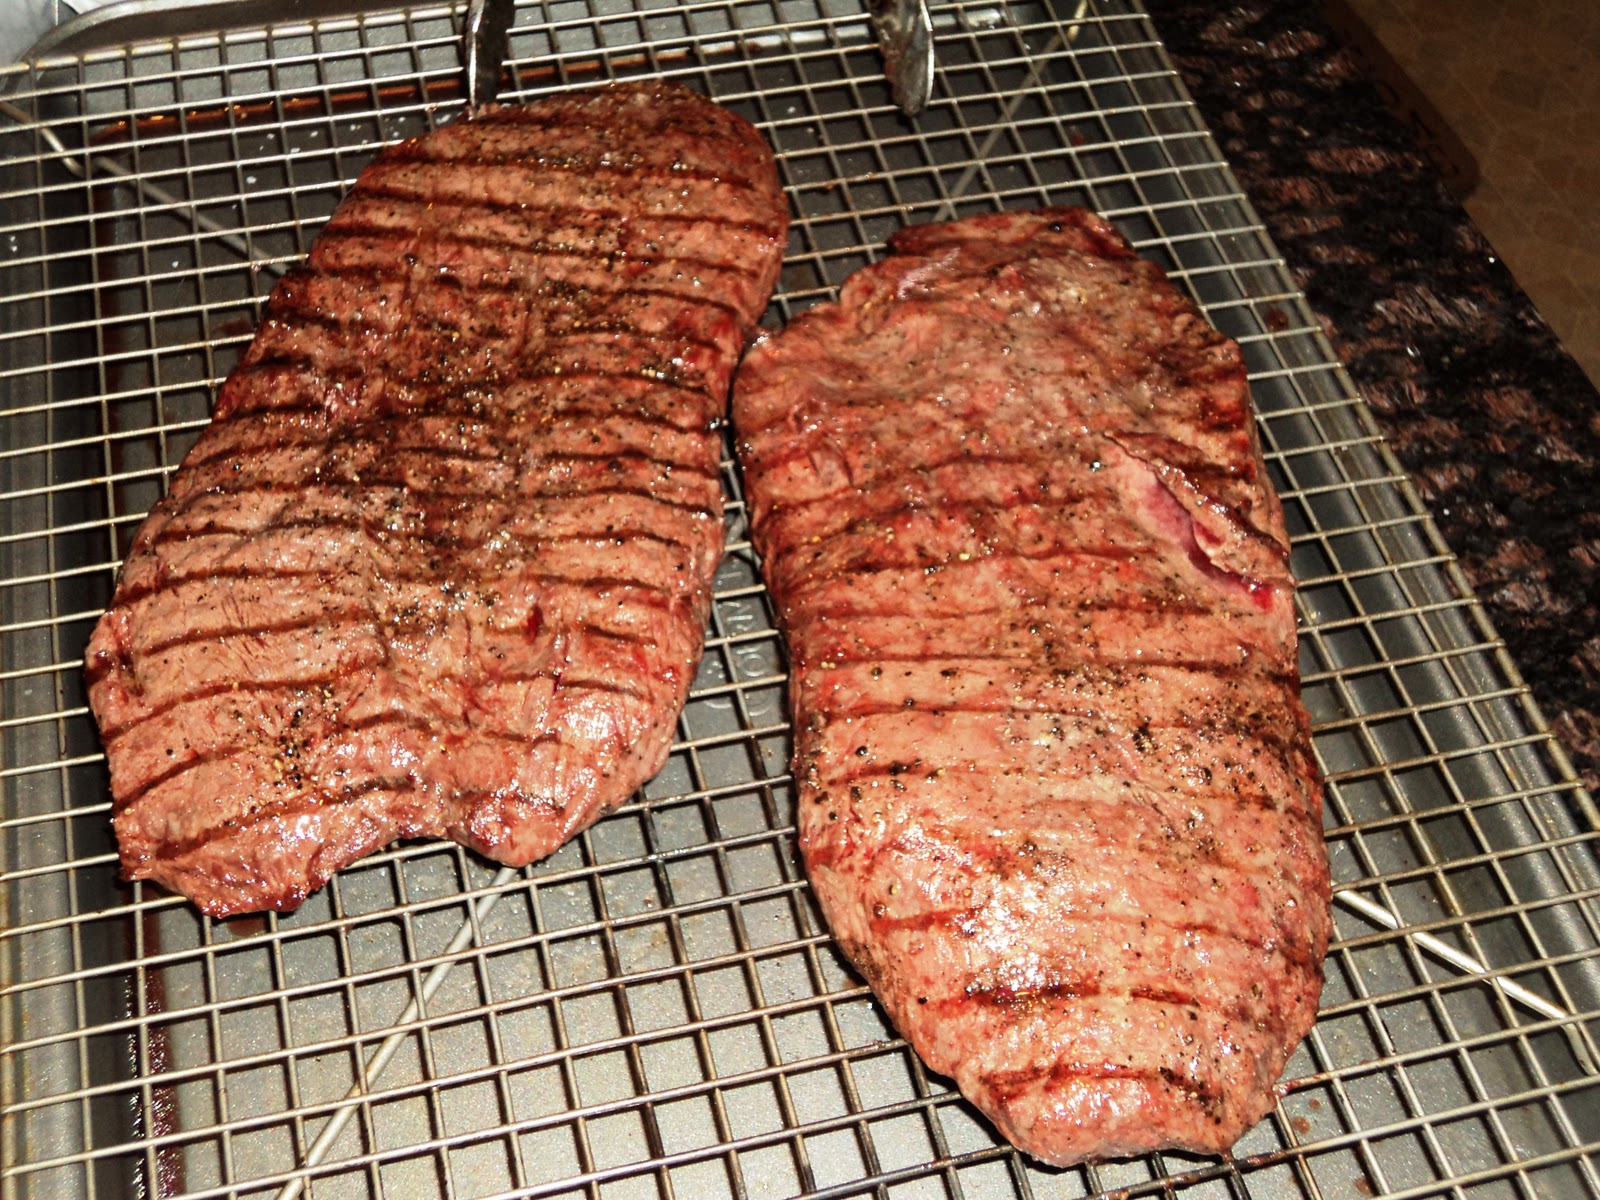
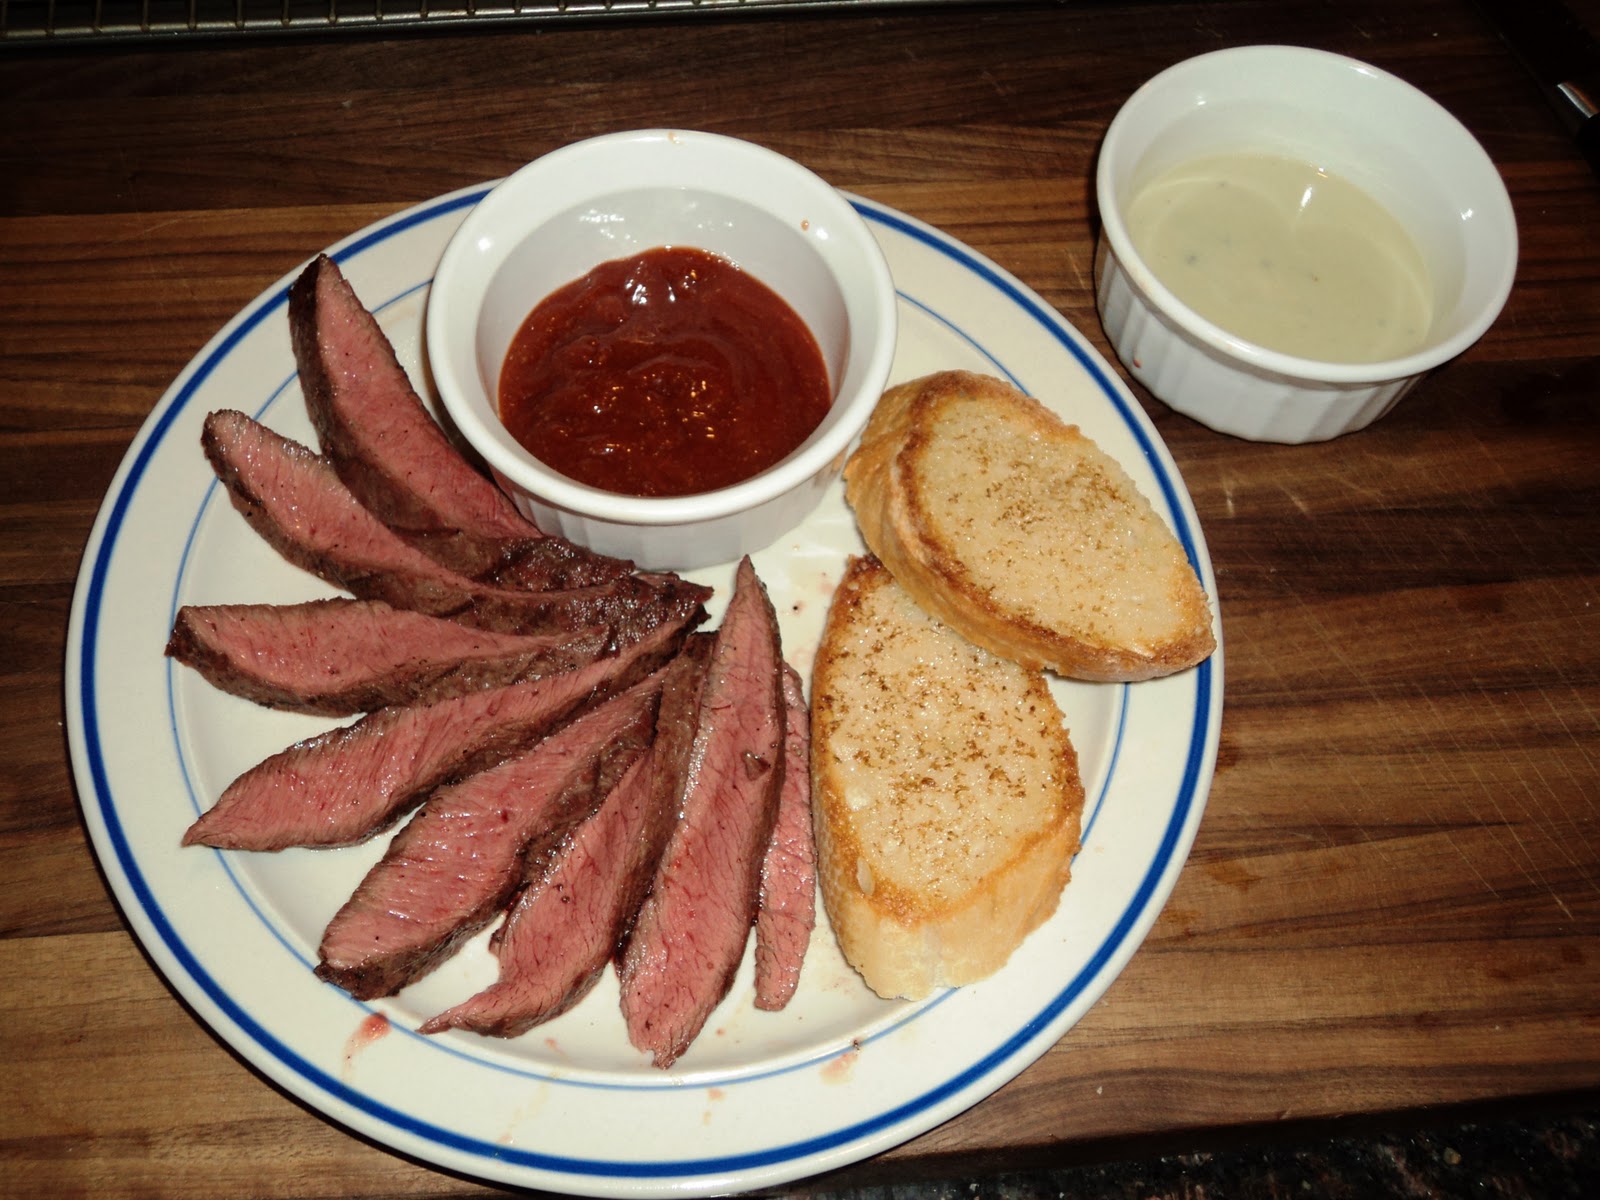
Other than the grill marks, there wasn't much browning on the outside of the steaks, but I set them to rest.  Meanwhile, The Bride began making her trademark blue cheese sauce while I put together some toasted French bread slices.  Then we plated!


Quick, simple, tender, and succulent are all adequate adjectives for this dish.  As I mentioned earlier, I'd never had flatiron steak before, and I was pleasantly surprised.  It almost has the tenderness of filet mignon (I could cut it with a fork), but possessed the flavor of a New York strip.  The simple seasoning of salt and pepper leaves a nice canvas for the steakhouse sauce, which reminded me of Open Pit.  The Bride's blue cheese dressing was a nice complement to the sauce, and having the dueling sauces made for a fun meal.  In all, I recommend this recipe just for the simple fact that the flatiron is an interesting cut of meat, and the steakhouse sauce is pleasant and well-seasoned. 

Well, so much for September....

Wednesday, September 15, 2010

Financial Celebration

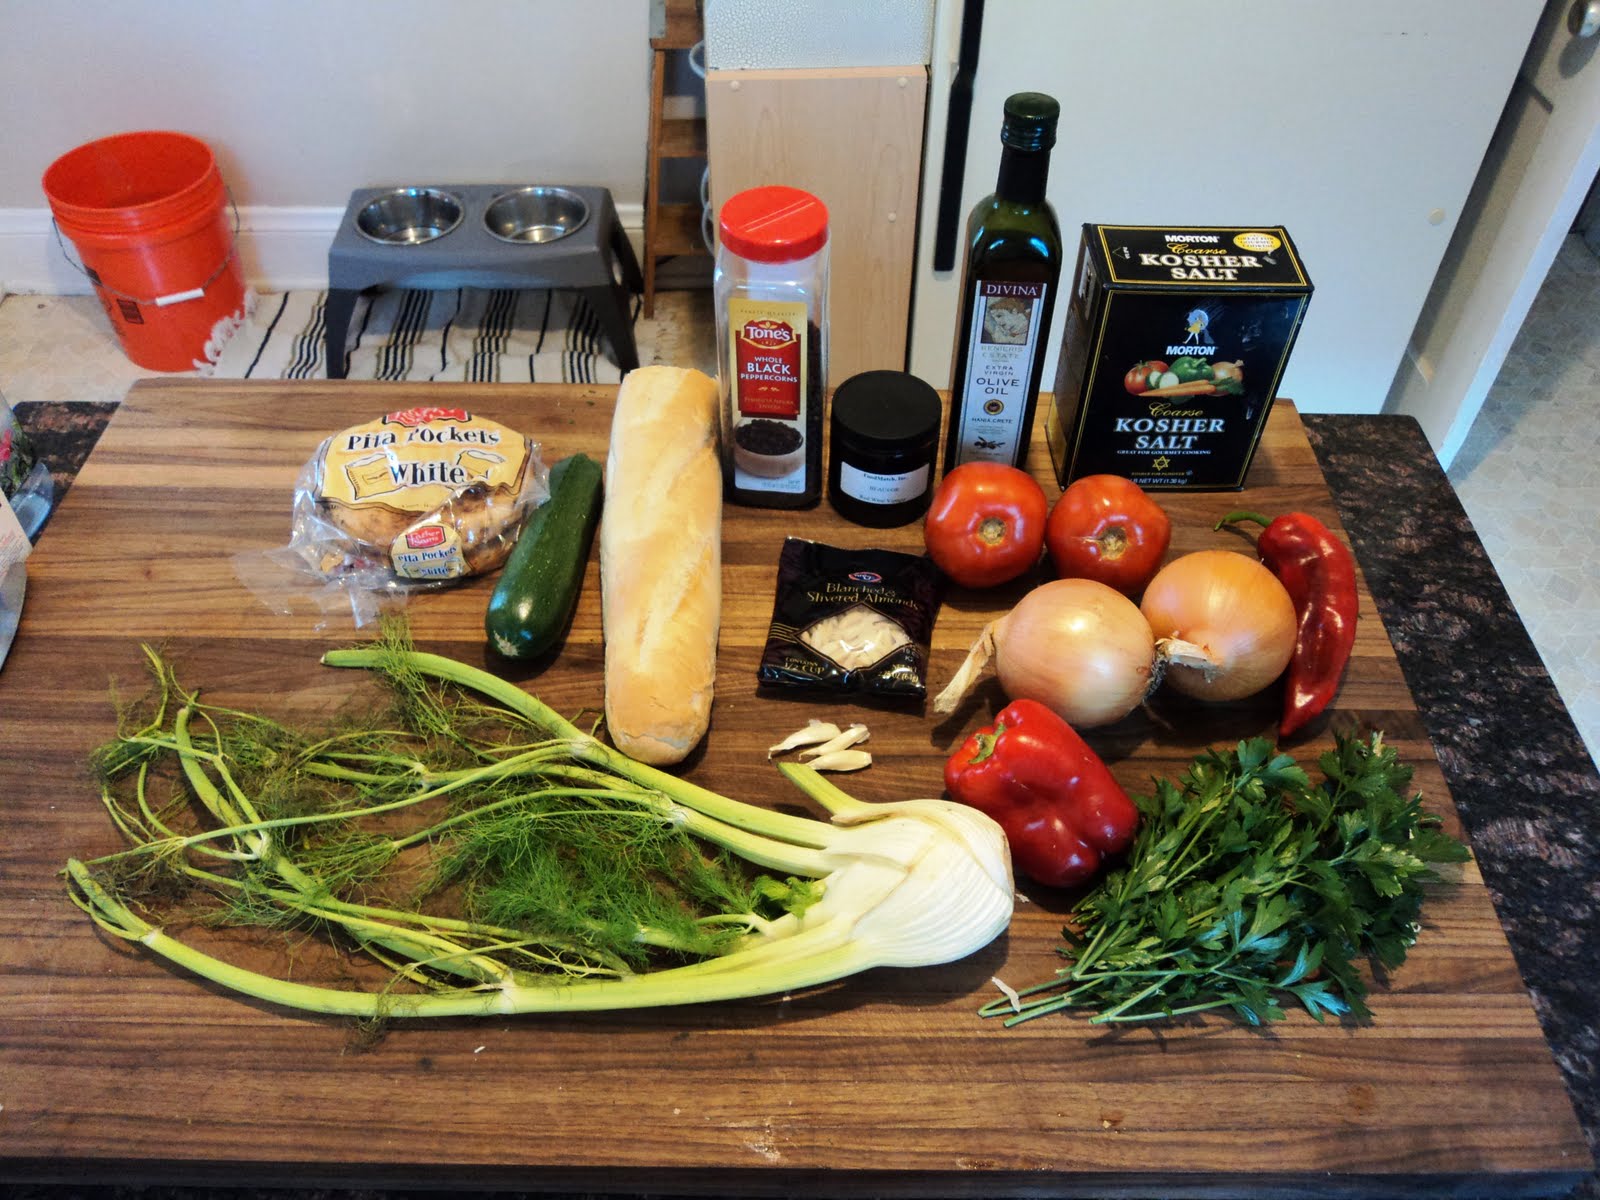
Today I received some unexpected news.  For the last year and a half, I had been working under the presumption that I was going to be making graduate school payments until October of this year.  This month, however, when the payment hadn't come out of my checking account, I contacted the university only to find out that I was, in fact, done with my payments as of August.  Hooray!  This called for a nice dinner.  I emailed The Bride who indicated that she desired fish.  I perused the options, then picked out the Lemon Halibut With Caper Sauce on page 306.  After a quick trip to Findlay Market after school I had the necessary ingredients.  


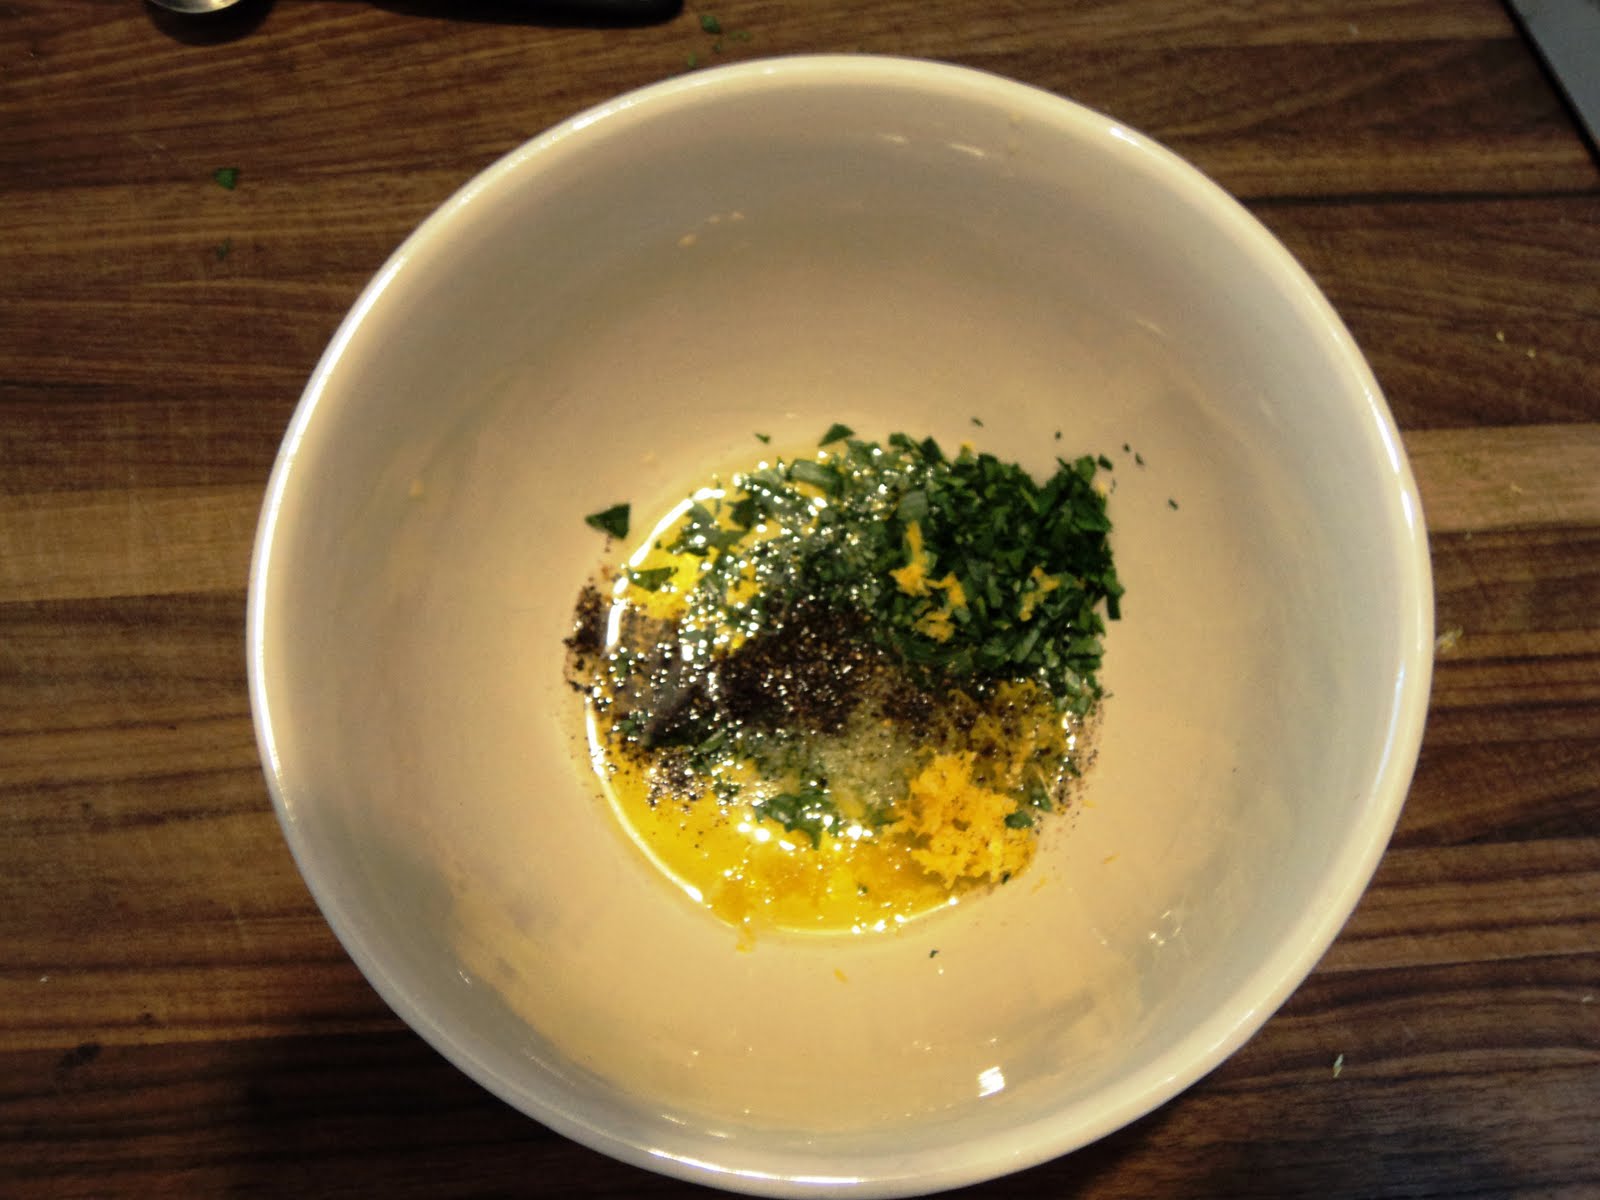
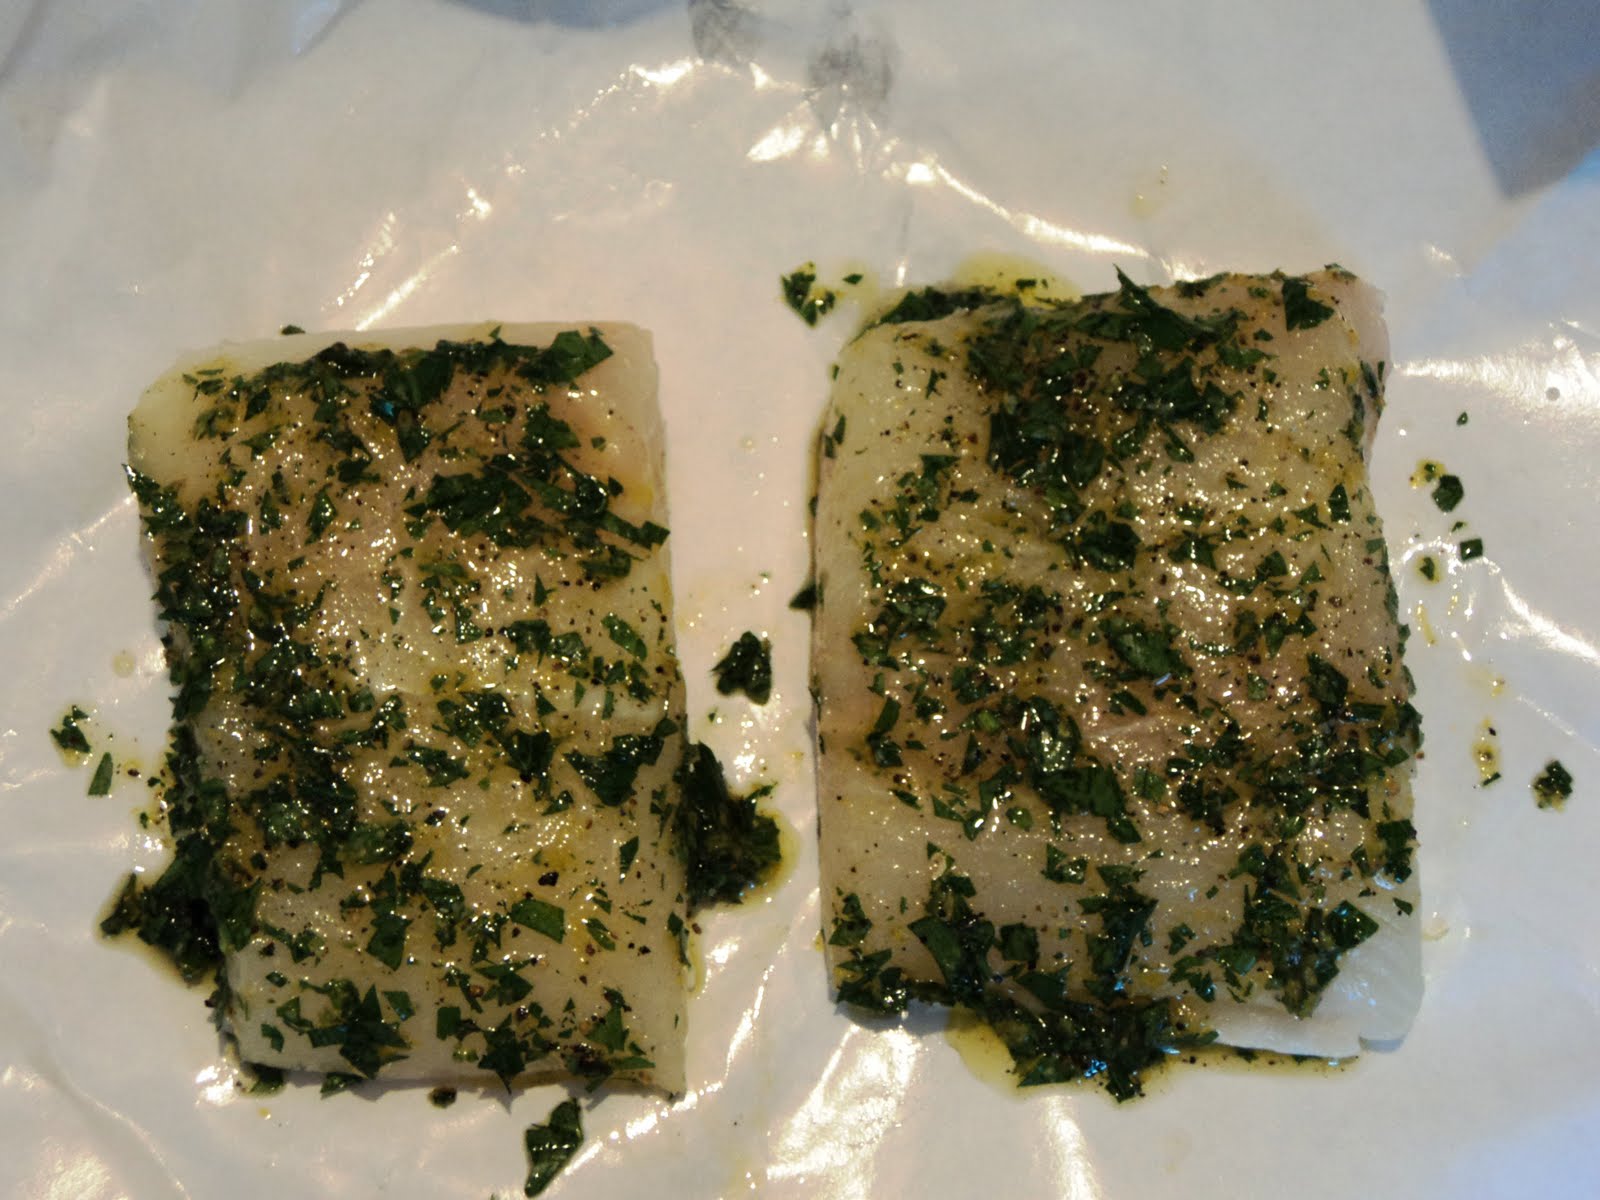
The first thing to do was to make the "rub" for the fish.  


I gave it a brief whisking, and then the rub was ready.


I put the fish in the fridge, and started to ready the sauce.


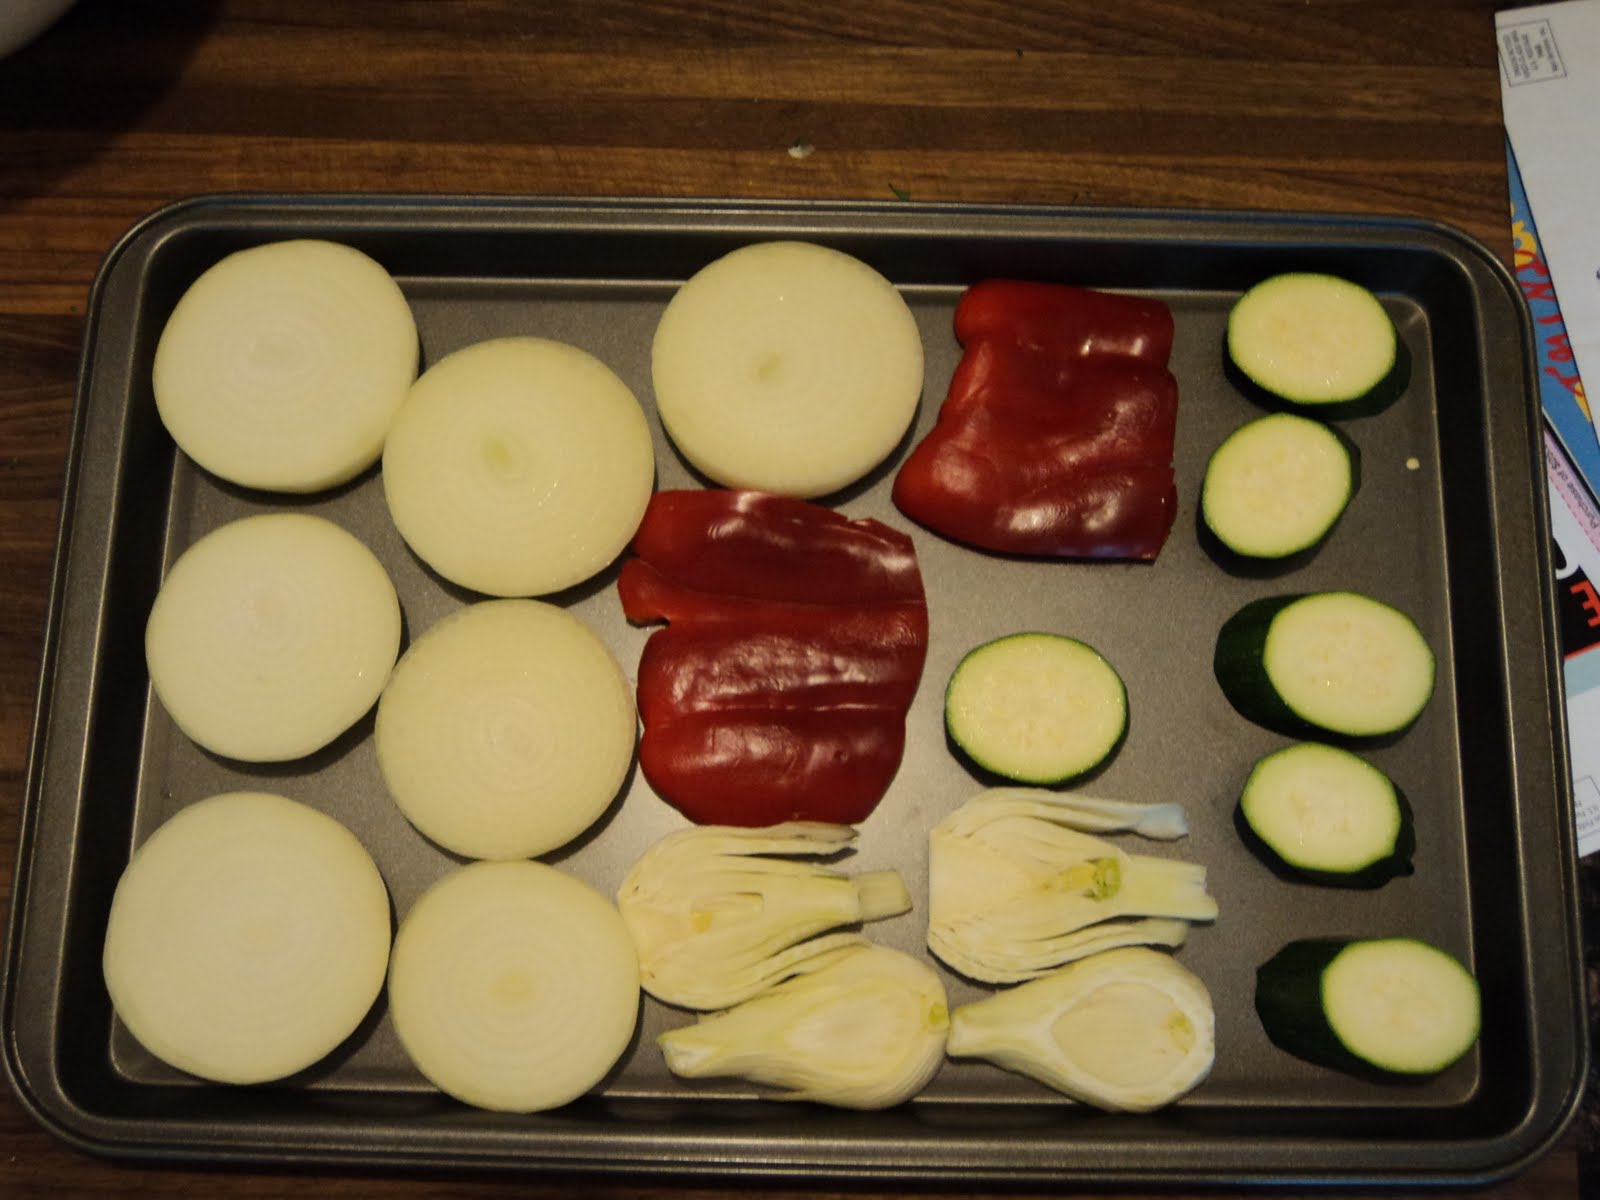
With the sauce prepared, I moved on to the side dish of the evening, Summer Vegetables With Romesco Sauce on page 328.  


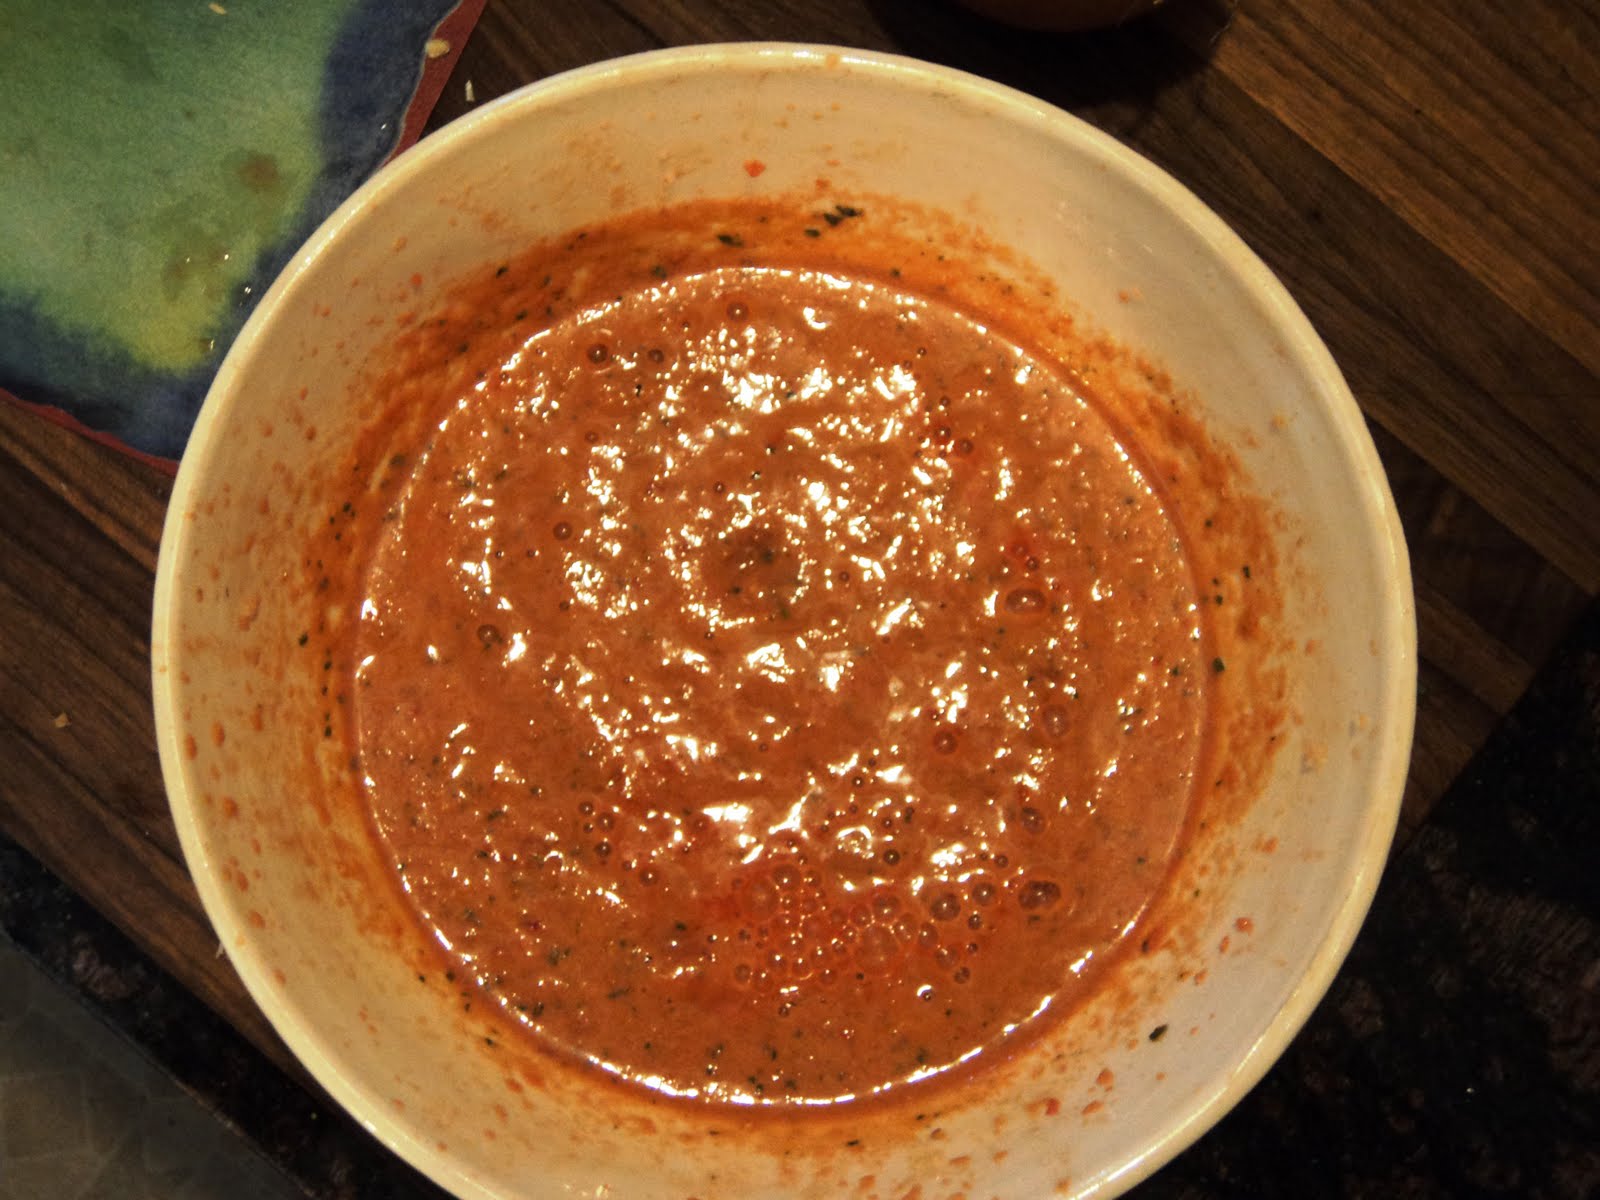
Similar to the fish, the sauce could be prepared in advance, so that is what I did.  I placed everything in a bowl, and retrieved the immersion blender.


WHHHIIRRRRRR!!!!!


I tasted the sauce, which according to the recipe was done.  Frankly, it tasted raw.  I made the executive decision to simmer the sauce for a while.  While it was on the stove, I realized that I was at a good stopping point and sat on the porch and read a magazine until The Bride came home.  Once she was settled in, I prepped The Forge and the vegetables.


The veggies came off of the grill and I put the fish on.


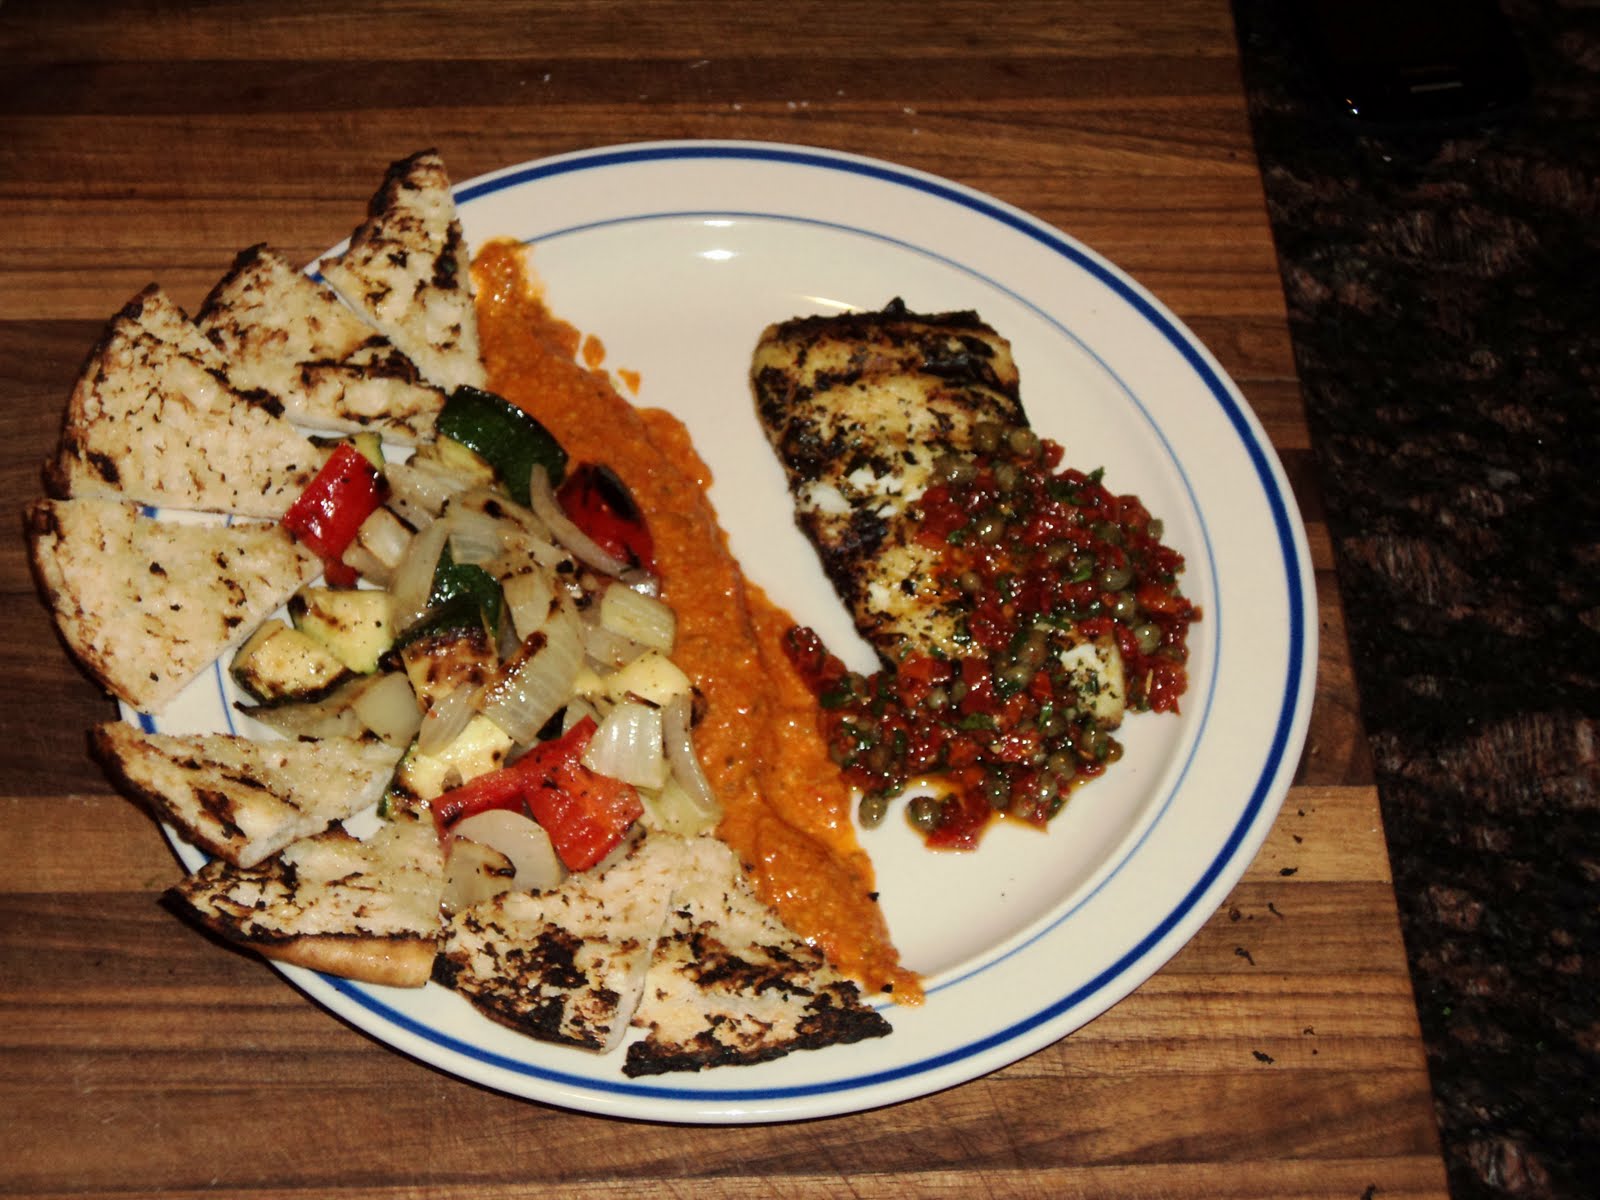
I chopped up the veggies, finished the sauce, and pulled the fish off the grill.  Once plated, I called The Bride to dinner and put the final sauces on the meal.


This was a nice meal to have in the middle of the week...or any day of the week for that matter.  The halibut was cooked perfectly, the rub was nice, but it was the lemon-caper sauce that sealed the deal.  It had a wonder briney-ness from the capers, terrific acidity from the lemon, and great texture from the parsley and sundried tomatoes.  This sauce would be great on most grilled fish.  It is, for lack of a better term, a keeper.  As for the vegetables, the sauce continued the theme of completion.  By themselves they were okay, but the romesco sauce "really tied the room together."  I fully acknowledge that it is probably supposed to be served raw, but I liked it much better after it simmered for about forty-five minutes.  The raw garlic flavor become much more mellow, and the tomato flavors became all the more complex.  Still, though, the sauce for the fish was the hit of the night.  I highly recommend it for anyone.

Wednesday, September 8, 2010

Summer Swelter Solvent

Yesterday was (hopefully) the last day of the year above ninety degrees.  To celebrate that fact, I started the evening by making the Summertime Lemonade on page 35.  I can't tell you the last time I had lemonade made truly from scratch, so I stopped by the grocery store on my way home from school and picked up a few lemons.


What I wasn't so sure about was how many lemons it would take.  Ideally, my goal was to make two batches, because if this was going to take a fair amount of time, than I wanted plenty of the stuff.  Also, my grand plan was to use some of one batch to make ice cubes out of the lemonade, that way my drink didn't get diluted as it sat there.  When I got to Kroger, all I could remember was that I needed somewhere around two cups of lemon juice if I wanted to double the recipe.   But what I didn't know was how much juice the average lemon would provide.  My guess (which, if you continue to read was dead wrong) was that a good-sized lemon would give up about one-third of a cup of juice.  With this in mind, I bought the six largest lemons at the store.  From there, I began juicing.

   
After the first lemon I realized I had a problem.


The lemon gave me far less than one-third.  There was no way that I was going to be able to double my  recipe if this kept up.


Three lemons in and the problem is becoming serious.  Half of my lemons are used up, and I'm barely above one-half of a cup.  In looking at the recipe, I needed a little more than one cup, so at this point not only have I given up on doubling my recipe, I am now concerned that I didn't buy enough to make one recipe.

Oh crap.  All the lemons are gone, and I don't have enough.  Normally I wouldn't be too concerned and I would improvise something.  However, I was treating this recipe like a formula, so I clearly needed to scale the rest of the recipe to follow what I had.  At this point I have to show the world just how much of a dork I am. 


Yup, that's right.  I used a chalkboard that I have in my kitchen to calculate a proportion.  How in the world did I ever end up with my Bride?  To prevent future problems with this recipe, I did what all good cooks do.  I marked up my cookbook, leaving myself notes.


I'm always surprised when I hear people tell me that they don't mark up their cookbooks.  From there I followed the directions by adding the sugar (in our case, Splenda) to the water and bringing it to a boil.


From there the recipe stated to allow the syrup to cool to room temperature before adding the lemon juice.  So I poured it into its container and began the waiting process.


To help pass the time, I went on to prepare the side dish that I had picked out for dinner.  I wanted to use some of the peppers from my garden as it was getting out of control.  So I gathered what I needed for the Poblano Rellenos on page 344. 


For those of you new to the game, a relleno is a stuffed pepper.  I do grow my own poblanos, but they still aren't ready to harvest.  My New Mexicos, however, are bountiful.  I picked out a few, and fired up The Forge.  While the coals were warming up, I prepared the stuffing.  I began by plumping up the raisins.


I also needed one cup of cooked rice, so I brought half of a cup of dry rice to a boil.  I knew that rice generally doubles when cooked, so I wasn't too worried about that one going wrong like the lemon juice fiasco. 


The lemonade was ready!


This stuff was SUPER awesome and completely worth the wait.  I showed tremendous restraint by not drinking all of it while waiting for The Bride to return from work.  Meanwhile, back at the ranch....


The stuffing was complete and it was time to roast the peppers.  One of the reasons I love New Mexico peppers is that they roast rather well.  Their skin blisters beautifully, which allows them to peel easily, revealing the sweet, soft flesh underneath.  First up, I threw them on the fire.


As the skins began to blister, I turned them over.  For those of you new to roasting peppers, they ARE supposed to be this burnt.  The trick is to burn the skin, leaving the flesh underneath cooked but not burnt as well.


While Weber doesn't say to, I have enough experience roasting peppers that I remembered a simple trick.  Take the roasted peppers off of the grill and put them in a bowl, covered with saran wrap.  This traps the escaping steam and helps the skins peel off later.


While the peppers were steaming themselves I cooked the tomatoes on the grill, pretty much following the same technique as the peppers, but with slightly less charring.  Here they are, fresh off The Forge.


I cored and peeled the tomatoes, and added the chipotle (smoked jalapeno). 


I gave them a brief whir with the immersion blender, and it was ready to be reduced.


I placed it in a saucepan and slowly reduced the mixture by half to thicken it up and concentrate the flavors.  During this I began peeling the skins off of the peppers.  If you are good, and you followed the technique properly, you can get the entire skin off in one piece.


See that?  The skin underneath is uncharred and beautiful.  I stuffed them, placed them on the grill, and cooked the fish (not a Weber recipe) that I had readied for dinner.  They came off the grill, and I called The Bride to dinner.


It all came together nicely.  I let loose on the lemonade, sauced the peppers, and plated the fish.


Regarding the lemonade, it was perfect.  For some people it may be a bit tart, but that's the way I like it.  I'm sweet enough.  For those of you who like it sweeter, add more sugar.  For those of you who like to walk around looking like Renee Zellweger, add less.

I loved the peppers.  I didn't do a stellar job of seeding them, which I don't mind; The Bride, however, came across the occasional bite that made her blush.  The sweetness and texture of the stuffing is surprising, and none of it went to waste.  I admit to being a bit skeptical when looking at the recipe, but this really worked.  The sauce is also quite nice, but for you non-chileheads you might want to only use half of the chipotle pepper. 

I think this was my longest post ever.  Why are you still reading this?

Think of this as Julie and Julia, but for dudes.

Followers

About Me

My photo
Cincinnati, Ohio, United States
Just a regular dude...now learning to bake